2001: a space wheel
Building the Moebius "Space Station V" kit with lighting.
REMEMBER! YOU CAN CLICK ON THE PICTURES FOR A HIGHER RESOLUTION VIEW!
I have to admit I have been wanting to build a model of this space station for a very long time. The original miniature used in the movie of “2001: a space odyssey” was reportedly about 5 feet in diameter. All the miniatures used in that film were the very first models ever built to realistically represent spacecraft of the future that were not just silver cigar shaped rockets or flying saucers. They were made to represent what “experts” would actually think that spacecraft would really look like in a space age yet to be seen sometime in the distant future for the time in the mid 1960s. Real scientific principles were, for the first time, taken into account for the weightlessness of space. Thus a spinning wheel, which through centrifugal force (or centripetal force… whatever… YOU decide! I’m just a stupid modelmaker….)…
…to create artificial gravity for its inhabitants, was the obvious choice for a space station that would be a “jumping off point” for trips to other parts of the solar system. In the case of the film “2001 a space odyssey” …(caps deliberately omitted as that is how it appears in the film)… that trip was to be to the Moon for Dr. Heywood Floyd to examine an alien relic that propels the rest of the story.
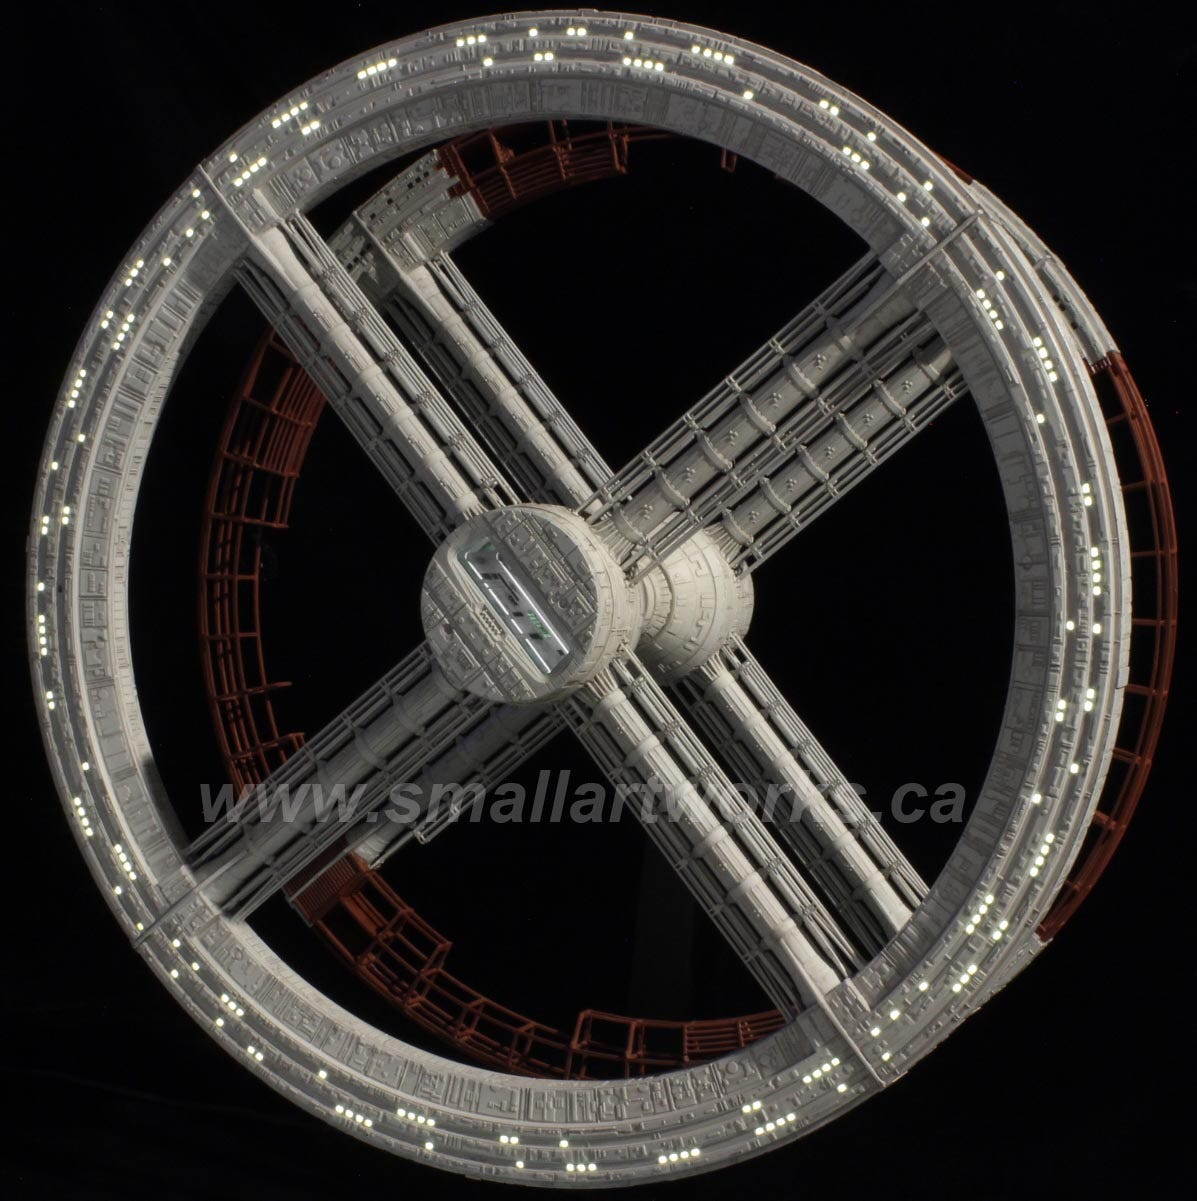
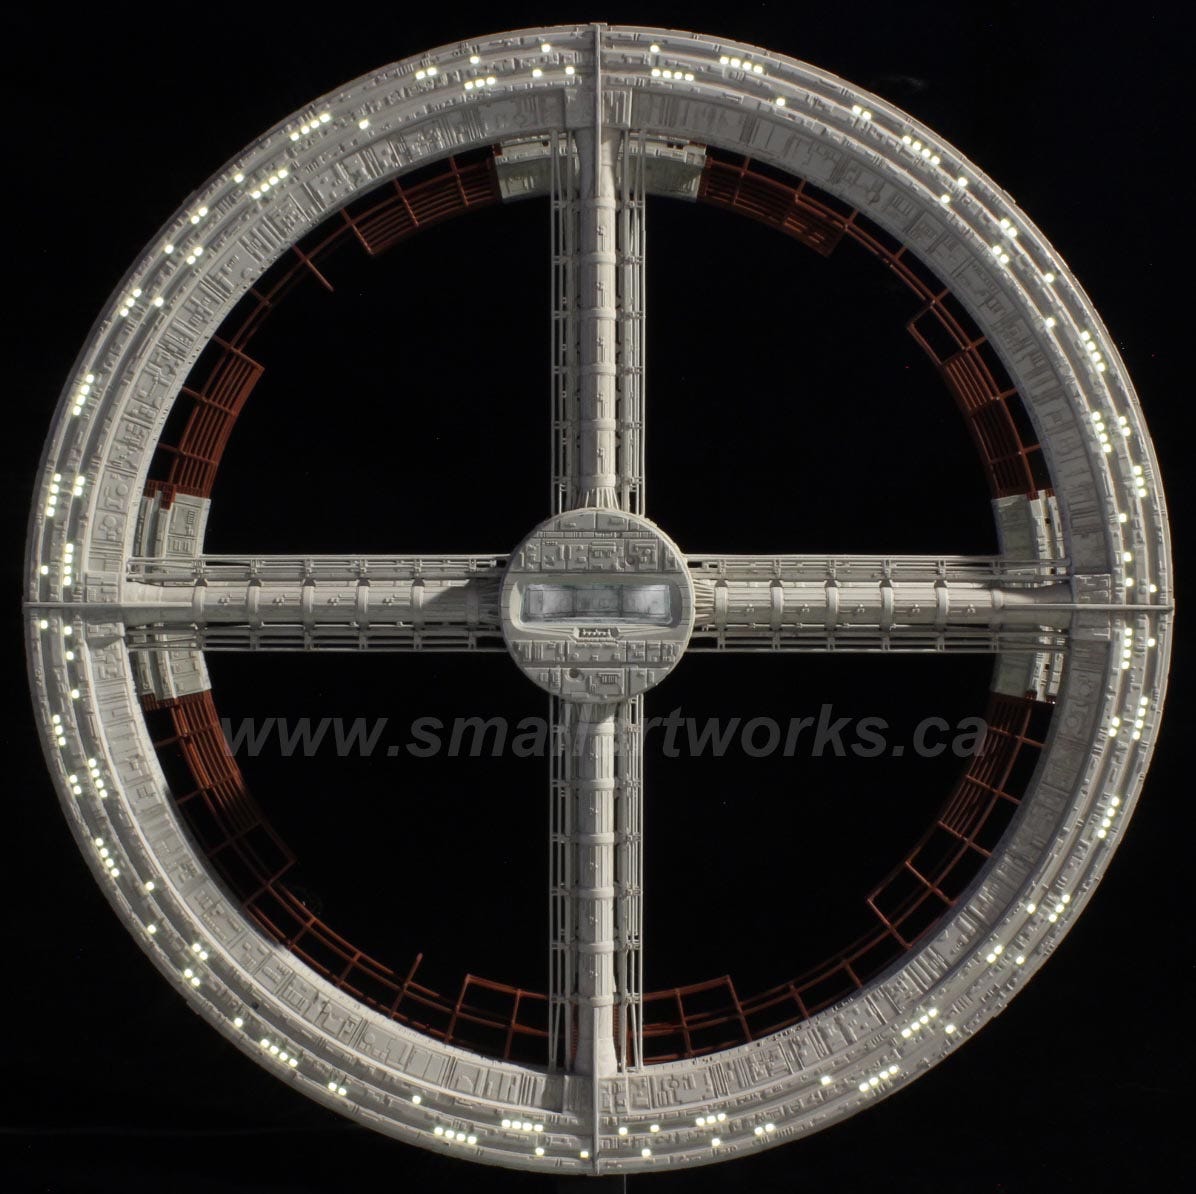
Anyway, back to the model as you see here. The picture above is NOT a screen cap from the film. This is the 14” diameter model as I built it, lit strategically and shot against a black velvet background.
Here is how the model was made….
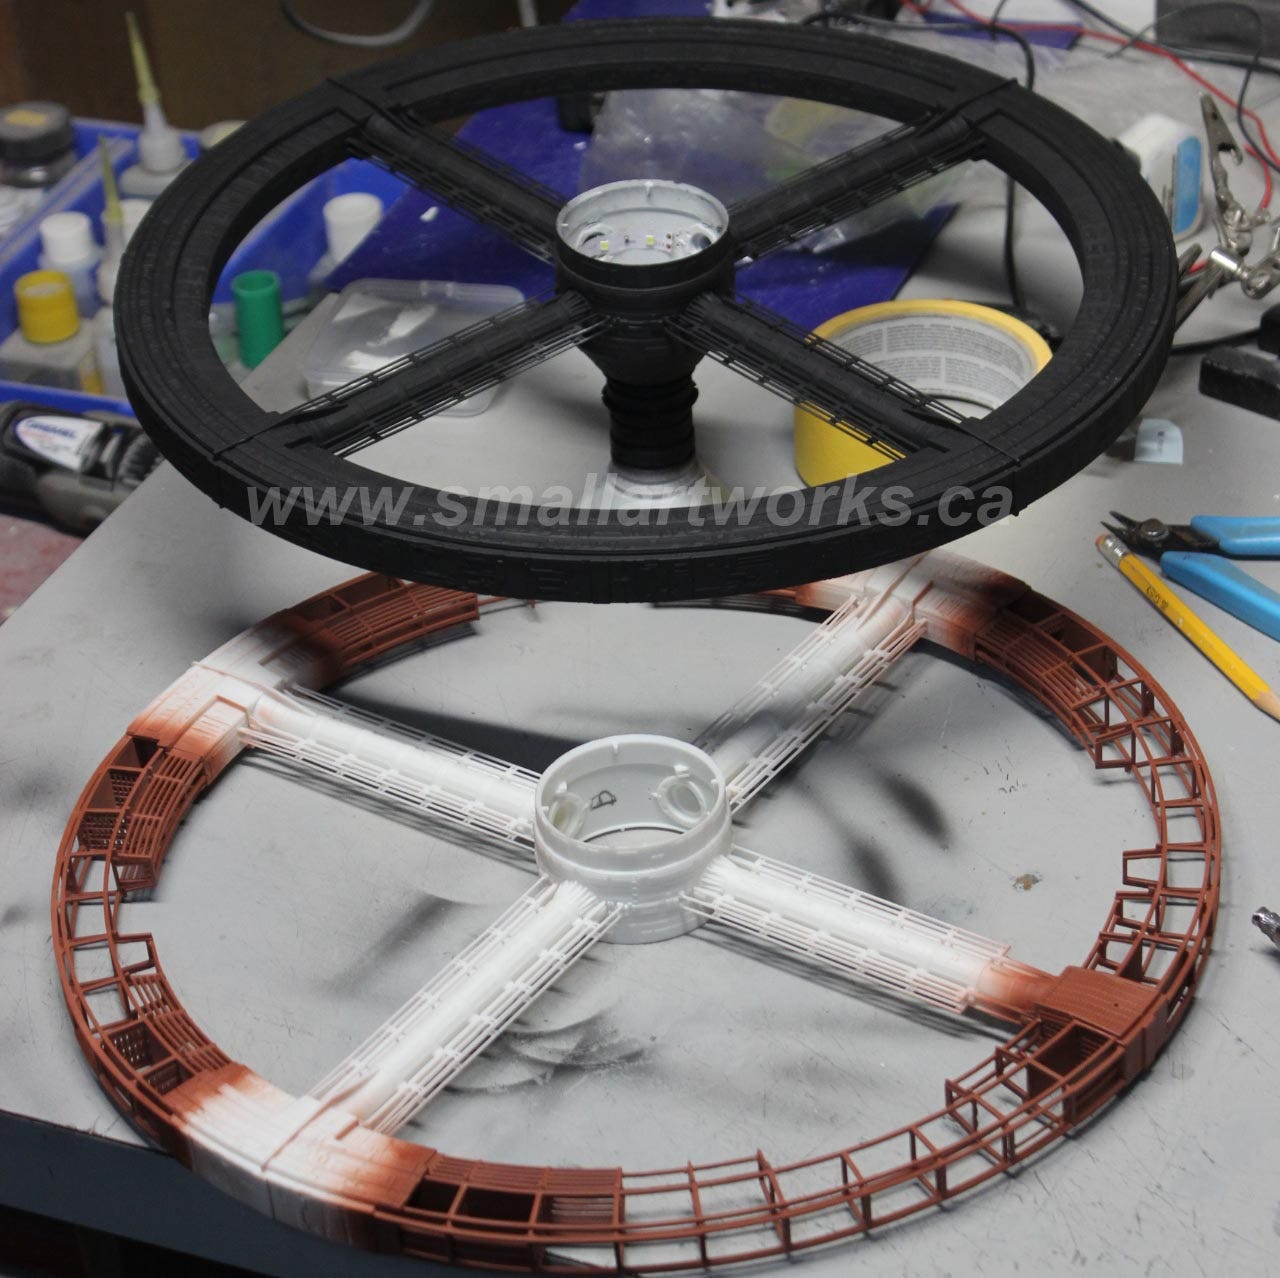
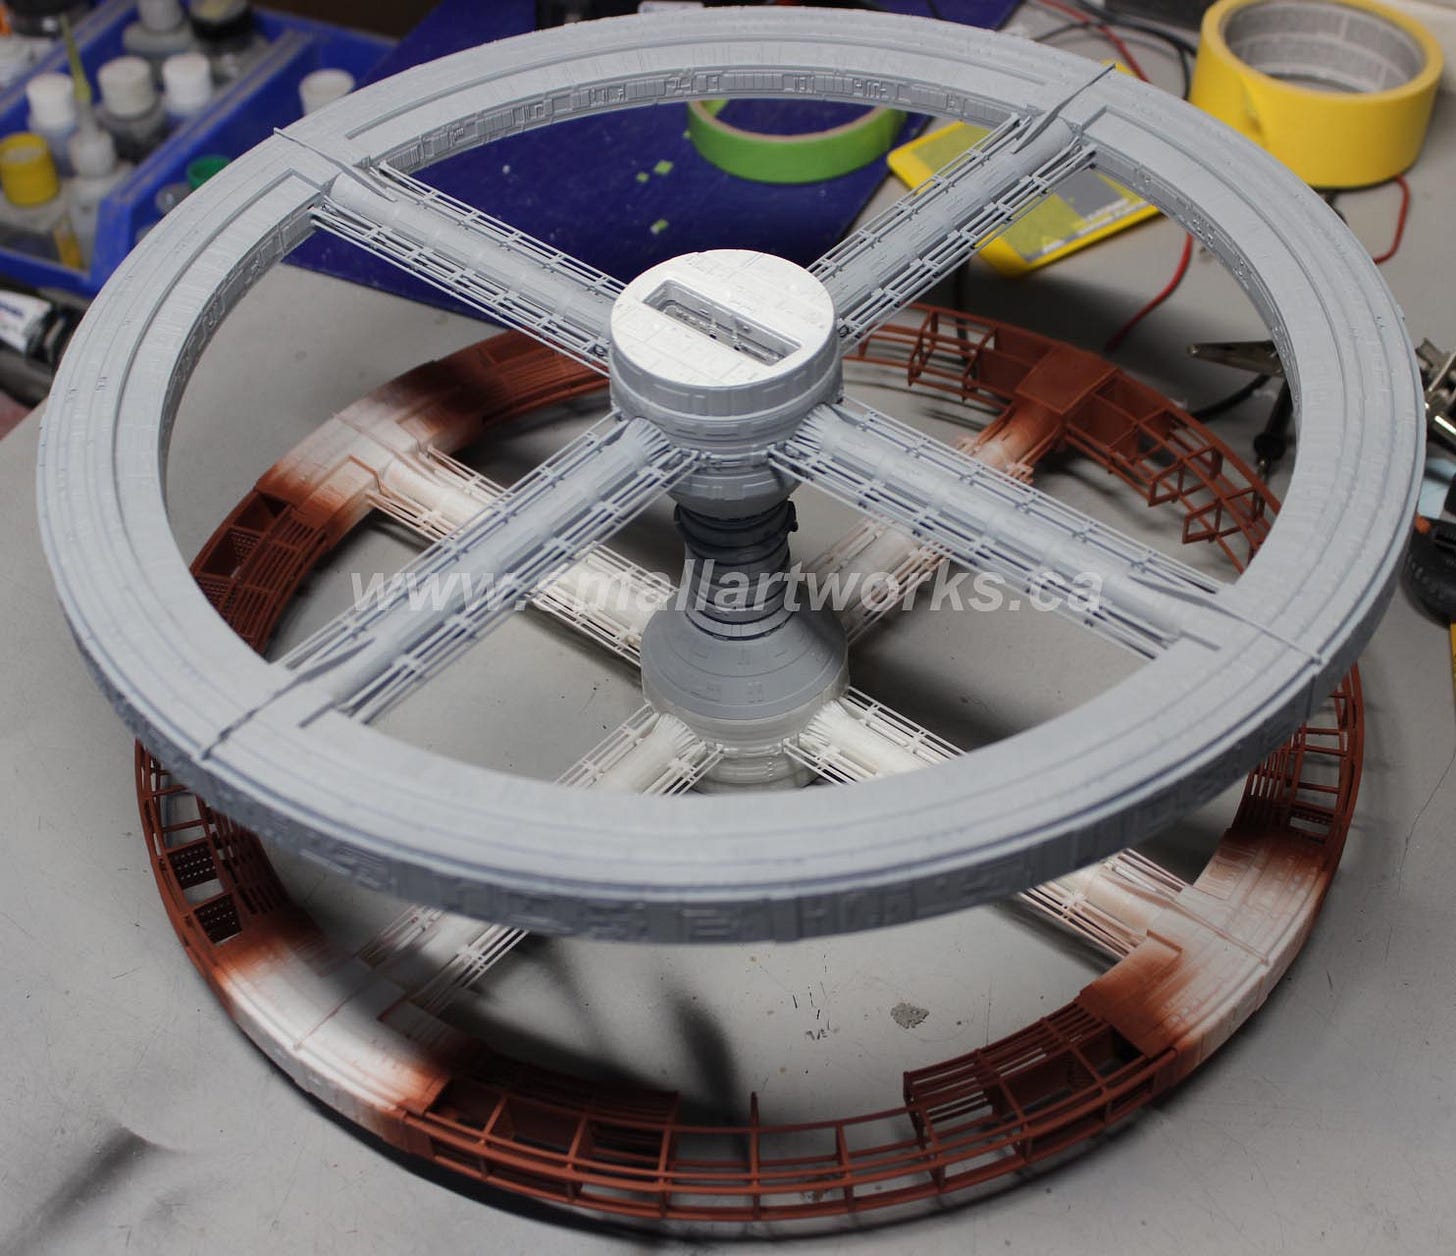
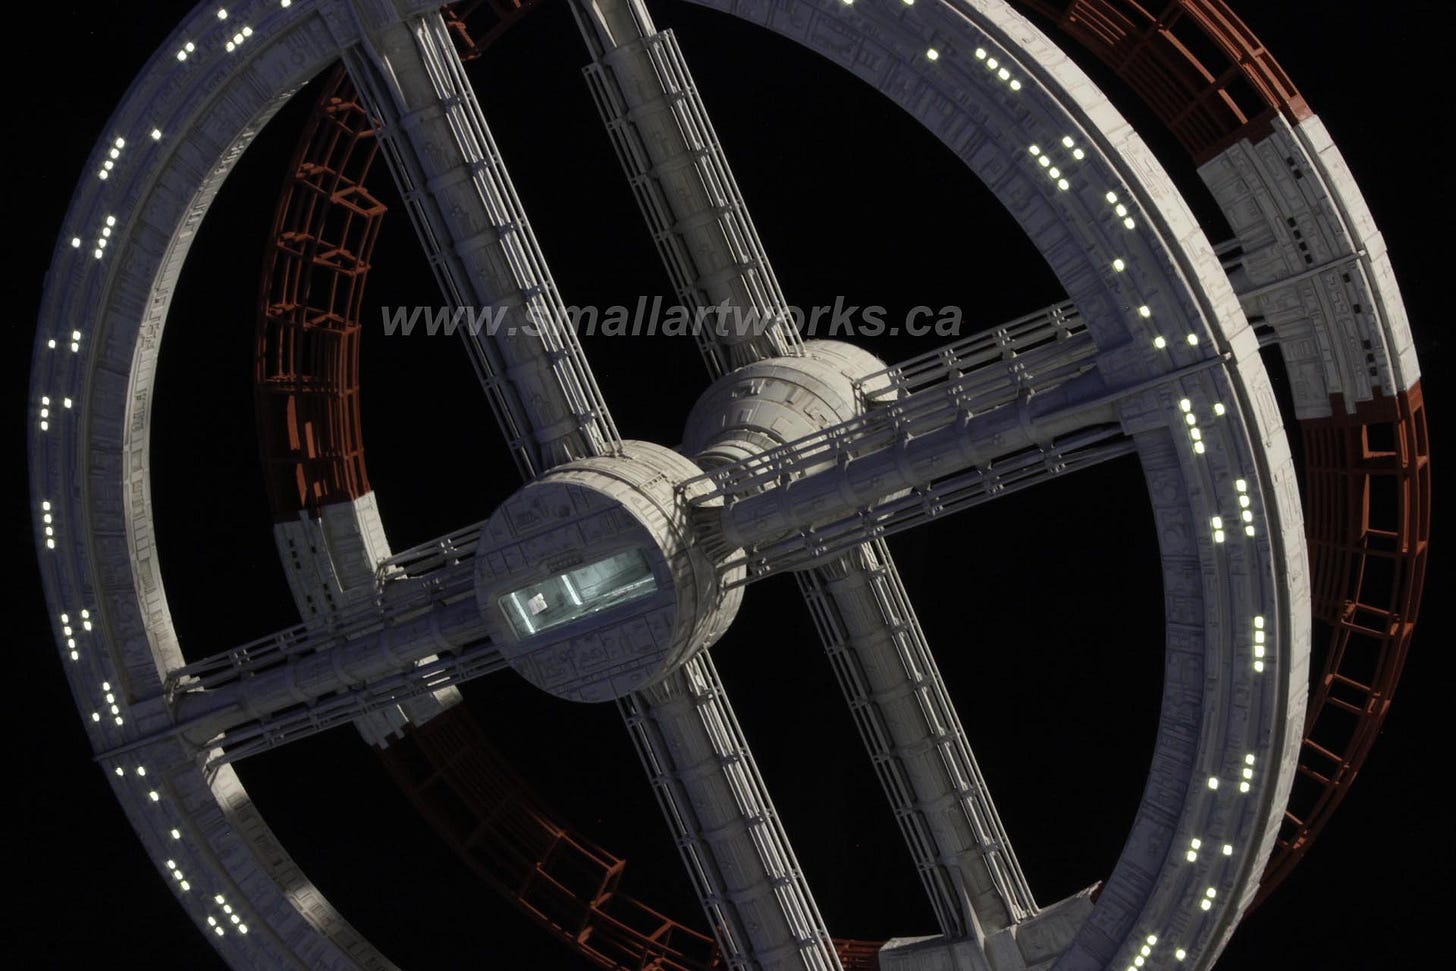
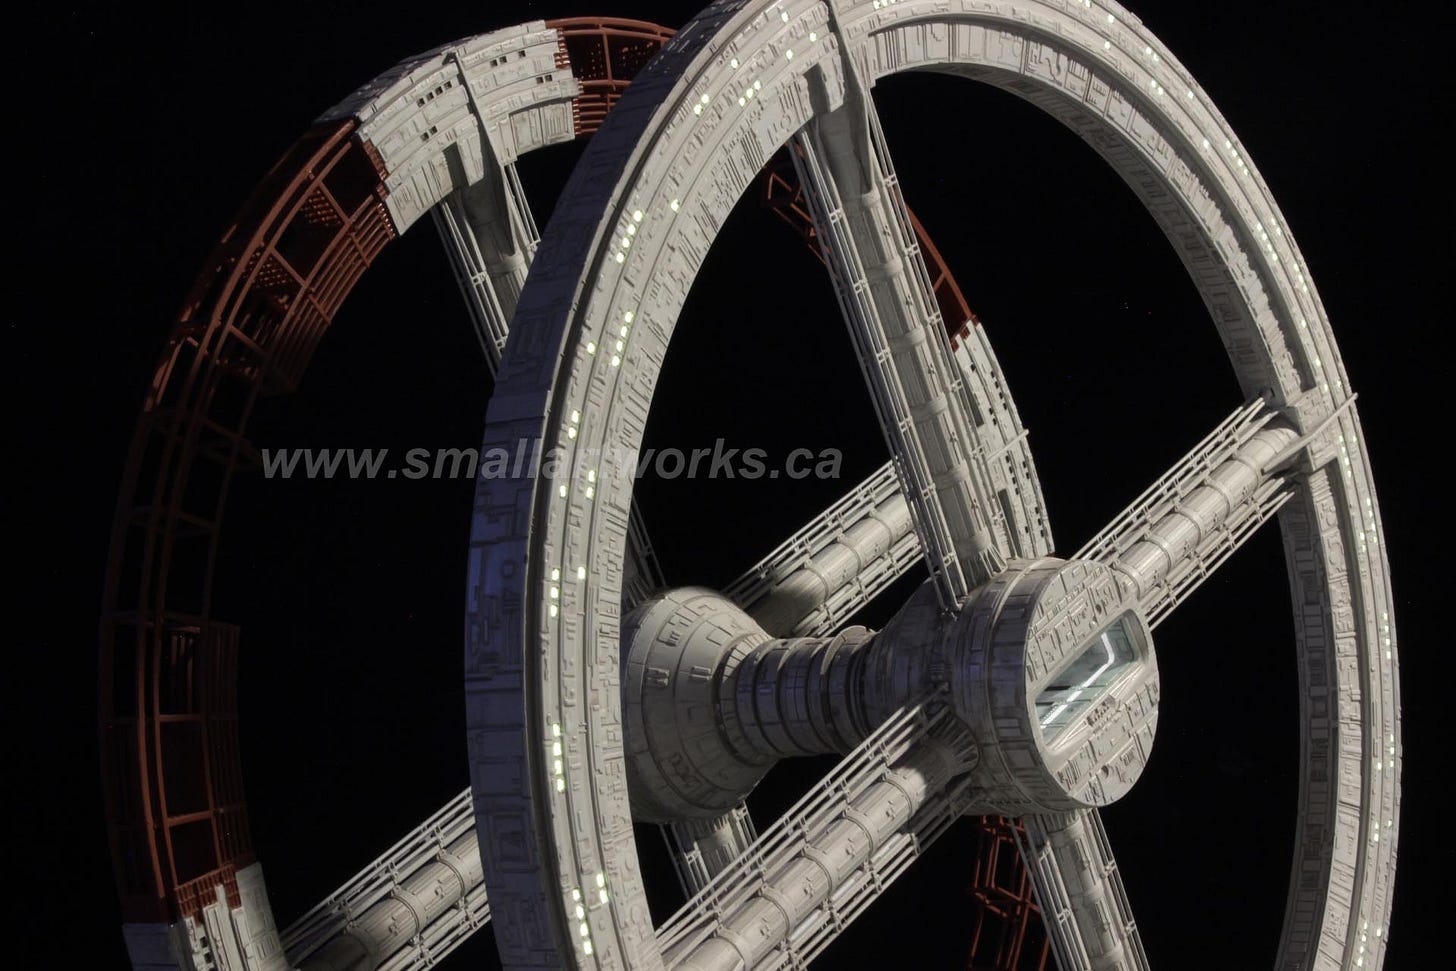
The most fun part was building the “under construction” section of the station, which you can see as the rearmost part of the wheel in most shots shown here, painted with a red oxide primer to match the model as seen in the film. That part of the model utilized most of the parts of the kit since most of the construction work was in this area with its girder work. The kit is very well thought through and exceptionally well manufactured as all parts fit together very well with no puttying needed for anything. of course, as with all model kits, thinking it through well results in the best outcome. Sometimes you must deviate from the instructions to achieve a better level of build which I did quite frequently, especially if you want to light it up as I did here.
For example, I built the “under construction” sections in quarters, not as a full half- wheel to then be married together with the other half as per the instructions, as I found it less cumbersome to handle as the build went on. I brought the quarters all together when they were all fabricated individually to make the entire secondary wheel. I have found that most of the time model kit instructions are designed to make it easier to explain to the the builder that takes the minimum amount of explanation rather than show the best way to actually build it. Experienced modelers know exactly what I am talking about. Instructions are guides, not an absolute.
OK here we go with the rest of it.
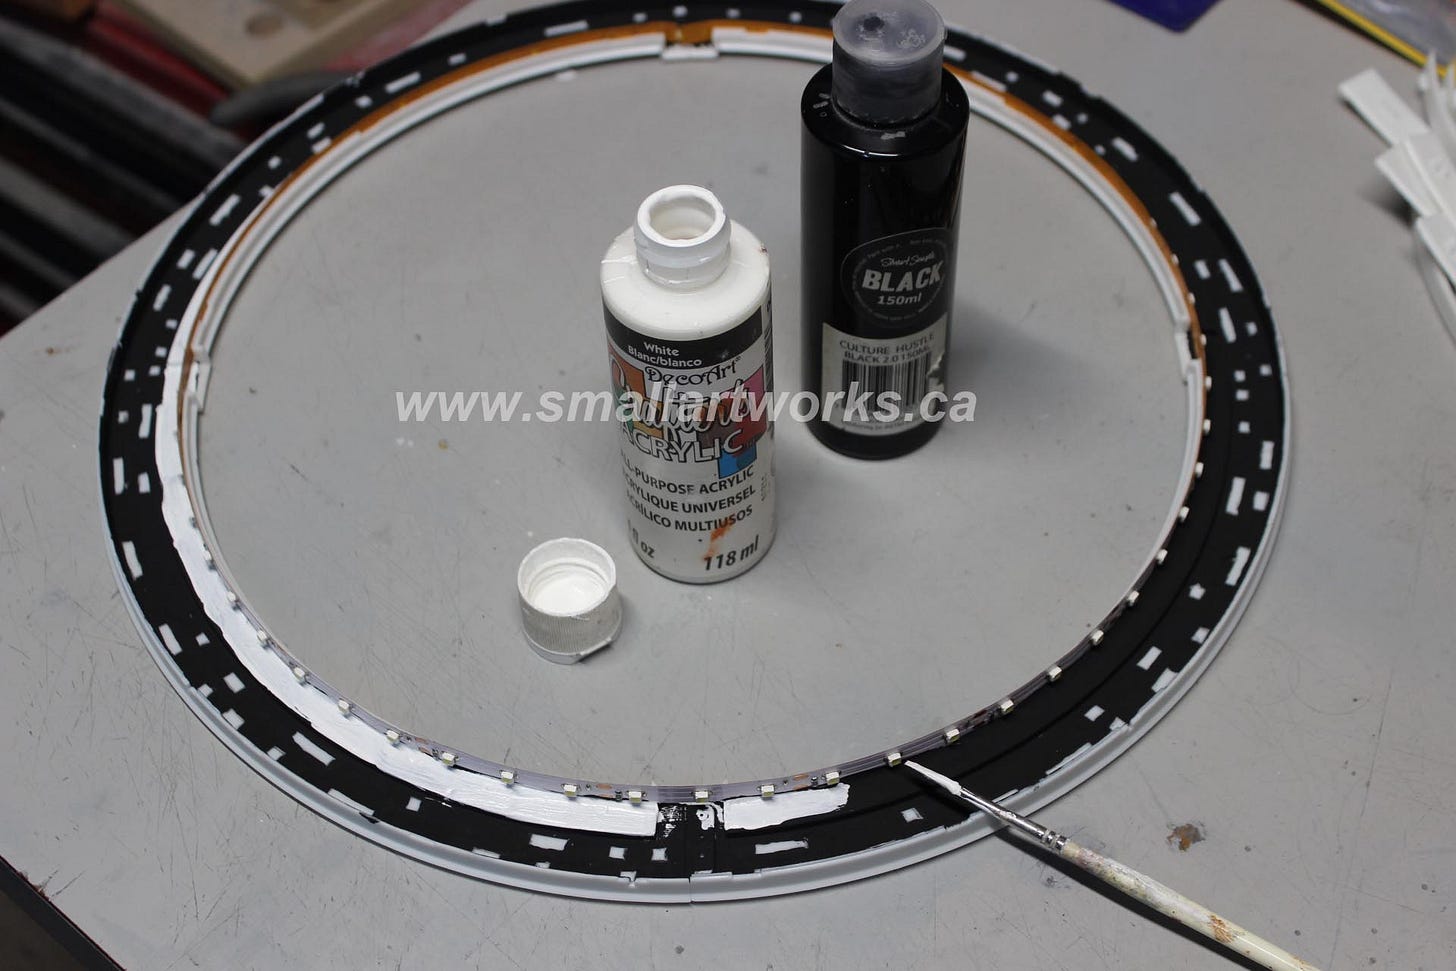
Below we see how I “black backed” the majority of the hull except the general area where the window lights were to shine through. The kit is made in somewhat translucent white plastic so that light can shine though it in a diffused way. I took advantage of that by putting a strip of LED “tape” around the inner circumference of the wheel to illuminate the windows. I then put the station halves on a light box (not shown) so that I could locate the window sections from the backside of the model and this allowed me to paint out the rough spots I needed to keep light from escaping through unwanted areas. After that was done, I painted pure white over the black to allow the maximum reflection of light from the LED strips (which you can see as little cubes at the innermost diameter of the ring) to illuminate the windows. This took some time, as I had to paint over all of the black shadowed light blocking that I had done. In other words, I had to paint the same areas twice and all by hand, avoiding the window sections to be illuminated. The black coat blocked the light, the white coat reflected the light within to achieve maximum illumination efficiency. I painted ALL of the black areas shown with a topcoat of white. The pictures just show the innermost parts coated.
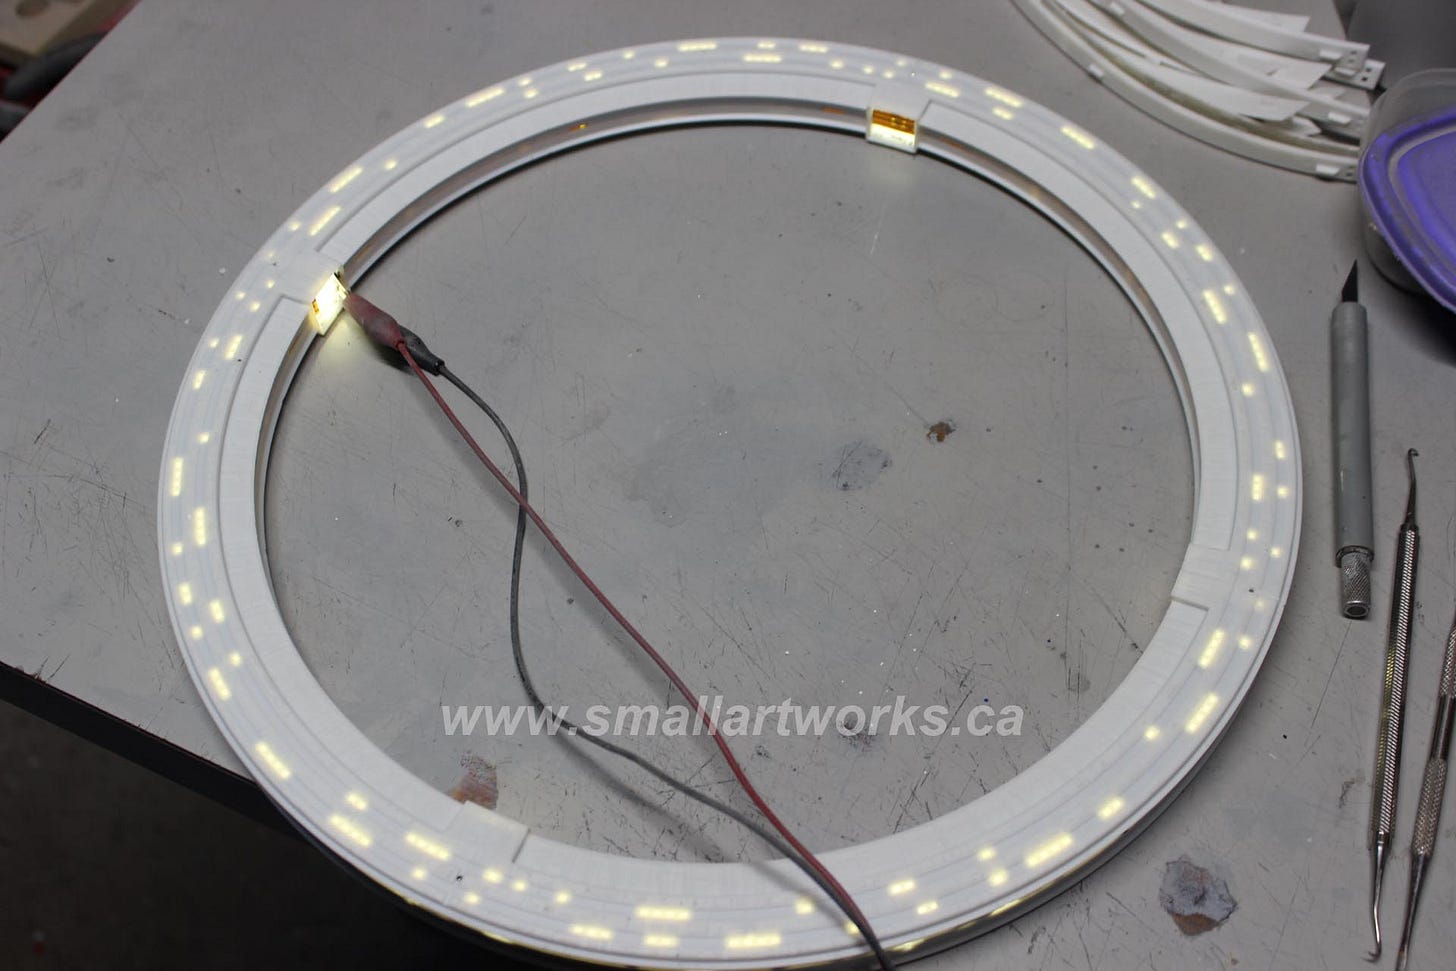
Here we go, testing the lights in the outer “inhabited” ring. All windows light up fine.
All the windows are masked with little pieces of masking tape measuring about 1mm x 1.5mm and time-consumingly applied to almost 400 windows. The entire lit-up area was then sprayed with black primer to further light block the hull that was not to be illuminated.
After the black primer was applied I covered that up with a light gray primer and then followed it up with the final off-white.
“Why gray and not just the final colour coat?” you ask….
The fact is as a general rule, combined with my experience and given the limited paints available to me in central Nova Scotia where hobby shops are nonexistent, primers are less “thick” than a final colour coat of paint. That allows me to try and preserve the maximum amount of sharp detail so that when the final colour coat is applied, the model doesn’t look like it was dipped in a latex house paint. I am always trying to figure out which paints at my disposal work best, and am constantly researching and trying out all the different “consumer grade” paints … all that is available to me in my rural area. I don’t have the luxury of getting he most recent hobby grade paints here. Paint in Canada is EXTREMELY expensive, so I must deal with that which is easily available to me. Thanks to insane government regulations, paint formulas change almost every year and I have to adapt to what ever these idiots come up with. That means a lot of unexpected results come about whenever I use them. But I digress.
Here is what the docking bay looked like as I was testing the lighting. Although not included in the kit, I cheated a bit and made those “pits” seen in the film that had projected crew doing some sort of activity to be seen on this model. I did that by simply masking off and isolating those areas on the walls of the docking bay and dusted them down with chalk and wash weathering to make them look as they were portrayed in the film.
Below…. The docking bay as seen in the film from the back wall looking out into space, the opposite of the shot above. This was a much larger miniature of that area likely about 4 feet wide or so judging by the kitbashing details seen, which was shot as a still photo using a large format camera. The “activity” you see in the top, bottom an side areas was done by projecting separately filmed elements of actors in a small set onto a photographic main docking bay element using an animation stand. It is actually a still photograph of a miniature with projected separate elements shot much the way animated cartoons are done and using separate passes (exposures). But again I digress…
I did my best to try and replicate those “pit” areas using shadow, paint and light. I think it worked out fairly well, since that docking bay measures a mere 1-3/4” wide on the finished model I am showing in this article.
Here is the finished “unfinished” section of the station, relegated to the rear of the finished model. This ring was the most fun part to build!
Here is the first “candid” shot of the finally completed model on my work table.…
Please enjoy the following pictures of the finished model, as shot using “VFX type photography”, the way the original may have been shot.
And here is the way the model looks “in person” if you were to view it in a “normal room” with standard flat lighting. Yes, the “2001 a space odyssey” logo on the stand is lit up too. ;-)


