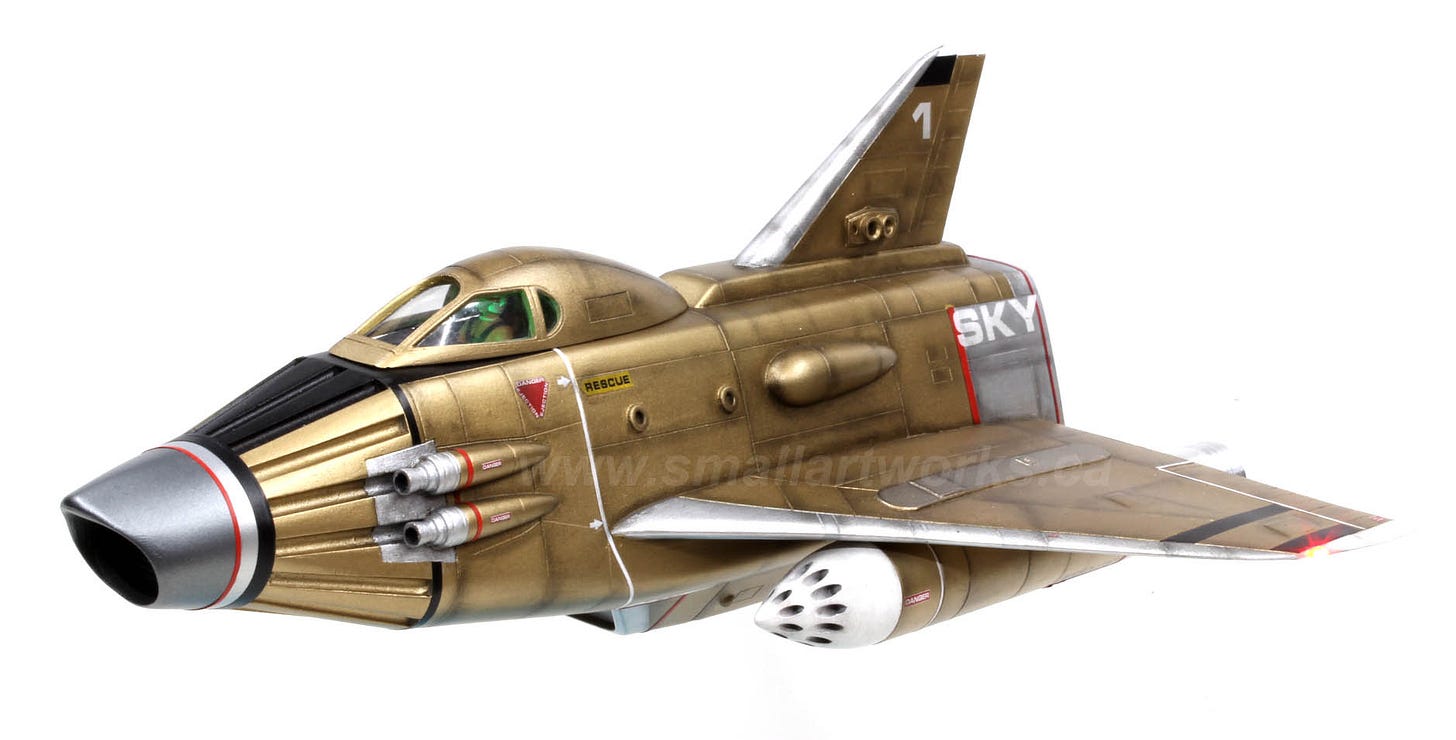
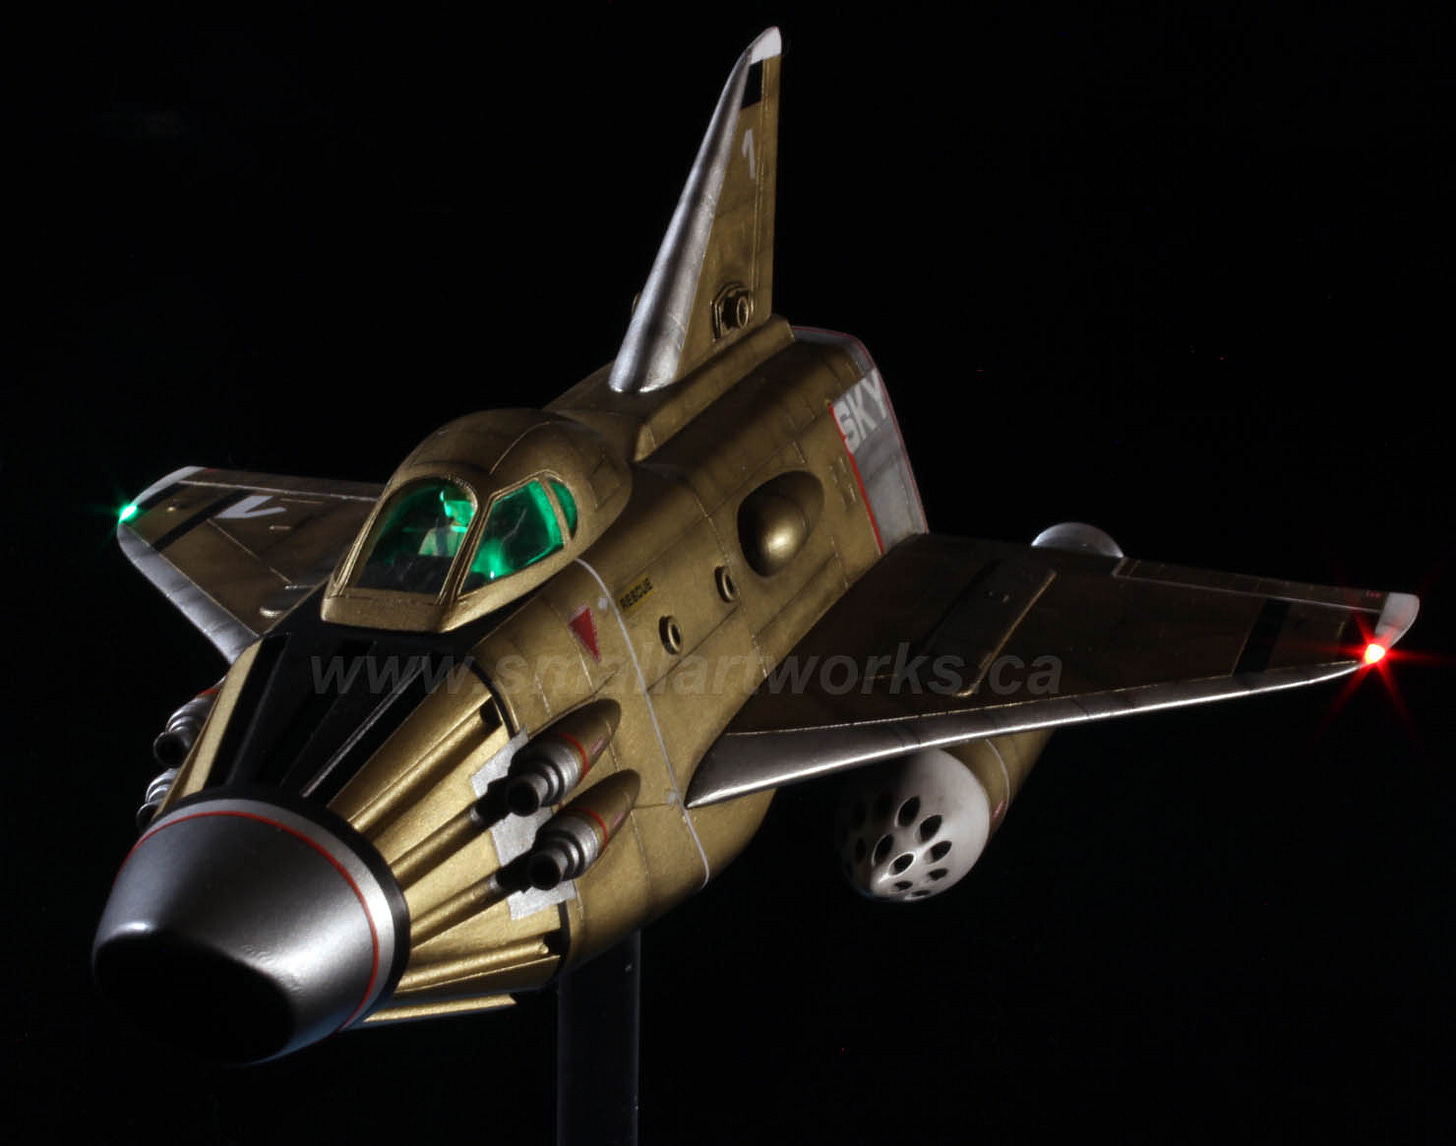
A year ago I posted an almost identical project. Although the subject is the same, this model is larger and was to be illuminated. My customer wanted to have the engines, cockpit, and navigation lights work, so some surgery and rebuilding were needed to make that all happen.
This was also made from a resin kit, but cast from a 3-D printed model (the “scan lines” were visible in some areas, and flat facets that simulate curves were apparent, which are flaws in most 3-D printing.)
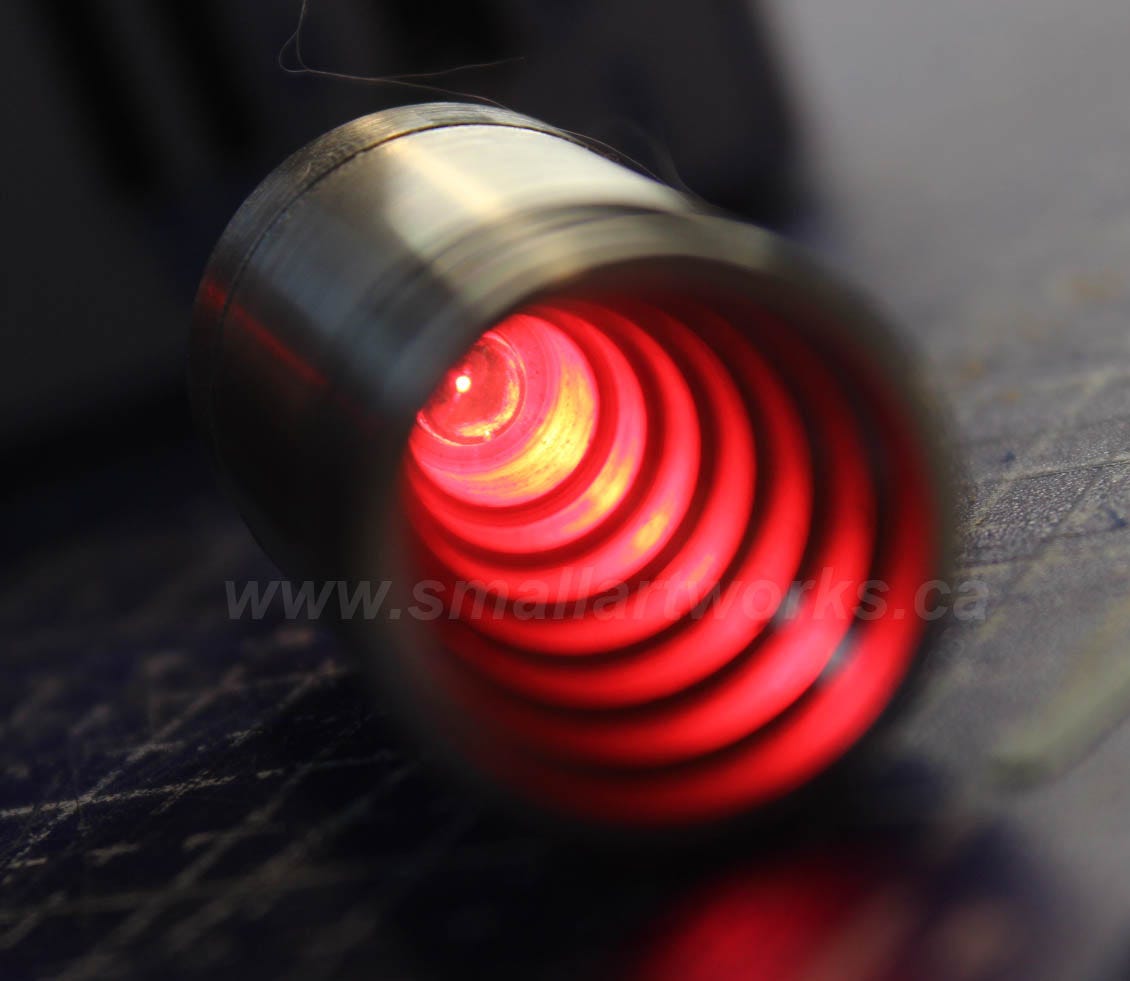
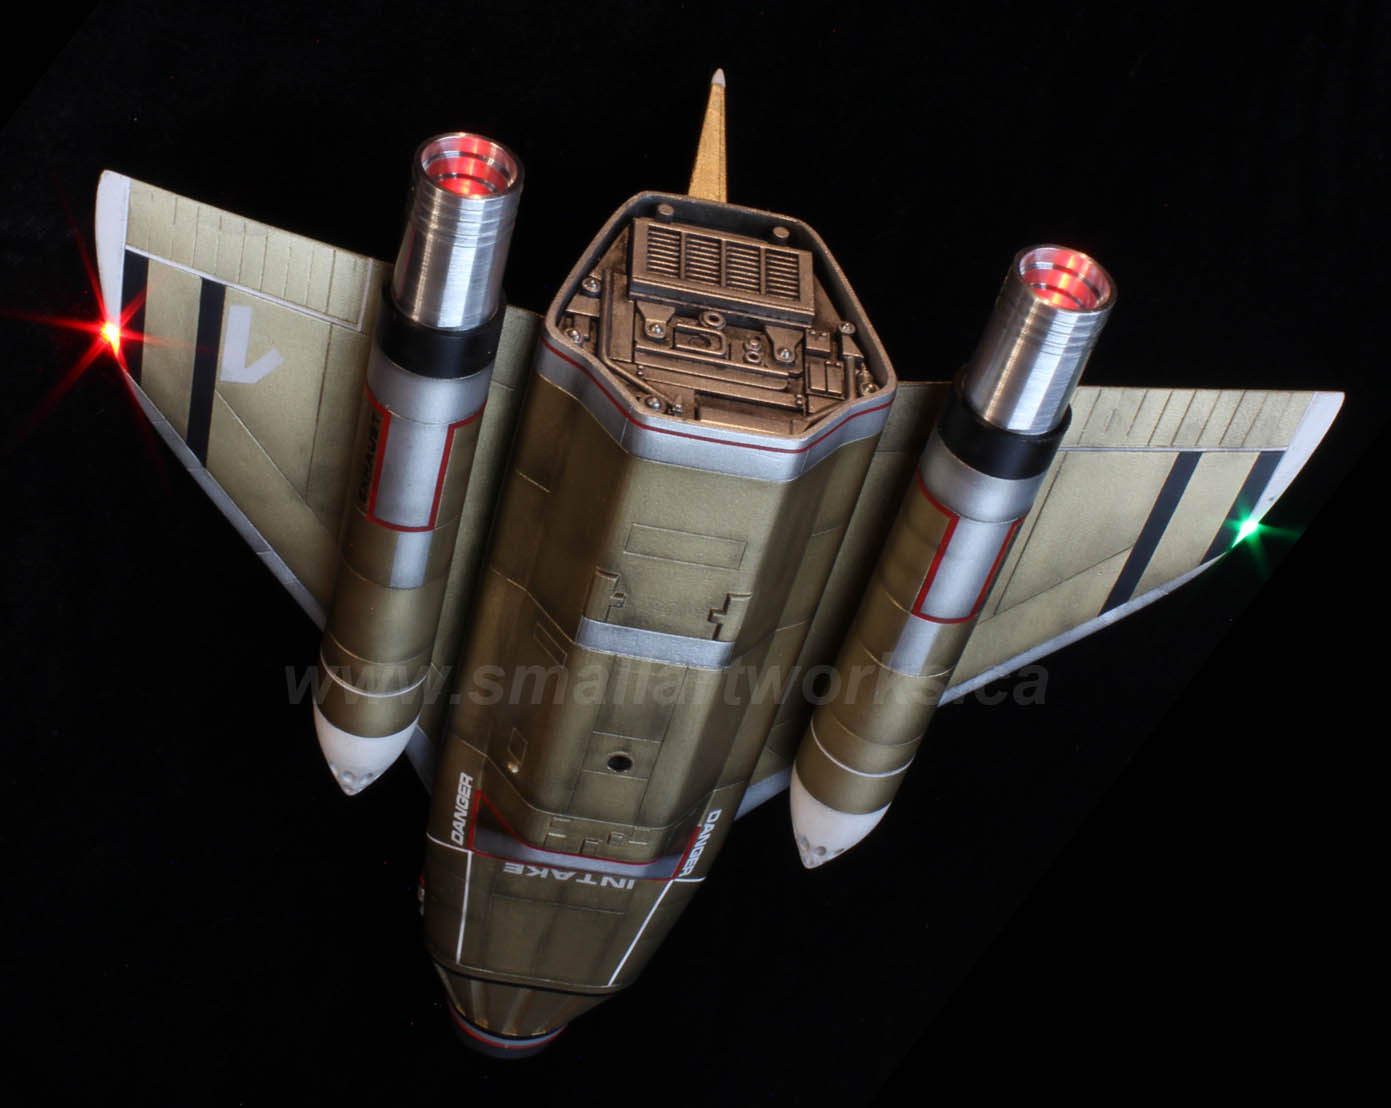
The first thing I did was to make all new engine pods. The resin ones supplied were warped and solid, and I needed hollow ones to carry the wiring. So I made new cylinders from Plastruct tubing and machined some new engine exhausts from stock aluminum on my lathe. A step drill was handy and ideal for drilling out the insides of the engine exhausts, as it allowed for an interesting interior that also aided in reflecting the radiating LED light source to look better than just a single point in the centre.
The source lights were made using the 5mm “inverted cone” type LED that throws more light from the sides so it would bounce more off the aluminum and keep the centre “hot spot” to a minimum, appearing to radiate light more naturally.
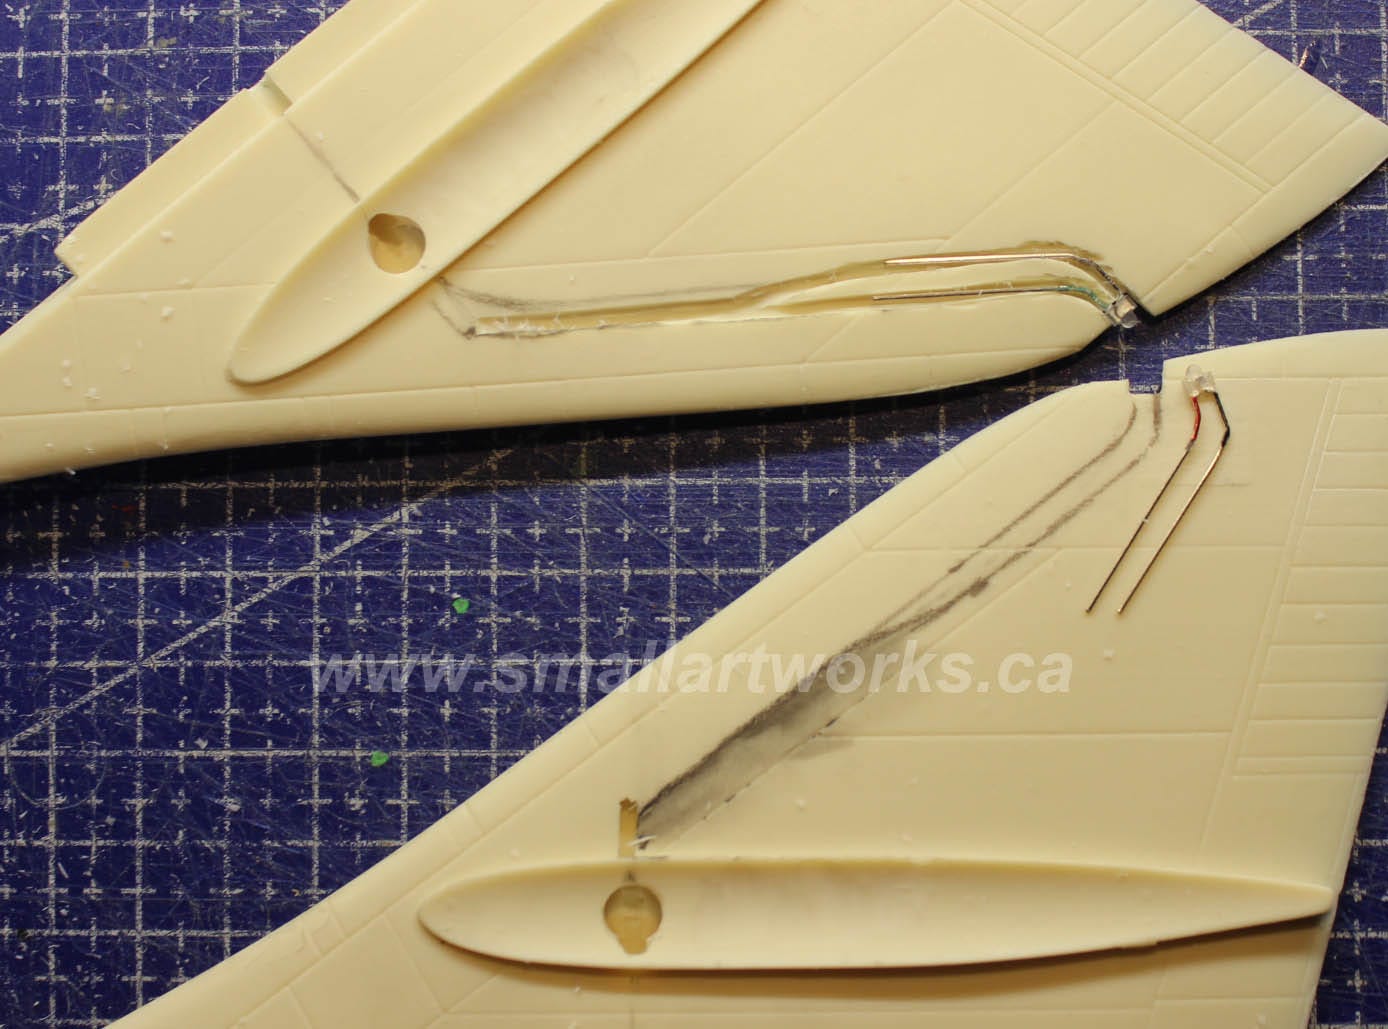
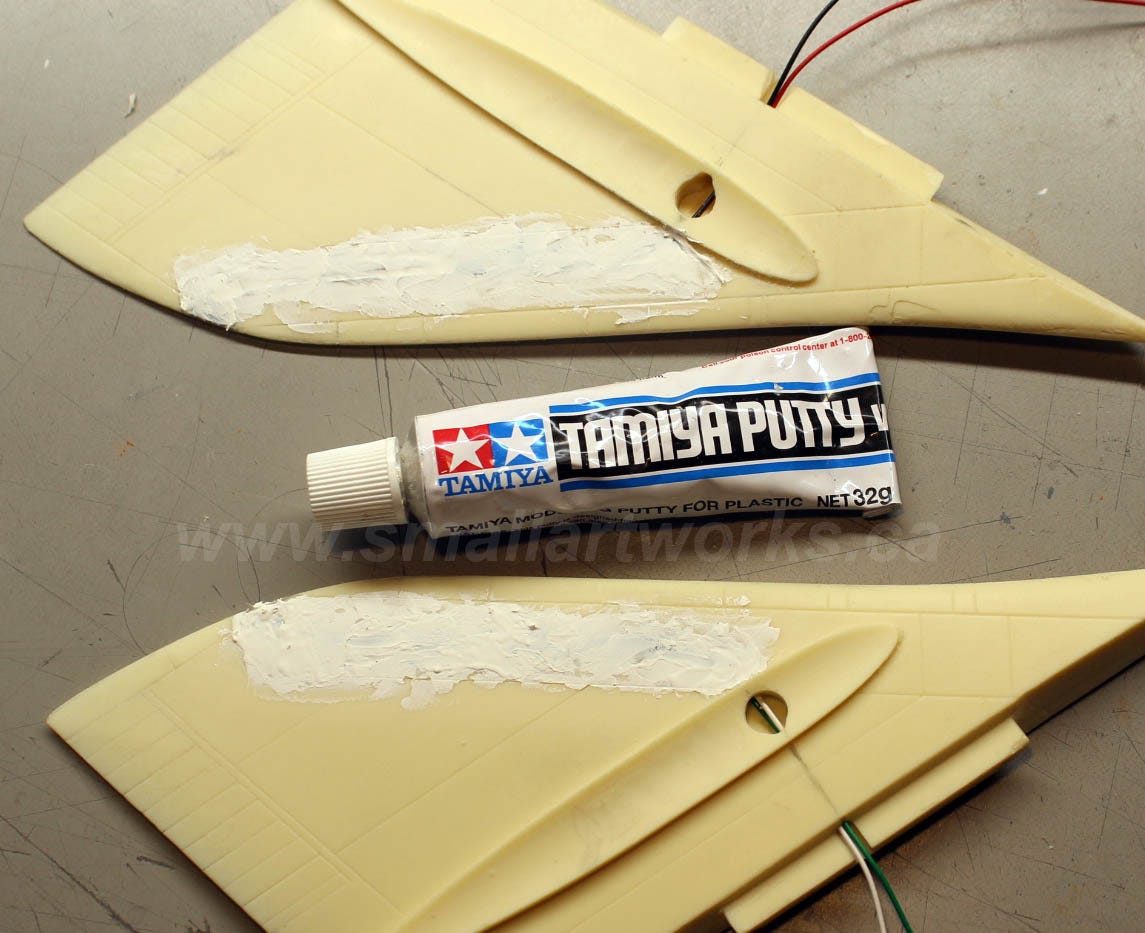
Next up, the wings needed to have the port and starboard nav lights installed. This was tricky as the wing tip is so very thin, but I had recently acquired some really small but super bright 1mm LEDs that I sanded down to the smallest thickness possible. A chunk was cut out of the wing tip to accommodate the LED and channels were cut into the wings to admit the LED leads and wiring, then the channels were puttied over after the LEDs were tested to make sure they worked. Once tested, the gaps around the LED wingtip lights were filled in with thick Cyanoacrylate glue, shot with accelerator, and sanded to shape.
A green LED was installed in the cockpit dashboard because my client wanted to have a glow to simulate CRT screens and instrument lights that would reflect onto the pilot and interior.
The self-contained power supply was to be a battery box with a switch, glued to the rear bulkhead. This was a simple slide-friction fit. Whenever possible, I like to put batteries into the model itself instead of ugly wires to an external power supply coming out of it. Most people don’t want to have the lights on all the time anyway, and batteries will power the lights for a number of hours. Eliminating the external wires also allow for a less obtrusive stand mount that helps to better give the illusion of flying for a model such as this.
The last major thing that had to be done was to make a set of clear “glass” windows for the cockpit canopy. The castings did come with some semi-clear resin window inserts but they were poorly cast and bubble ridden, therefore unusable. Thus I had to make new ones from scratch.
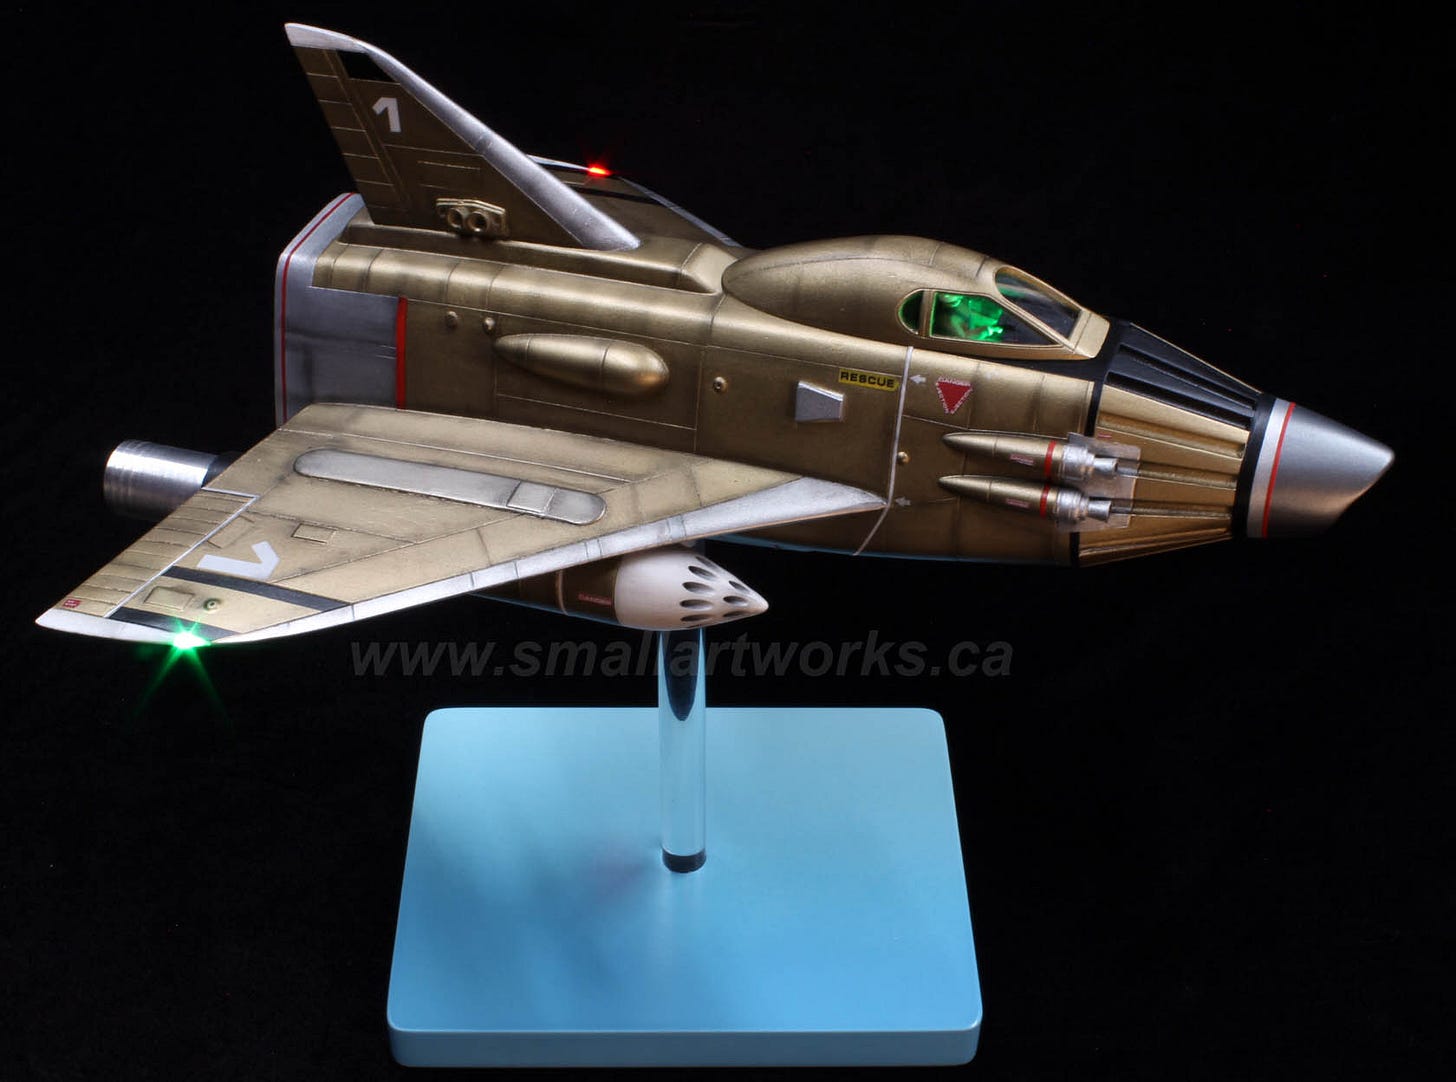
Fortunately, I had just recently bought a new, very handy and affordable vacuum former that I was made aware of by an Adam Savage video on YouTube. I had vacuum formed before but this new machine was perfect and very practical for making small parts like this. I made some bucks from MDF to match the curvature of the side windows and formed some clear plastic salvaged from some old packaging. The formed plastic was then trimmed to fit behind the window frames and glued in place.
Below are some pictures of the finished model, showing off the lighting. The stand was made from a clear acrylic rod and a painted MDF base.
Enjoy!


