"Angel Interceptor" Studio Scale Build
A massive pair of models built for a pair of friends
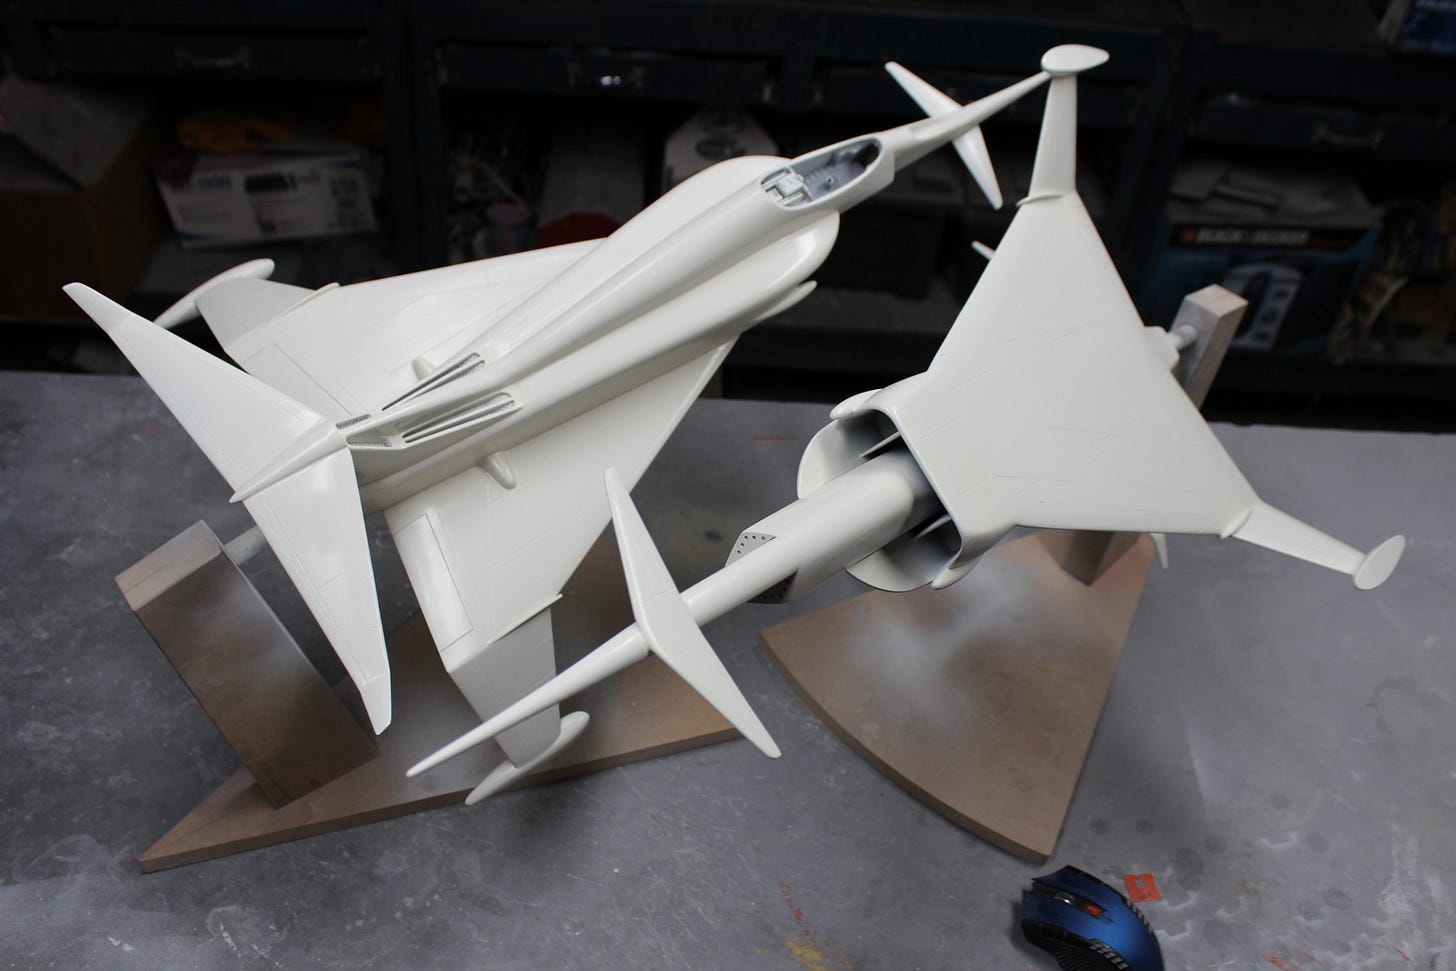
I built TWO of these large models for two friends of mine who live in Montreal and Toronto. One of these friends alerted us to the existence of these kits available from a vendor in England. When built, these models measure nearly 30 inches long! The two decided to have me build them for them, as doing both at the same time would save time and money.
The kit’s quality is not up to the standards of contest material or the kind of thing most hobbyists are accustomed to, but they are replicas of studio props and the detail reflects that relative quality. In other words, they are impressive at arm’s length but don’t get too close. Nevertheless, they are said to be the best kits of that subject available at that time.
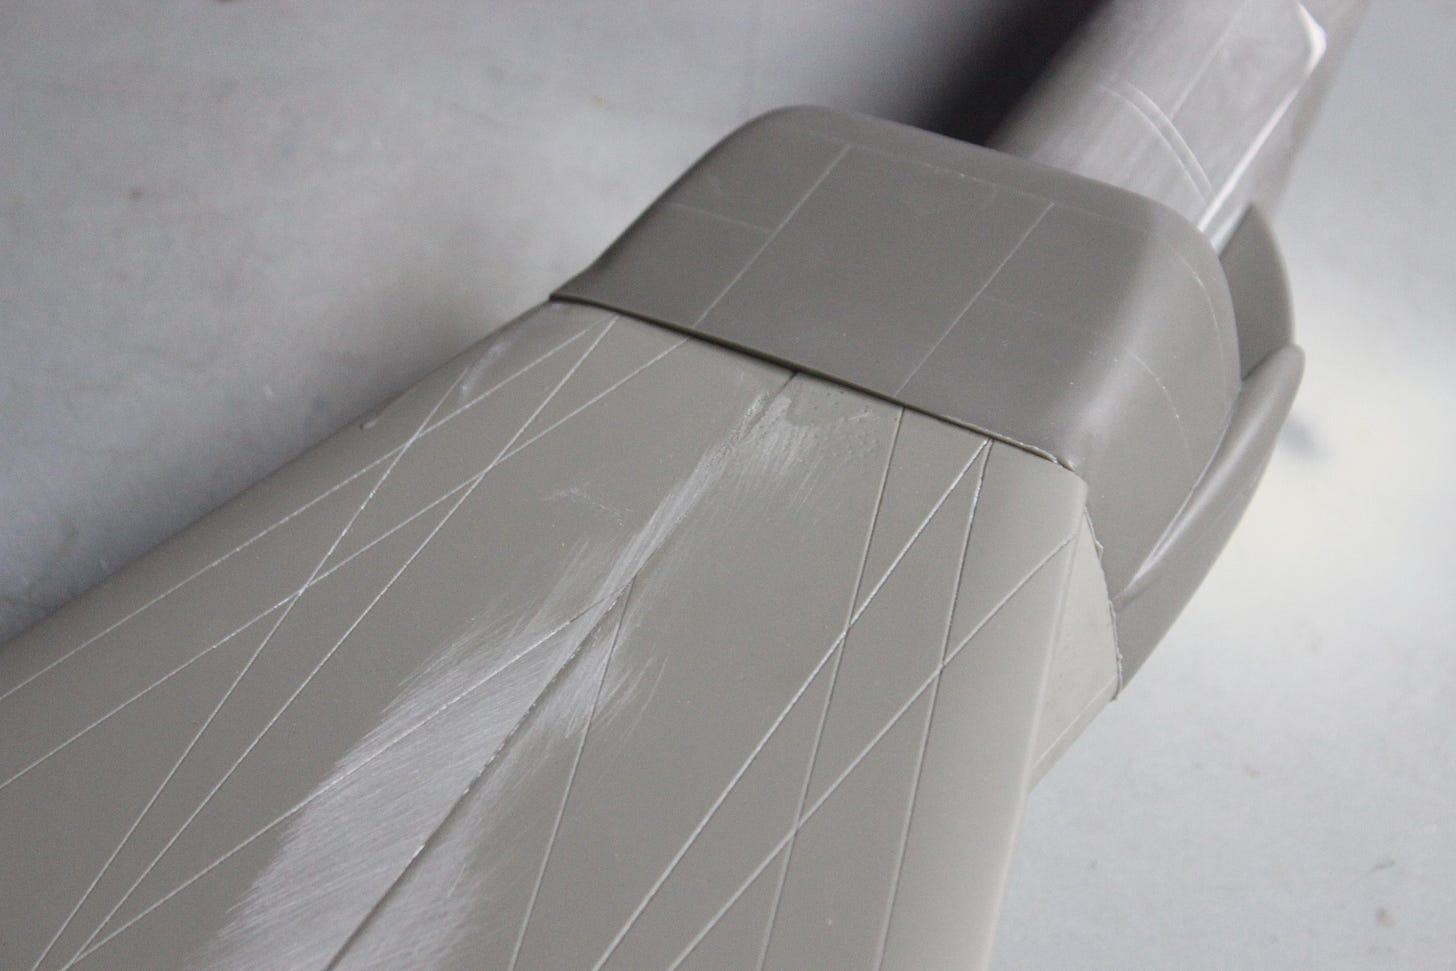
Time was spent evaluating the parts, cleaning them up as best I could and test fitting them together. It became immediately obvious that there was some serious mismatch in the parts fit that needed to be corrected. Needless to say, some modifications and a LOT of putty was used. For example, have a look here:
The fuselage (light gray) behind the cockpit area (dark gray) was completely mismatched. The sides of the fuselage were far too narrow so I had to saw it in half down the middle of the top section and wedge it out to meet the intake cheeks ahead of it. As you can see also, the rounded action where it was cut was far too tall, so that was sanded down as well so it would blend in with the front section. Although not as bad, the bottom had to be blended in as well.
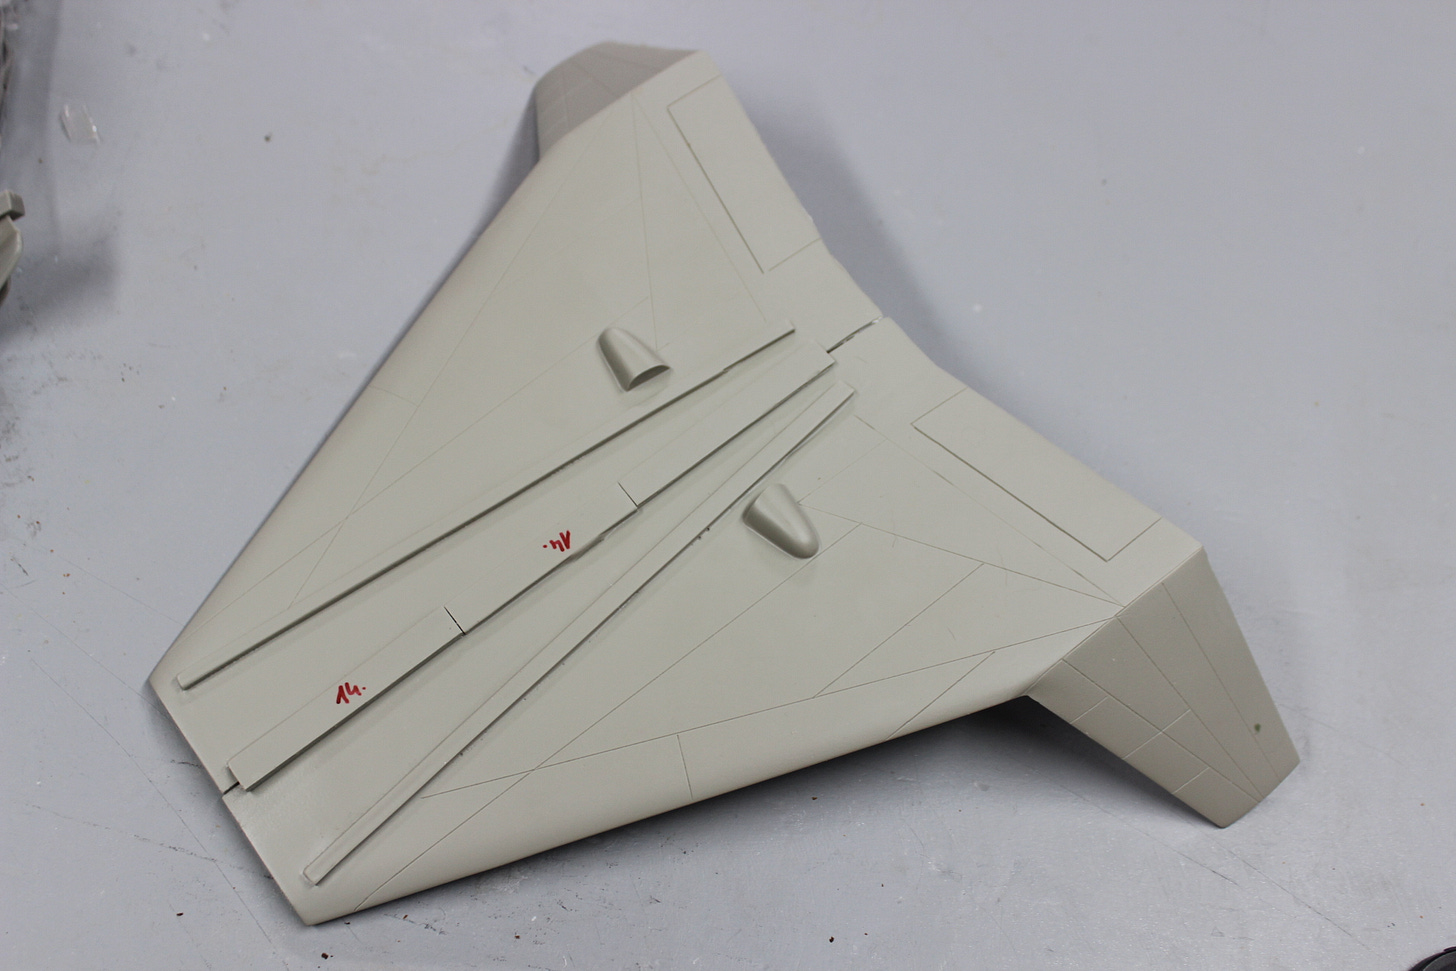
The wings came in two pieces that had to be glued together…
I also put tubes in the tailpipes so that the model could be mounted on the stand.
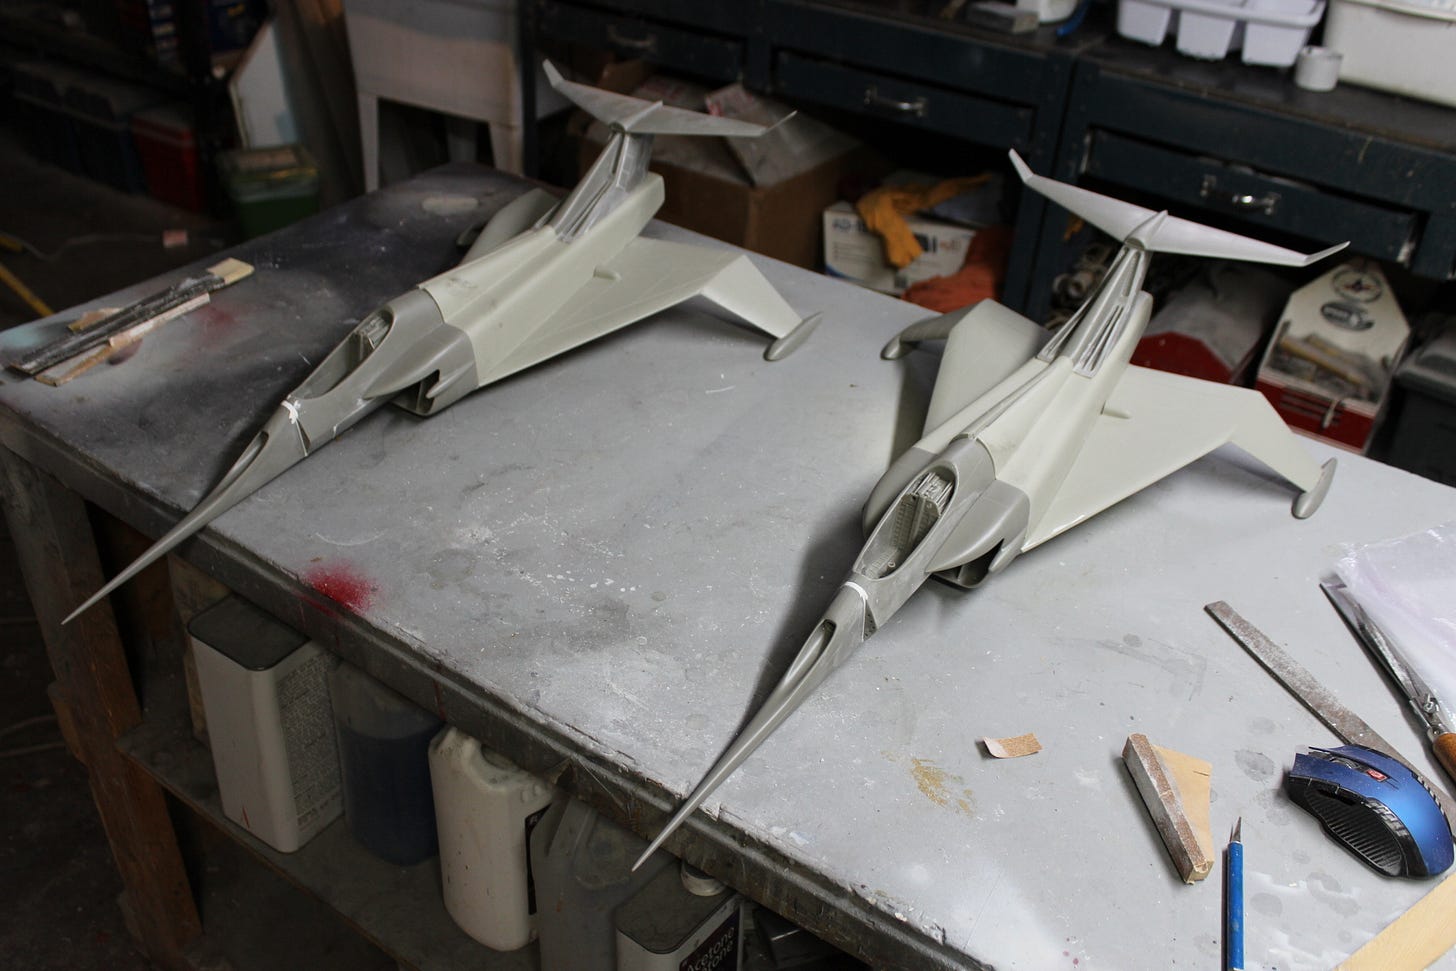
The models starting to take shape, with some parts shown here just temporarily mounted:
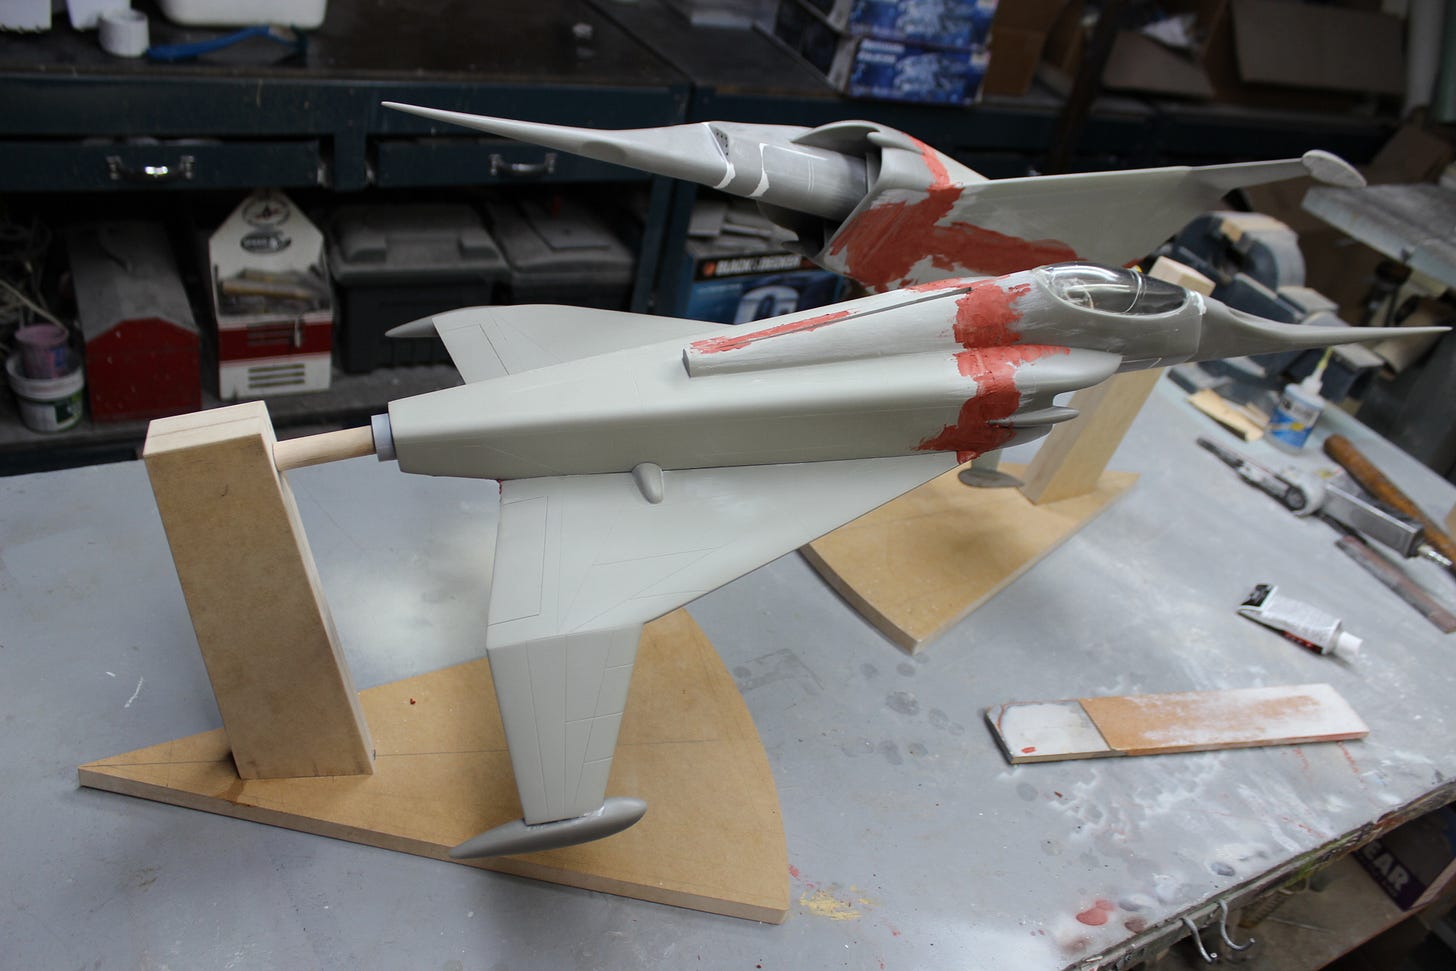
I made stands from MDF and hardwood dowelling. They had to be strong enough to support the weight of the models which weighed several pounds. Mounted by the tail that way they could be positioned at any roll angle desired.
Now lots of putty slathered on….
And sanded down to blend in…
The models were sprayed with primer to find flaws, and when found, puttied again…
The tailplanes were attached with screws and then puttied over to increase the strength between parts. When all looked nice and smooth, the models were given a coat of automotive white paint (actually off white… with a slightly creamy tint)
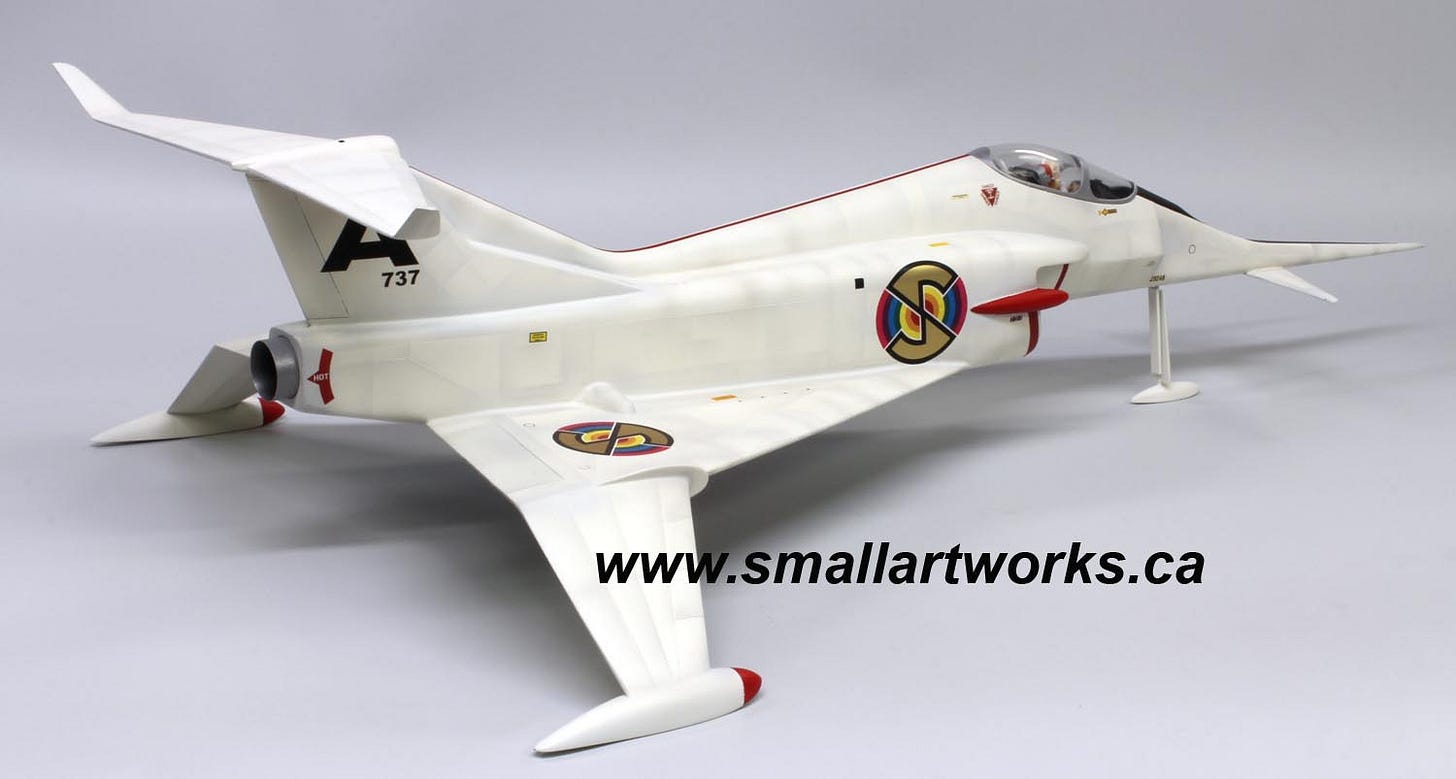
For the finishing touches, the model was lightly weathered with light gray (the planes should look “new” but leaving them unweathered tends to make them look like toys), final details painted and then decals applied.
The models can be placed on their stands “in-flight”…
Or the nose gear can be plugged in to sit on the surface.
Anyway, my buddies were happy with the finished models and everyone lived happily ever after! ;-)
Hope you enjoyed seeing how these were built.
Please comment, ask questions if you like and subscribe!
Jim.


