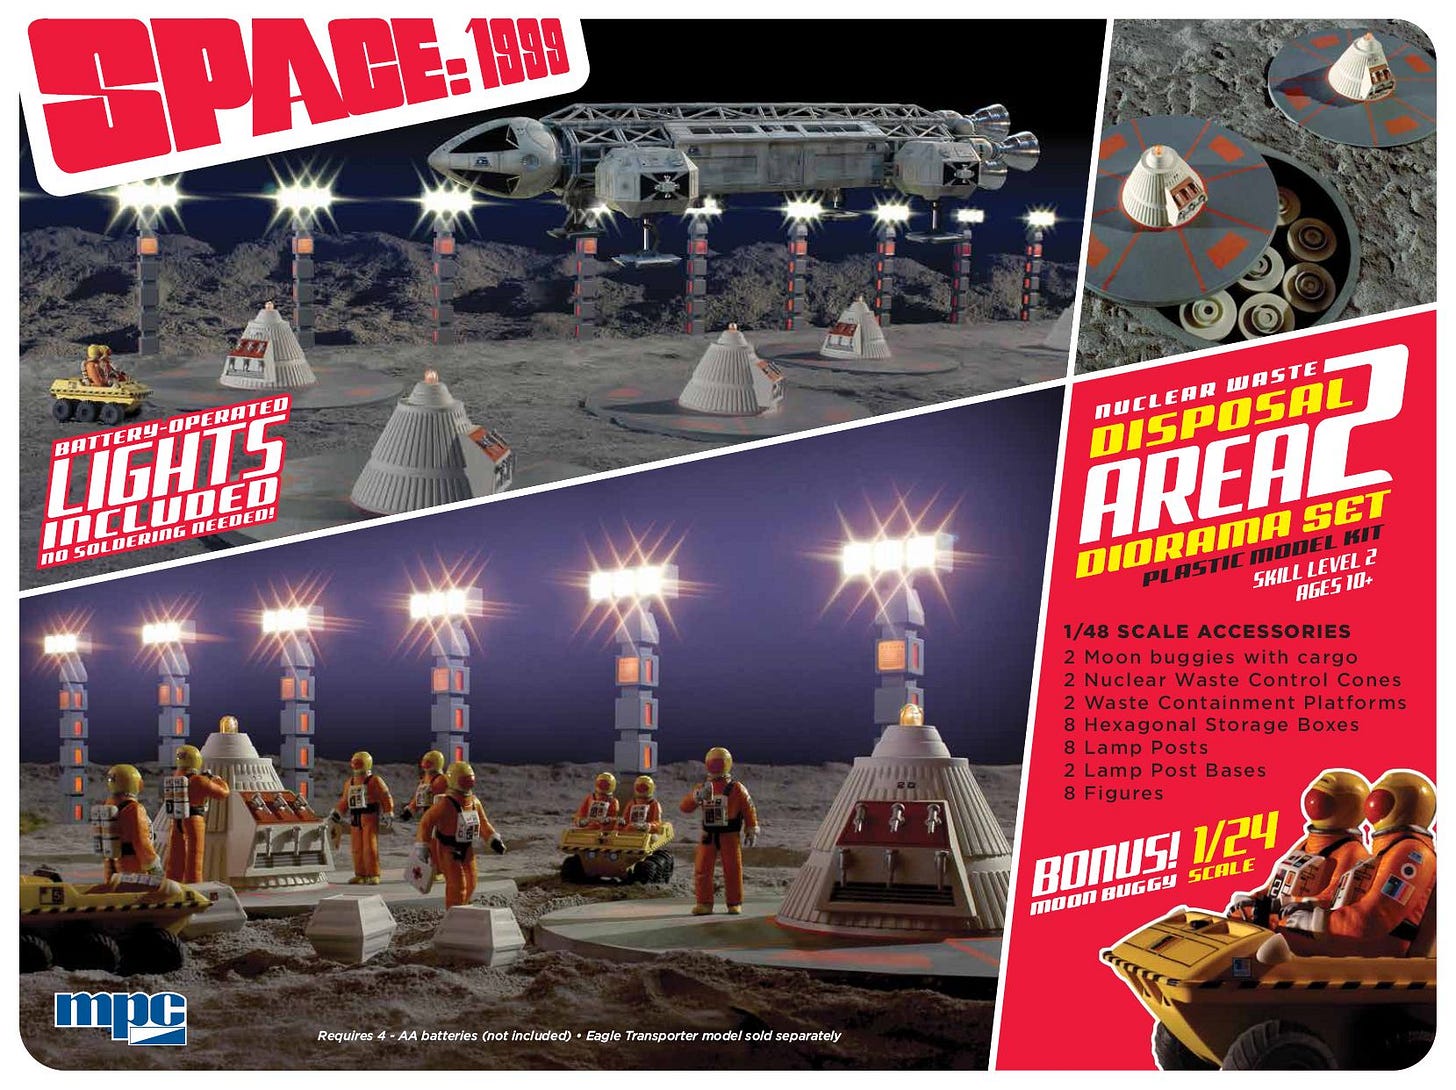
Part of the reason the Moon Buggy/Amphicat kit was made is due to the fact that Jamie Hood at Round 2 LLC wanted to make a diorama set to go along with the release of the 1/48th scale Cargo Eagle kit. The buggies would be present in the diorama as seen in the Space:199 pilot episode “Breakaway”. So let’s have a look at the kit that got it all going.
Jamie wanted to do the light stands and nuclear waste cone-shaped pods that make up the main parts of the diorama. One of the first things that became apparent as Jamie and I studied the various photos of the full-sized sets the actors walked around on and the VFX miniature shots is that the scales didn’t match up, which is a constant problem with any Sci-Fi subject. For example, if we made them the correct size relative to the Eagle, they look too big relative to the figures as seen in shots involving the actors on the full-sized set. This was also a problem with the Moon Buggy miniatures. The only time we see the buggy relative to the Eagle is in shots of the 44” model on the launch pad with a miniature buggy nearby. With the 44” Eagle being 1/24th scale, the buggy seen (I had obtained a casting of the actual prop many years previous) measures out to 1/16th scale, much larger than it should be! So that makes an even greater case against those who argue that the Eagle is a smaller scale at over a hundred feet long if it were “real”.
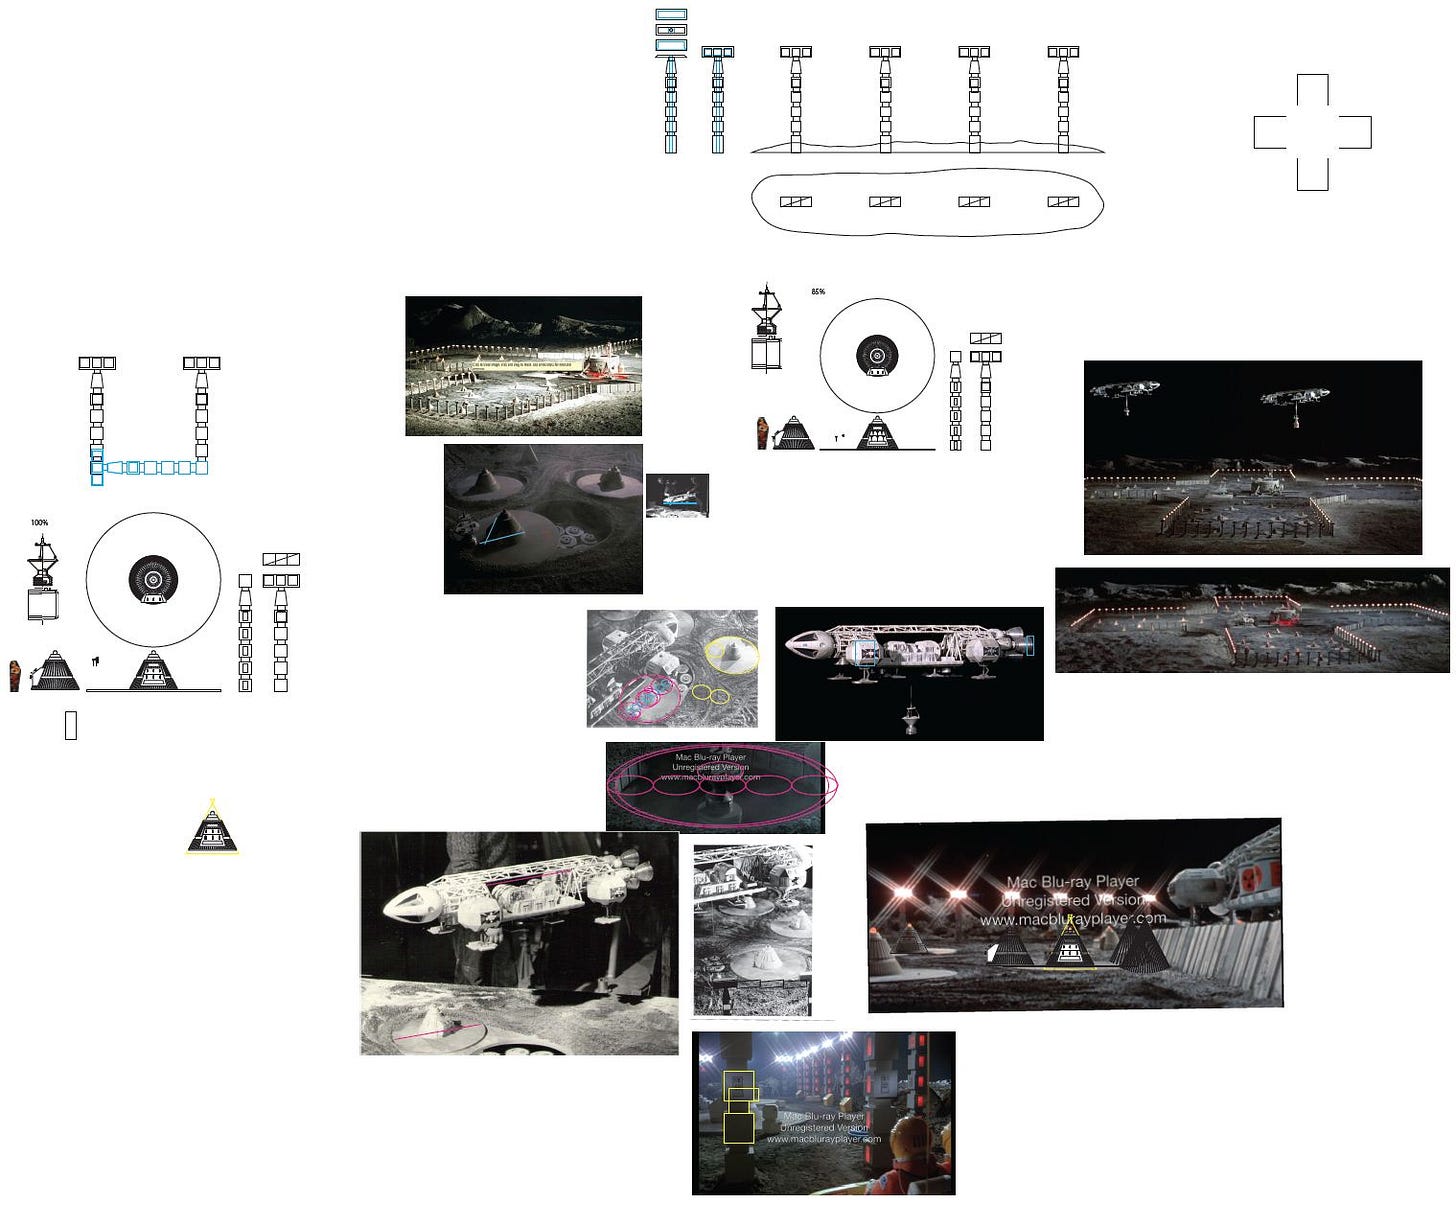
So what to do? Can’t have it both ways. Well, since the purpose of the diorama is to accompany the 22” Eagle, it was decided to ignore the scale of the full sized props and instead go for the sizes shown in the miniature shots, at least as it pertains to the cones and light towers. Since the moon buggy was actually a real thing, we’d stick to the hard math on that one. Jamie worked relative sizes out using geometry with available screen captures and photographs of the original miniatures in Adobe Illustrator on a kind of “worktable” he created. Here is just a fraction of that work shown below, Click on the picture to zoom in a little more:
Here is a working drawing Jamie also created in Illustrator, used to figure out the parts breakdown of the 1/24th scale buggy. The 1/48th scale buggies would be similarly created but simplified for the size difference.
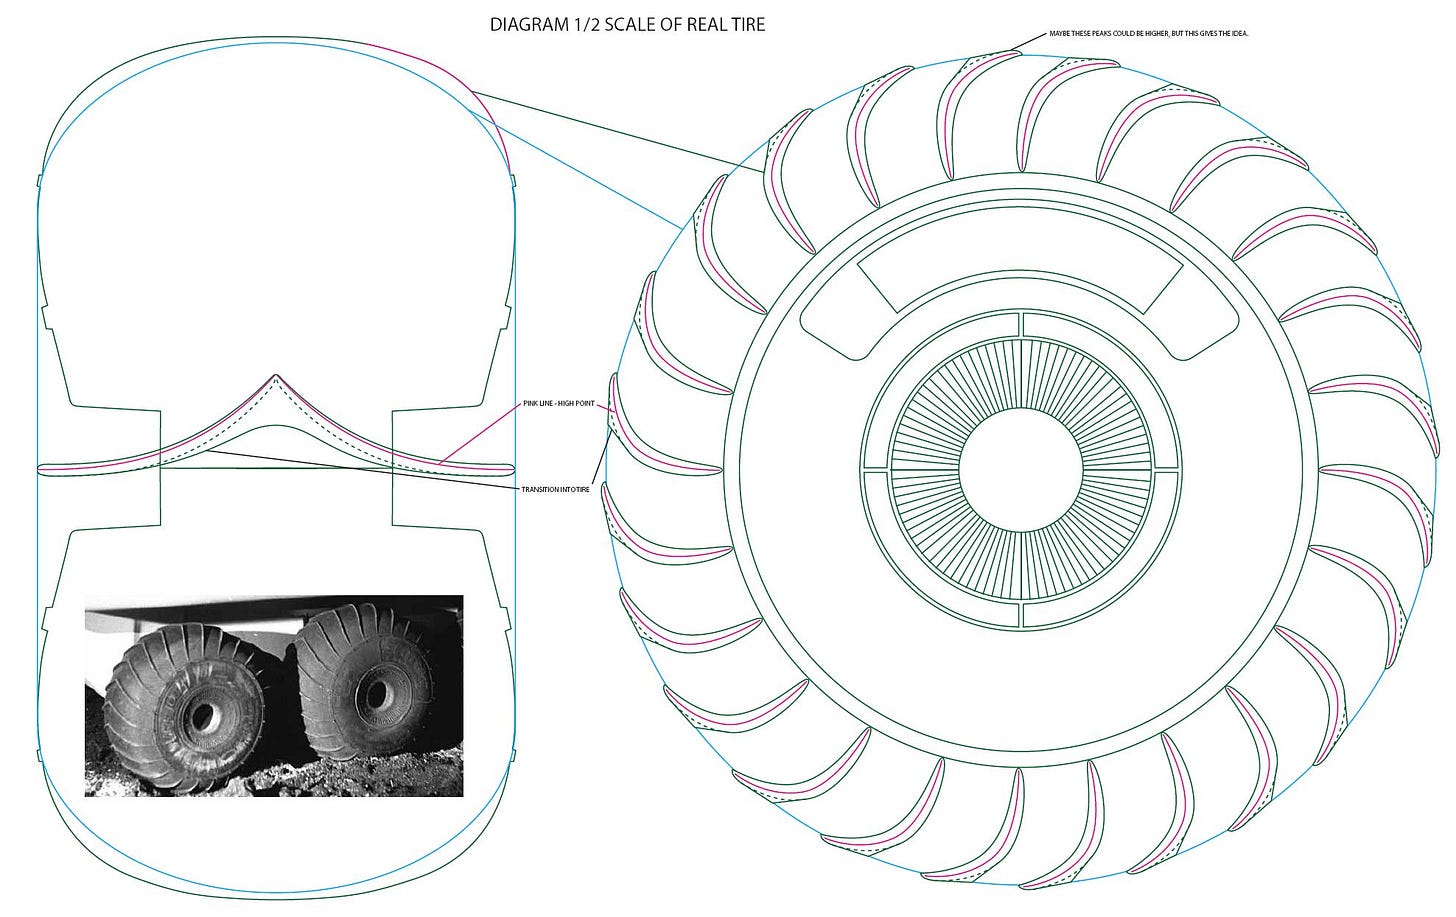
Here is some of the work that went into creating the accurate wheels for the buggies, all very carefully thought through:
And next, we have a preliminary plan for the light towers. These would be modified as details were further worked out.
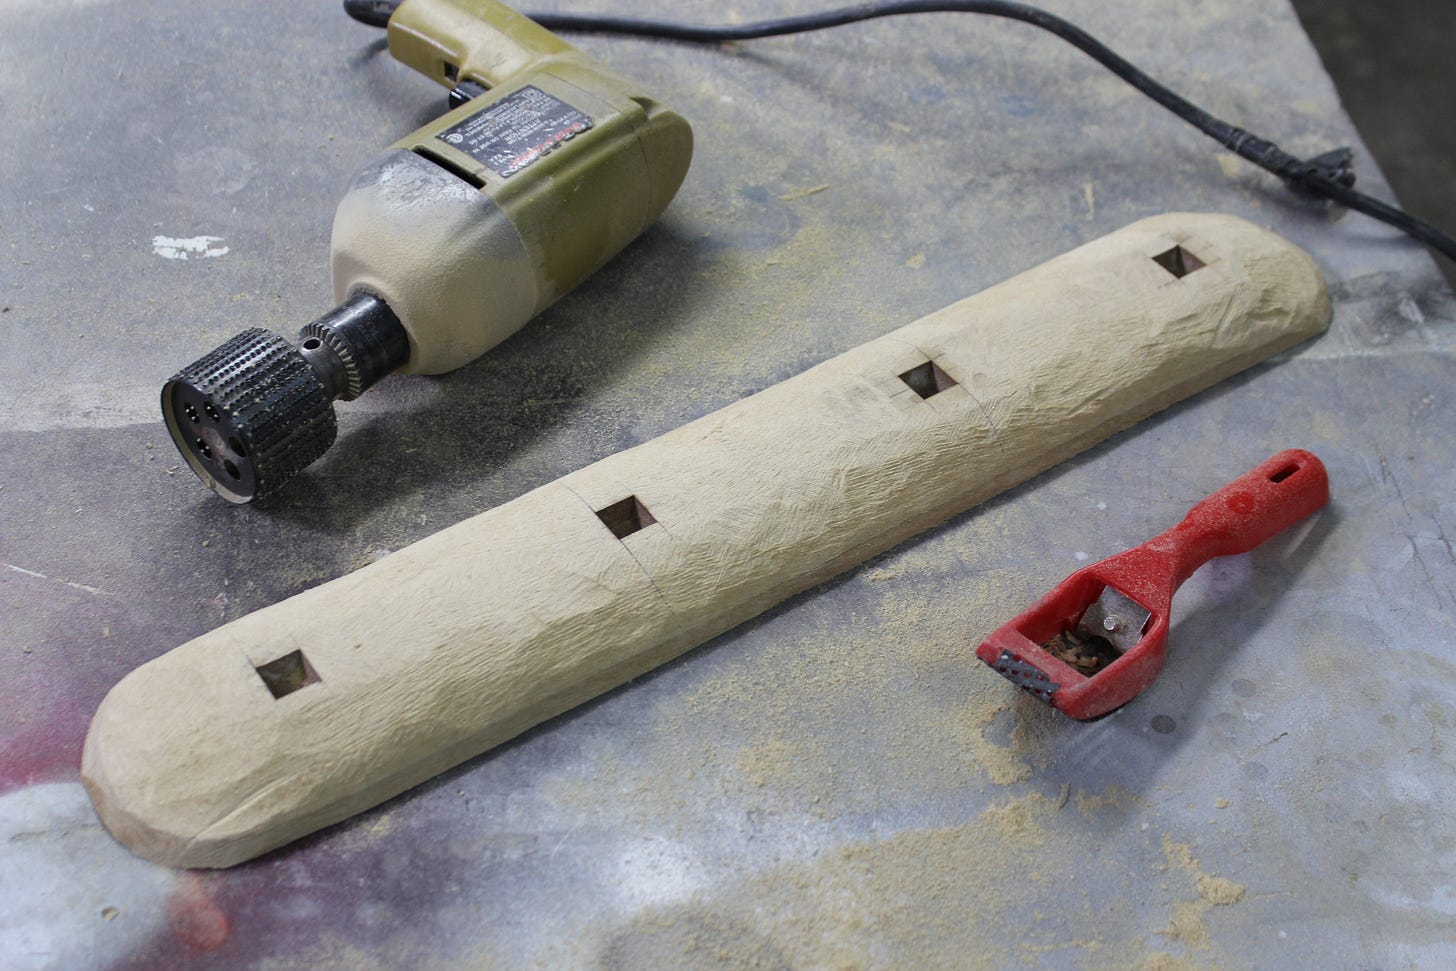
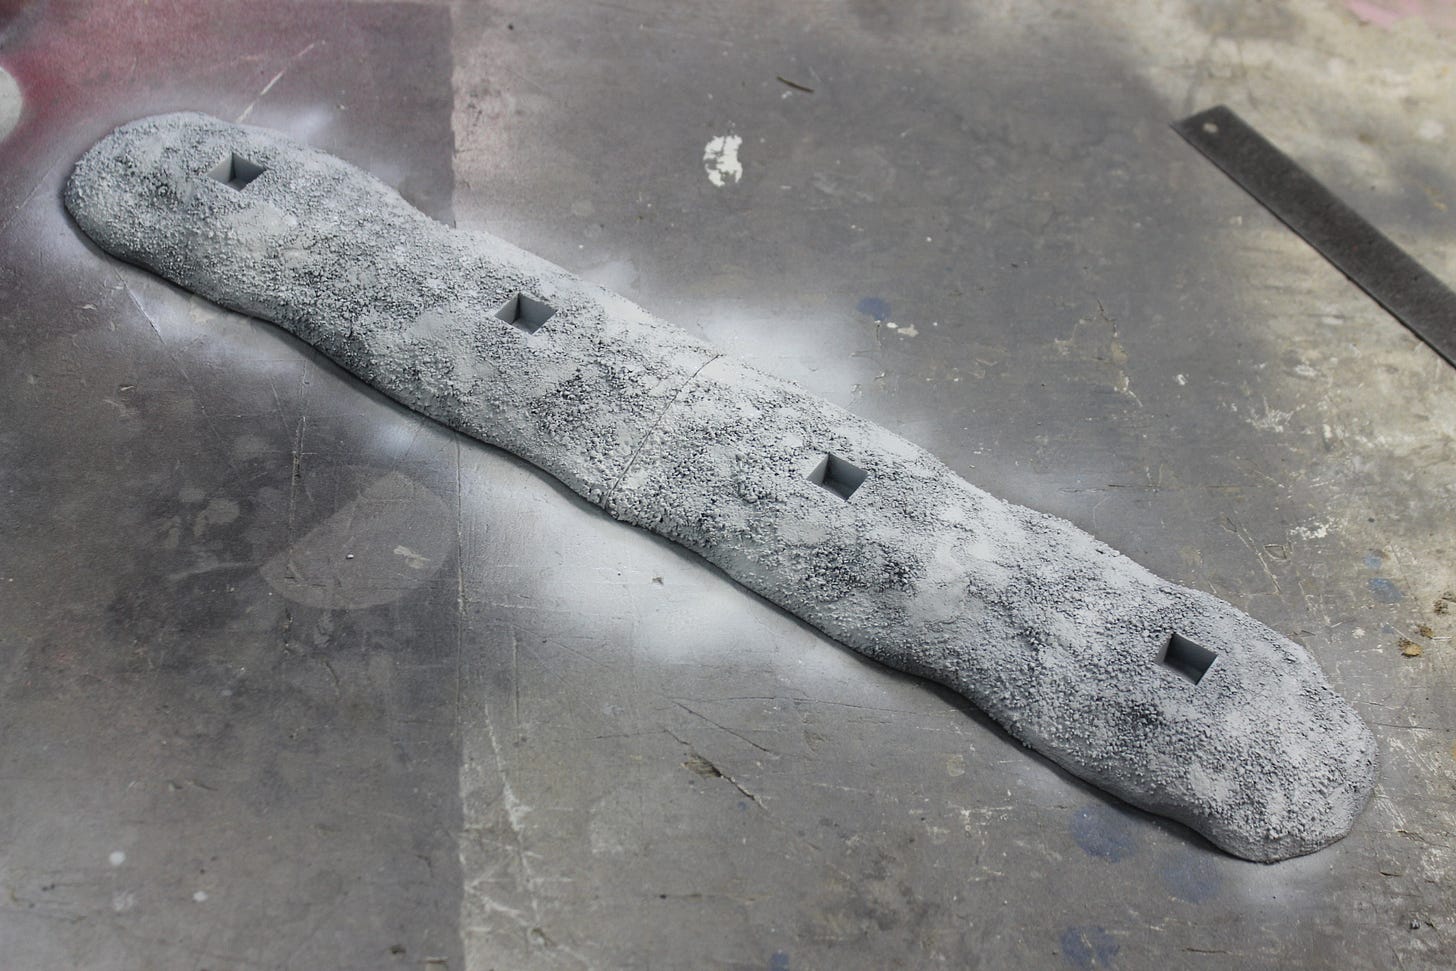
I also had a hand in creating some parts for the diorama set, most notably the pattern for the vacuformed base. We needed a base for the light stands to plug into that could also hide the battery pack for the LED lights that would be incorporated into the stands. After working out the dimensions, I sandwiched several pieces of MDF together and carved them down using rasps and similar tools.
When the rough shape was done, a texture simulating moon dust and rock had to be created. I used something I had plenty of… Cat litter! Since some detail would be “smoothed out” during the vac-forming process, I deliberately made the texture overly rough. I sprayed gray and white primer on them to give me a better idea of the look of the resulting texture.
Then the piece was sliced in half. These patterns would then be sent to the factory where they would mold them and make vac-form bucks to produce the finished plastic parts.
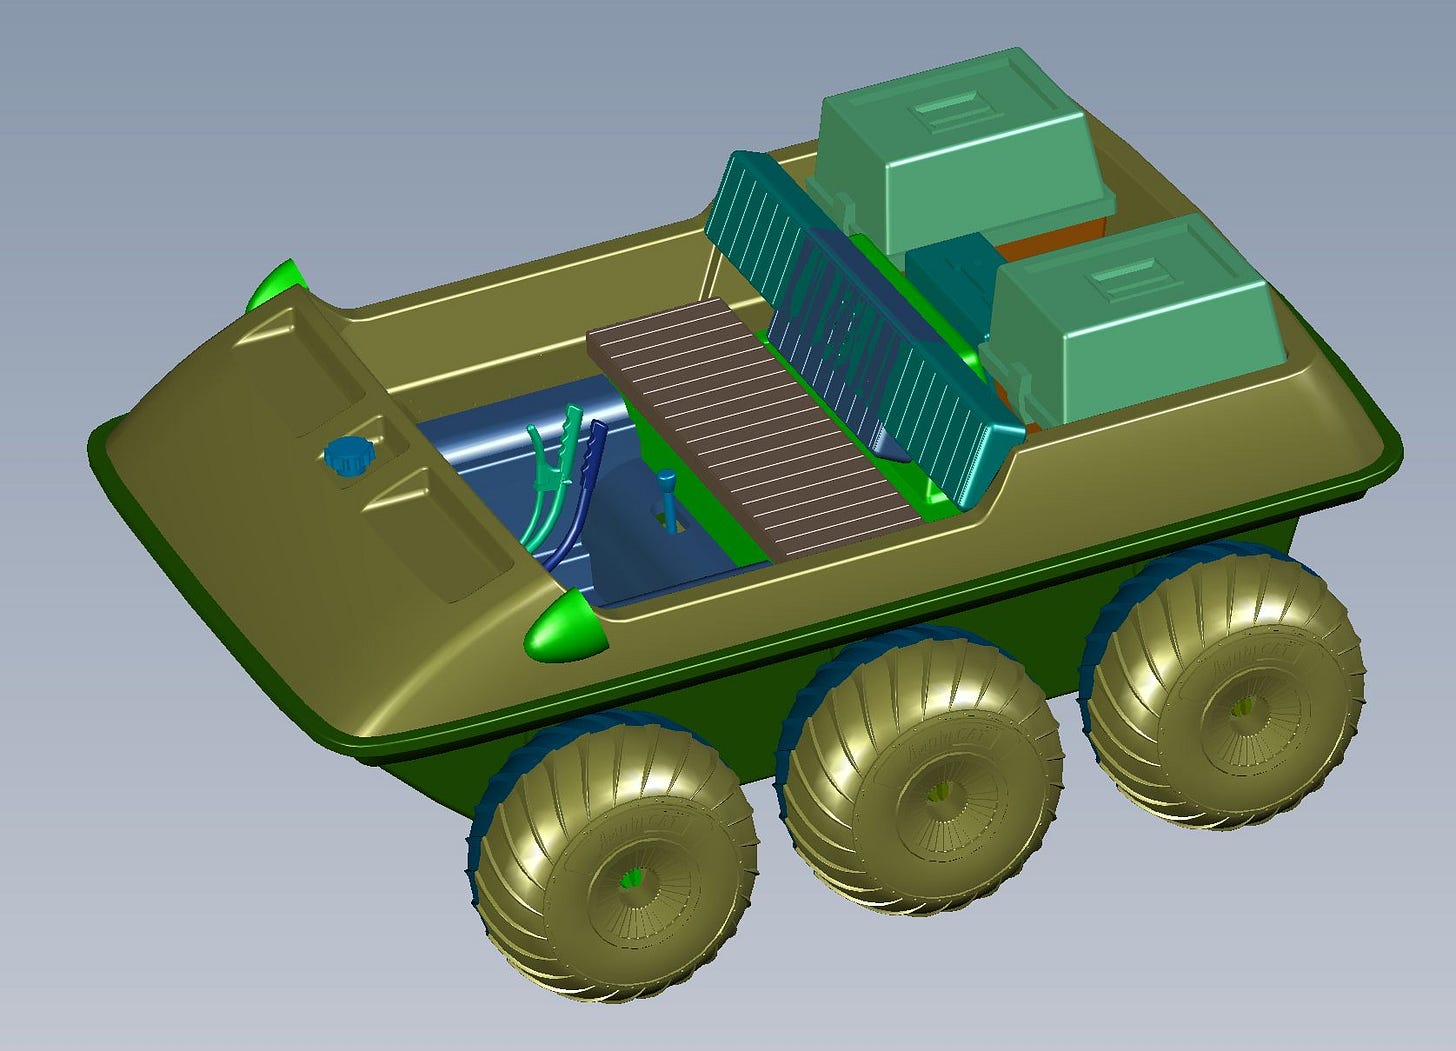
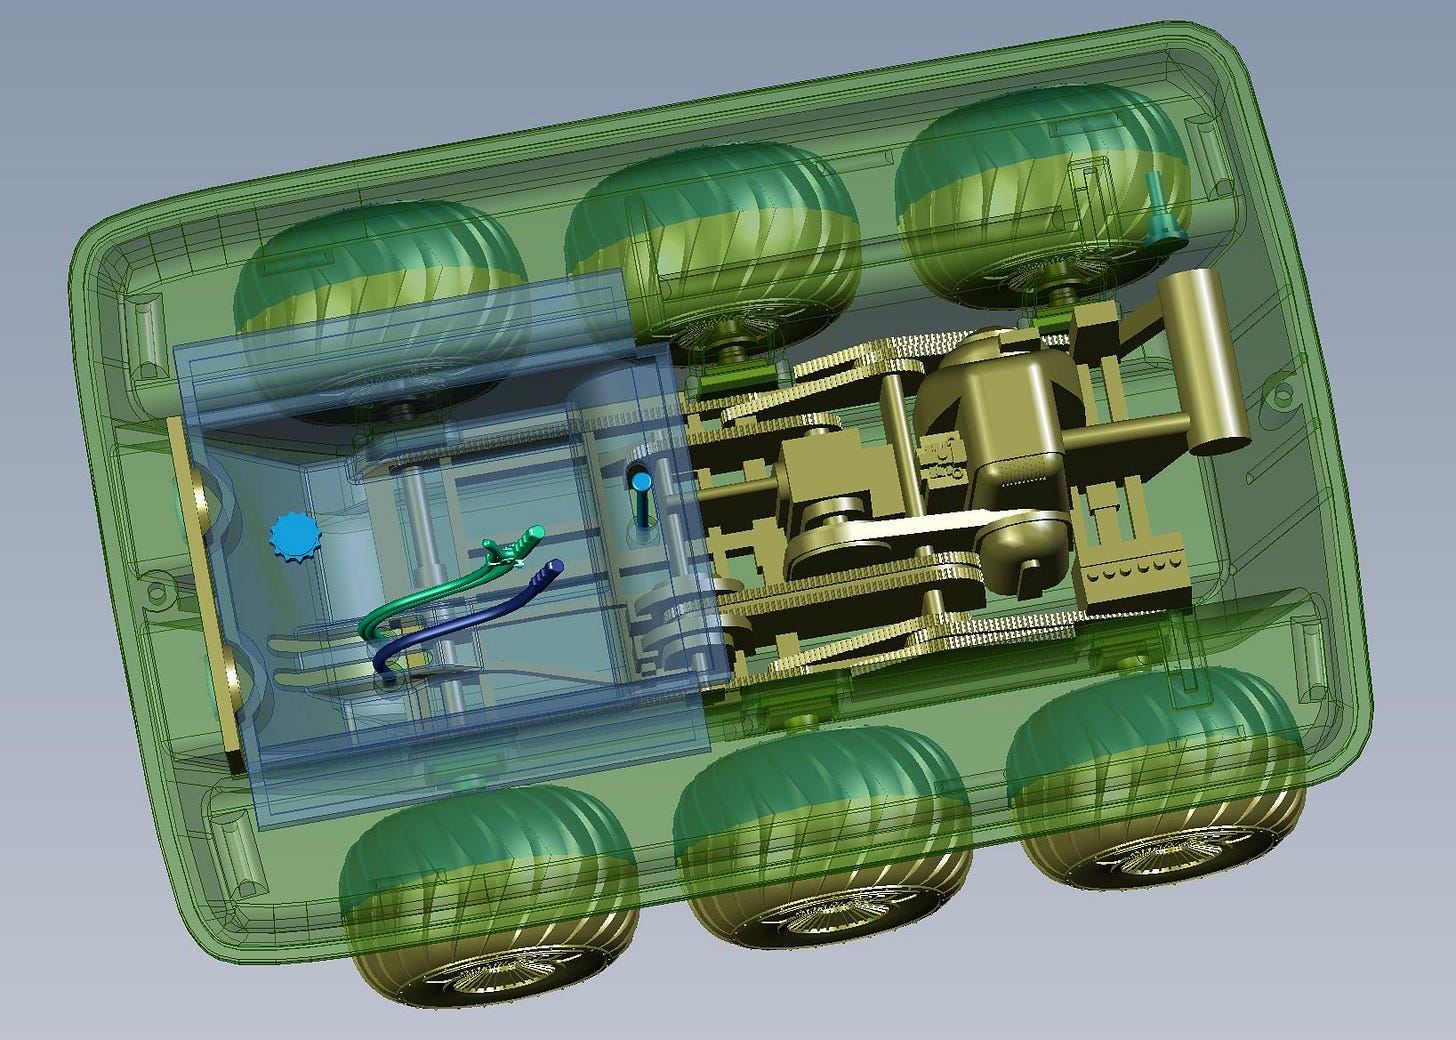
Meanwhile, the factory had taken Dan Prud’homme’s CAD model and produced a new CG model of the buggies and the rest of the diorama with the parts breakdown as listed by Jamie’s drawings. The CG model was viewable as an EASM file that could be manipulated virtually on our own computers. Here is what the 1/24th scale buggy looked like. Some parts were combined, such as the seat backs but all you need to do is select the one you want to remove and you can literally have it both ways.
With these EASM files, you can make parts removable, do cross sections and make parts transparent, all so you can see what the kit will be like in a virtual graphic form.
Once the CG models were approved, the go-ahead was given to produce a rapid prototype of all the parts for physical examination and to make sure that the kit was going to be done as planned. These prototypes are 3-D printed and are cruder than the finished styrene kit would be, but the quality is good enough to make sure everything looks and works right. Here are the prototype parts next to a quickly assembled 22” Eagle for scale reference.
And now here is the prototype for the 1/24th scale buggy, complete with astronauts:
That’s it for part 2. Stay tuned for the third and final part, to be published when I get ‘round to it!
“‘Round to it”, See what I did there? “Round 2” it?
OK, my sense of humour needs to be re-tooled even more than my models. Oh well. As Han said to Chewbacca, “Laugh it up, fuzzball!” ;-)









I absolutely love the nuclear area 2 nuclear disposal set. This is to me one of the most original kits in the SP99 realm! Here's a picture of my display set: https://flic.kr/p/2jfyVn8
Have a 2nd set but it remains sealed until further notice! :)
Such a great and interesting read, Jim. Thanks!