


Darth Vader's TIE Fighter
An old kit gets a second life with some new improvements.

The MPC kit of Darth Vader’s ship seen in the original Star Wars film was first released way back in 1978. When Round 2 decided to re-release the kit in 2022, they wisely saw fit to improve the kit somewhat by correcting some details and improving others.
The new kit has a brand new Darth Vader figure in the cockpit, a vast improvement over the original figure which tended to look as though he was sitting on a toilet! Also, the top and bottom hatches on the spherical body were replaced and updated with more accurate parts as were the outer wing “caps”. The ridiculous old “landing gear” receptacles were also eliminated as they were not canon to the original studio miniature.
Below, you can see the original wing cap at the top and the re-worked one which I had actually made for myself a few years ago and made castings of them in resin. Round 2 decided they could use those as a pattern for their new tooling of the part. I actually used my own castings for the buildup shown on this page and on the box art as the tooling had not yet been completed on the actual kit at the time

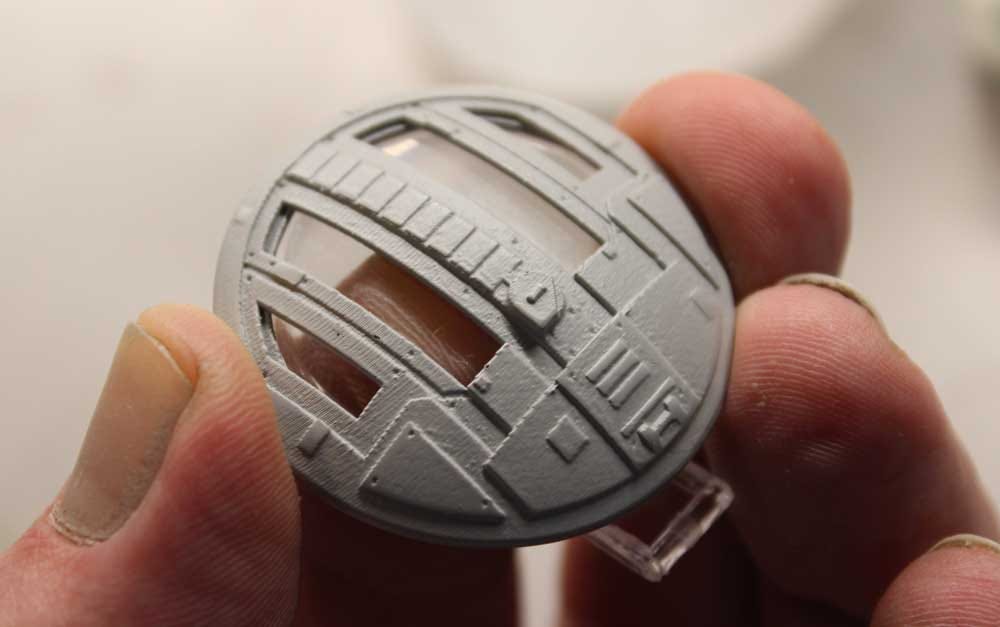
Round 2 also supplied me with 3-D printed prototypes of the new top and bottom hatches for the build-up as well, hence the “scan lines” on the part which, of course, are not on the new production kit parts. Here is the “raw” 3-D printed top cockpit hatch that shows the new, more accurate detailing:
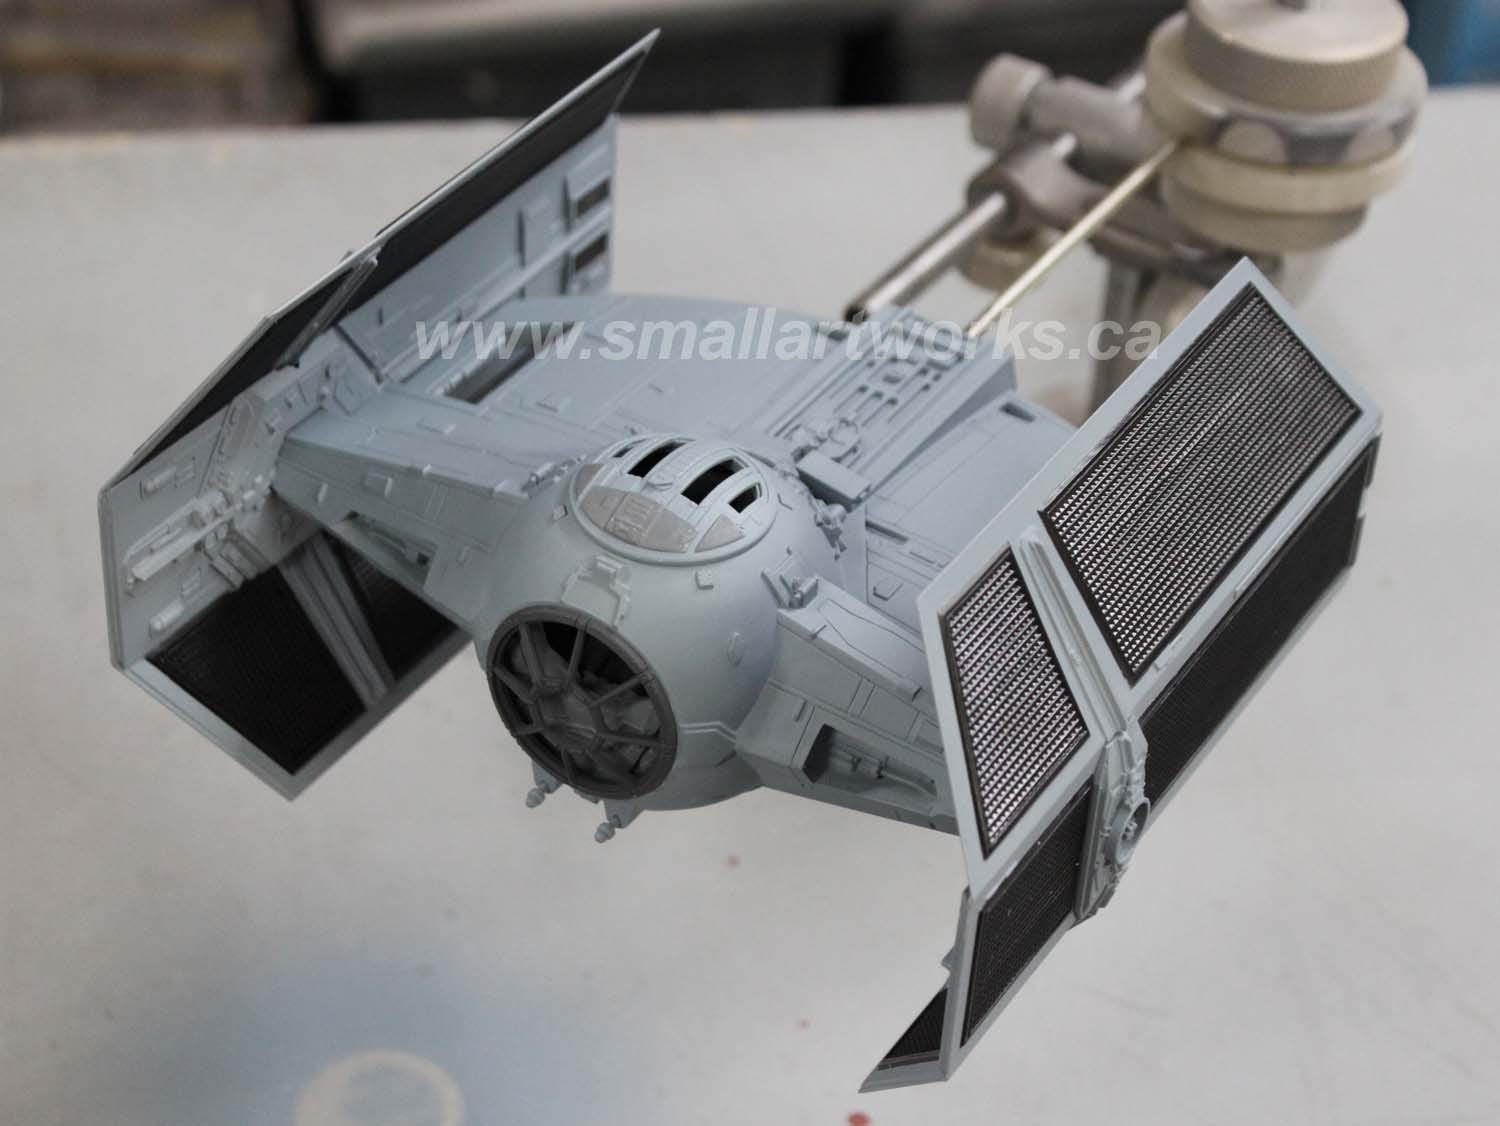
As I built the model I know I’d need to light and photograph it from all angles, including orthographic shots, so I built mounting armatures inside the hull for the sides and rear of the ship so it could be mounted aloft using a C-stand to allow for a variety of lighting options and camera angles. Mounting the model on a stand like that is a lot easier and more practical than trying to photograph it just sitting on a table or a “regular” stand which really limits your options, like being able to bounce light into shadows that would be blocked by having it sit on a table. That’s why the studio models had armatures similar to this concept as well. The hatches covering the mounting holes were held on with magnets so they could be removed and replaced easily, just like the studio miniatures. One wing cap had a hole drilled in the centre of it to admit the mounting rod since the cap protrudes from the wing surface.

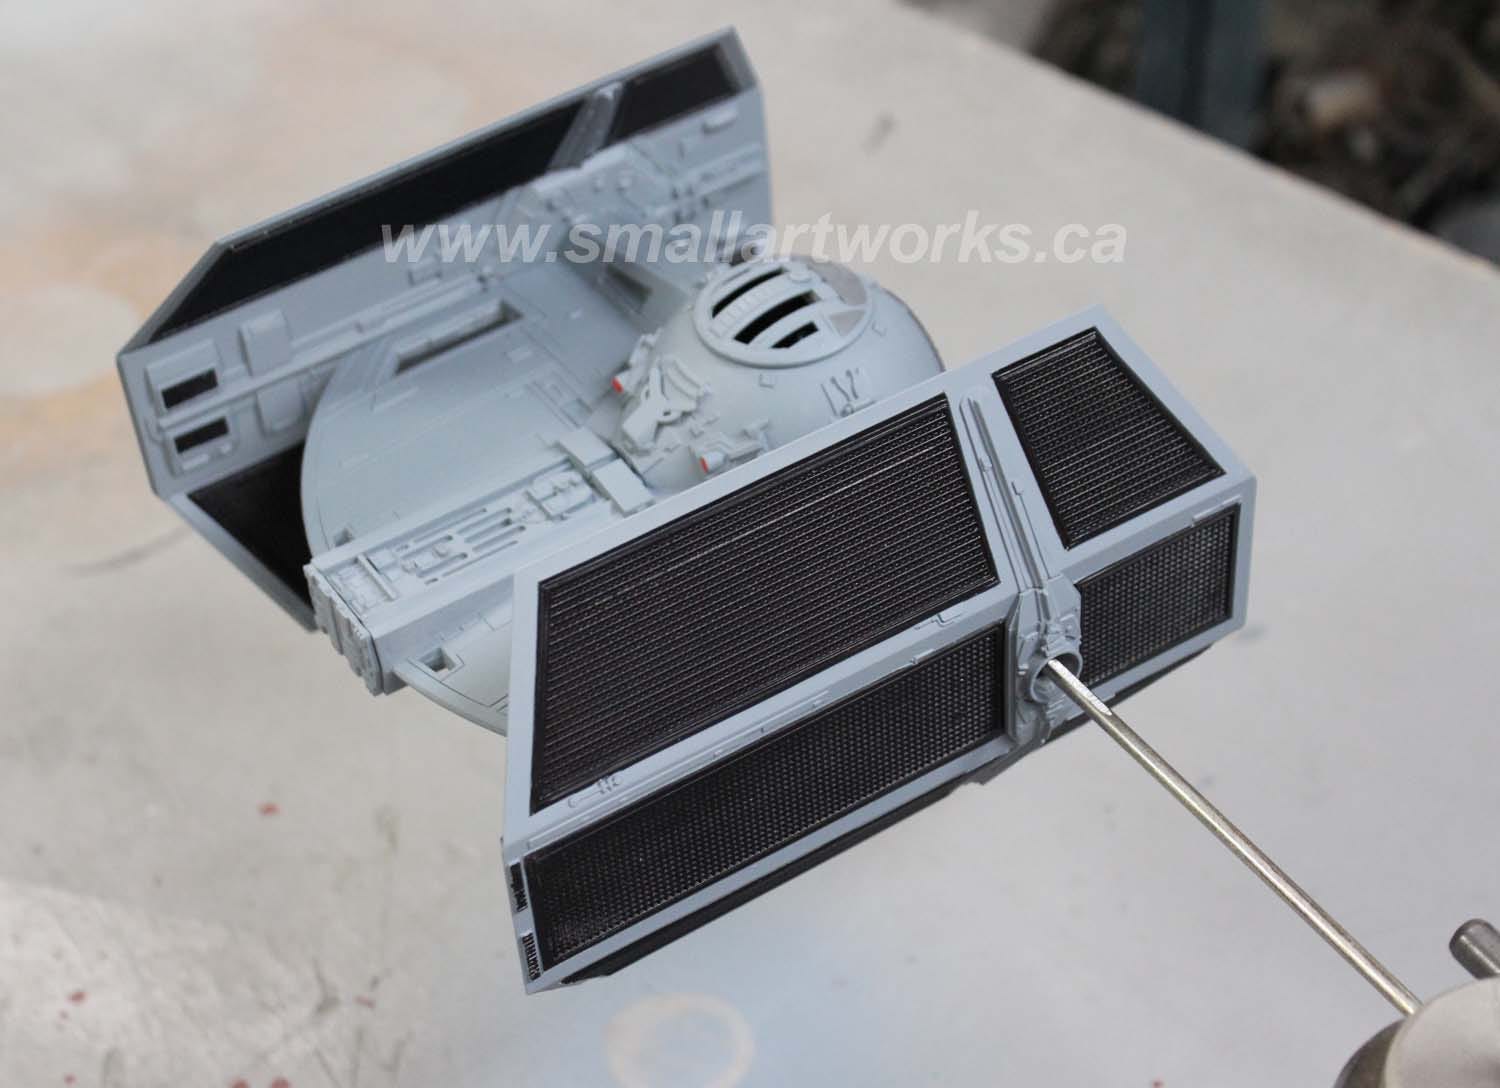
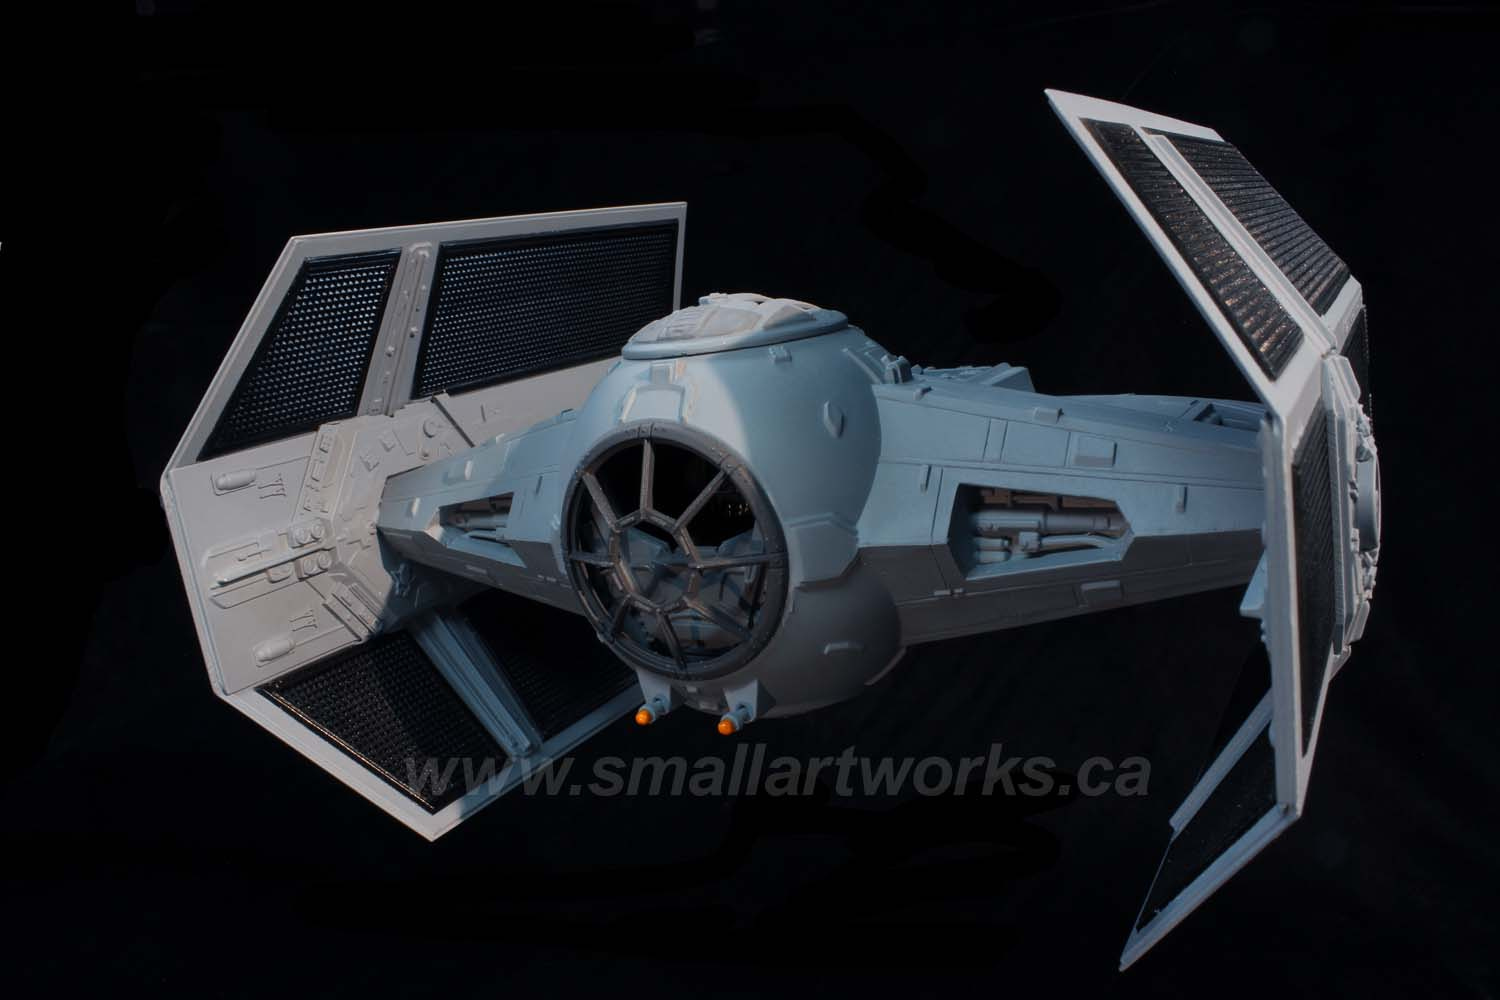
The model was sprayed overall with Tamiya TS-32 Haze Grey (available in spray cans only) for the main colour and black for the wing panels. This Tamiya colour is as close to a perfect match to the original studio miniatures as possible. The model was deliberately NOT weathered as the studio miniatures weren’t weathered either on any of the TIE models.
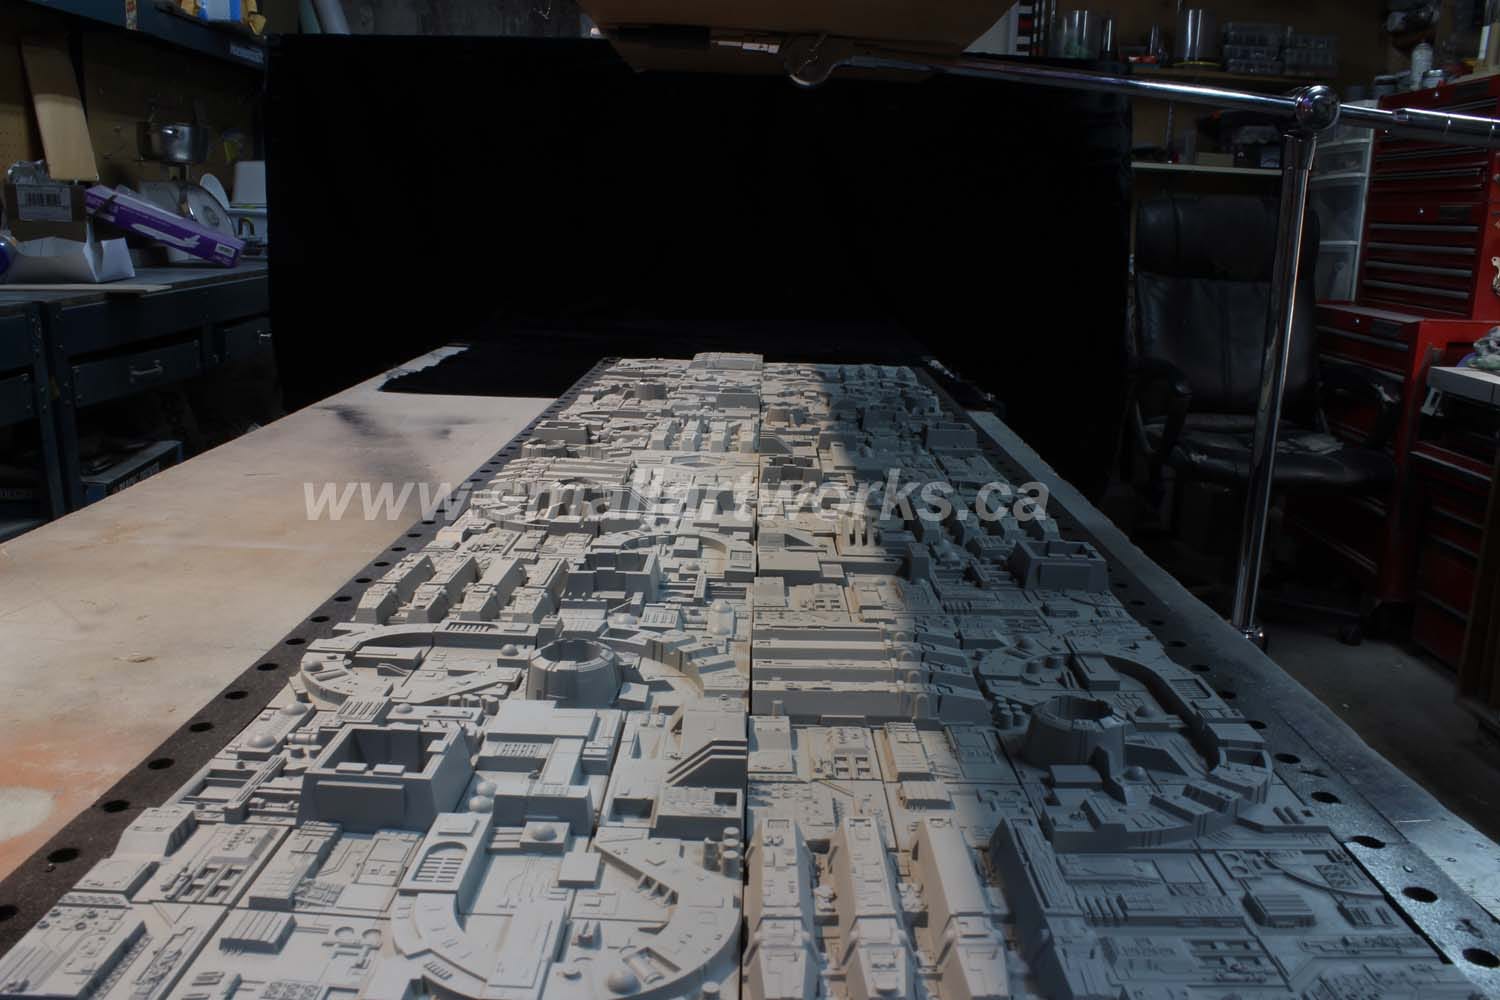
I knew I’d need to do a “beauty shot” for the box tray of the kit so I figured it would be nice to show the fighter speeding down the Death Star trench chasing Luke Skywalker and the Rebel pilots as seen in the film. A few years earlier I had acquired some BanDai kits that came with Death Star surface plates so I decided that some castings of those would serve well to make a convincing trench.

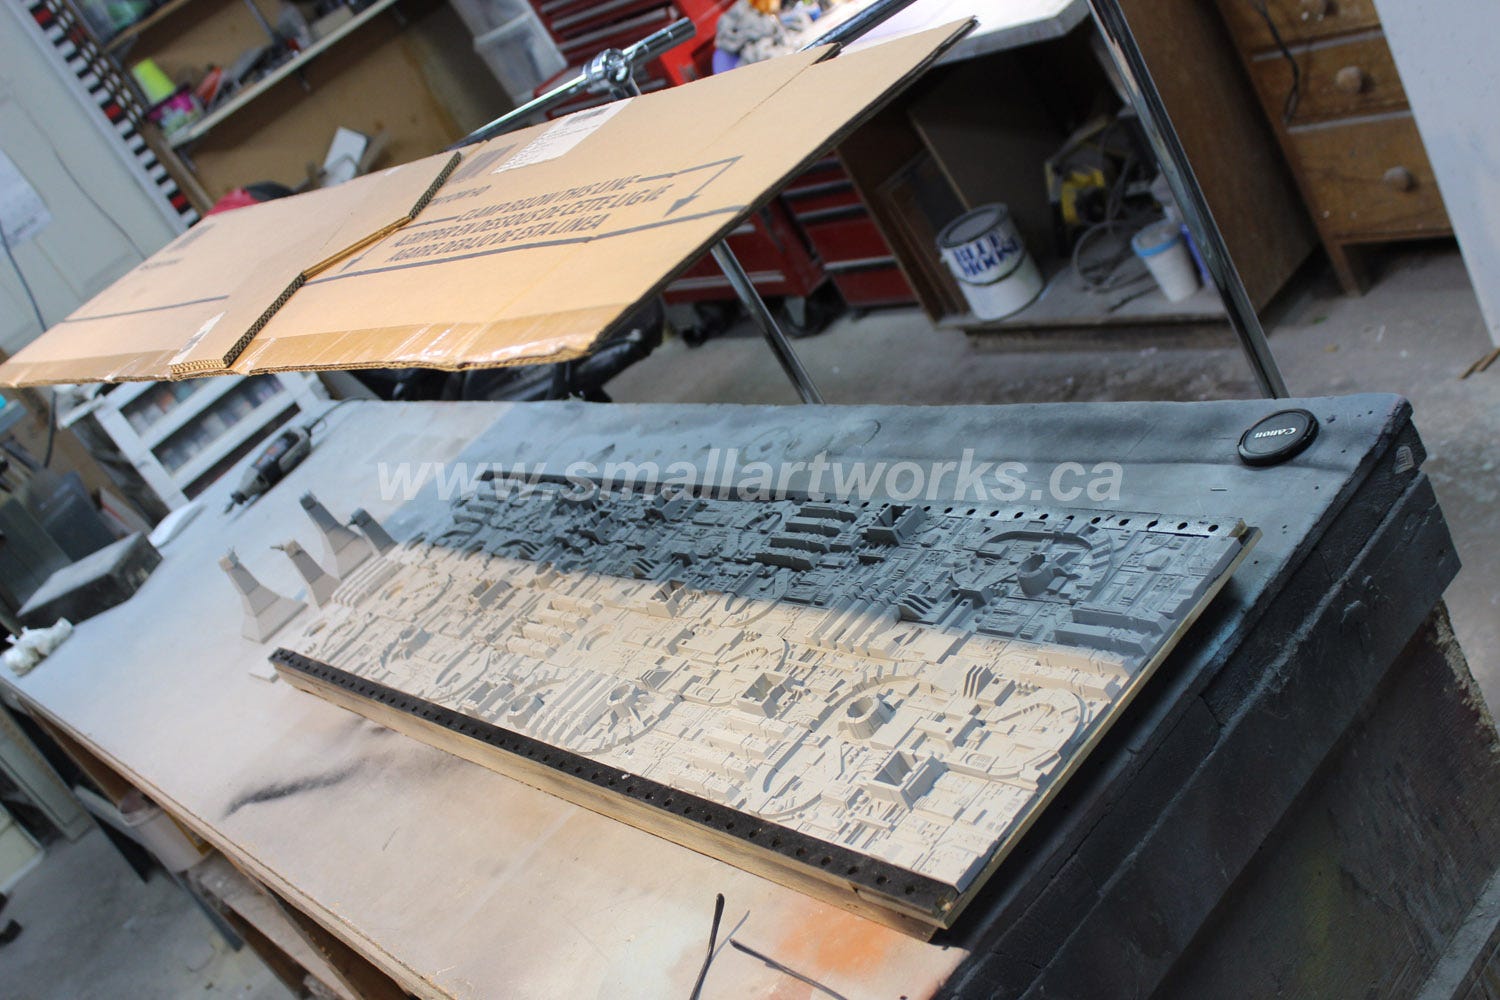
I had a lot of them but not enough (or enough space!) to make a complete trench, so some trickery had to be done. I figured that four tiles wide would be adequate to make the walls and floor look “right” so I painted them all medium gray and arranged them on a kind of sled that kept them all in line. I didn’t need to glue them down (and didn’t want to) so I could rearrange them as needed.

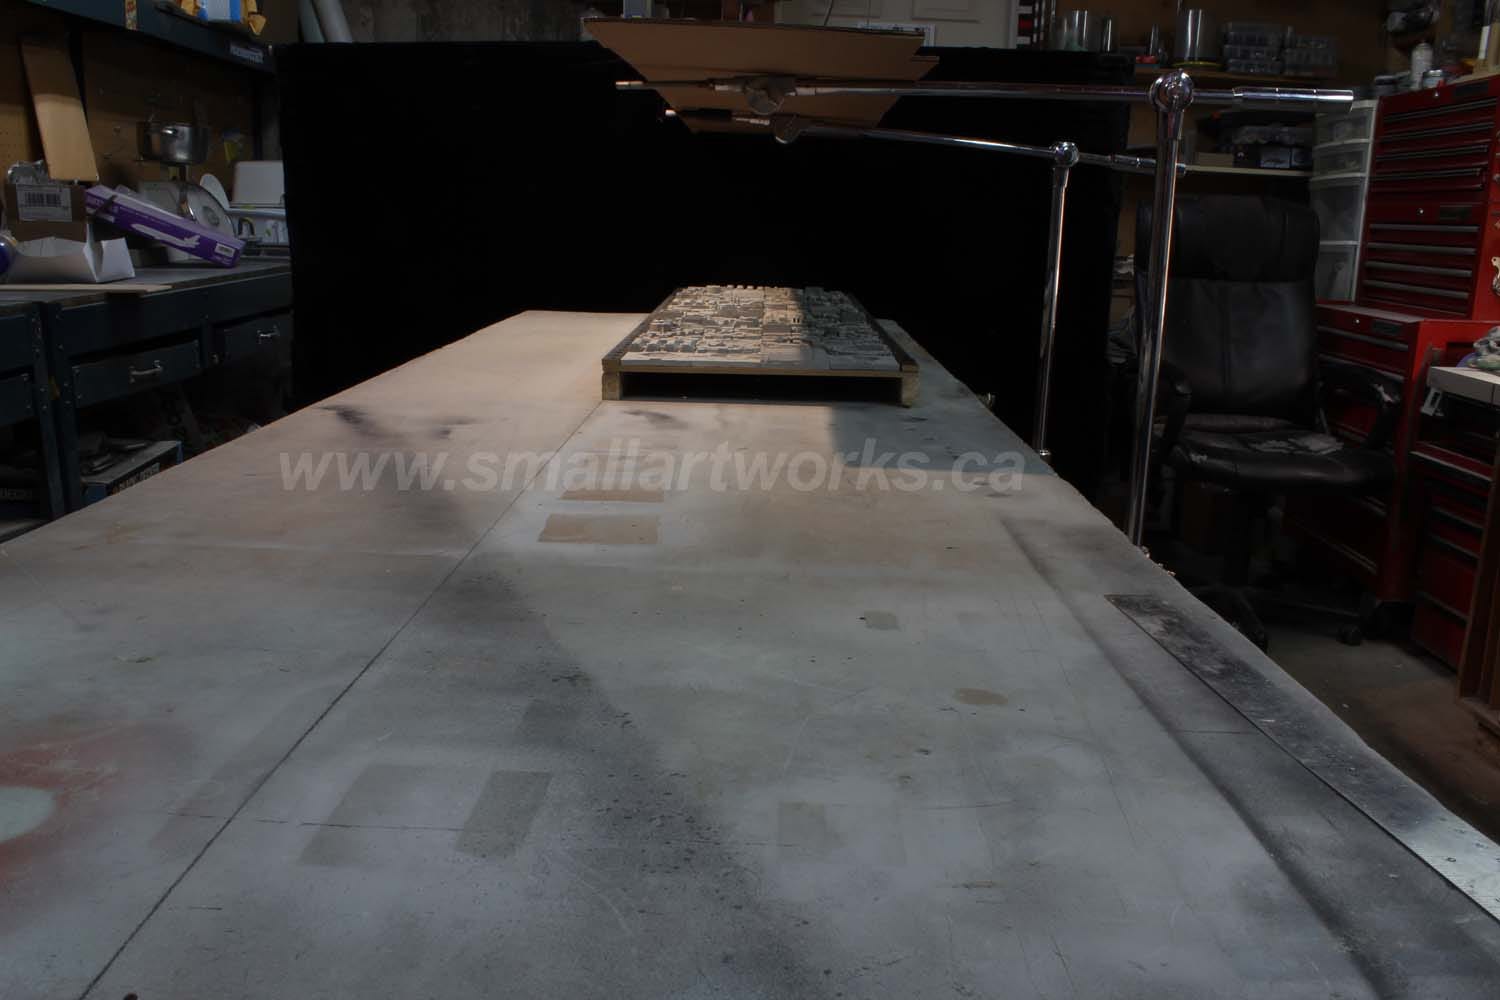
I knew the sled I had wasn’t really long enough to give a very long perspective of it diminishing into the distance so each wall was shot twice, with the second photograph having the sled slid further down the table to give it more depth. The photos could later be combined to make it look as though the trench was a lot longer than it really was. The smaller image could also be duplicated and resized to look as though the trench went on to infinity. This was done for both walls and the floor. A piece of cardboard suspended above the model was used to create a breaking shadow. A key light placed above would create the “sunshine” on the areas not in shadow.
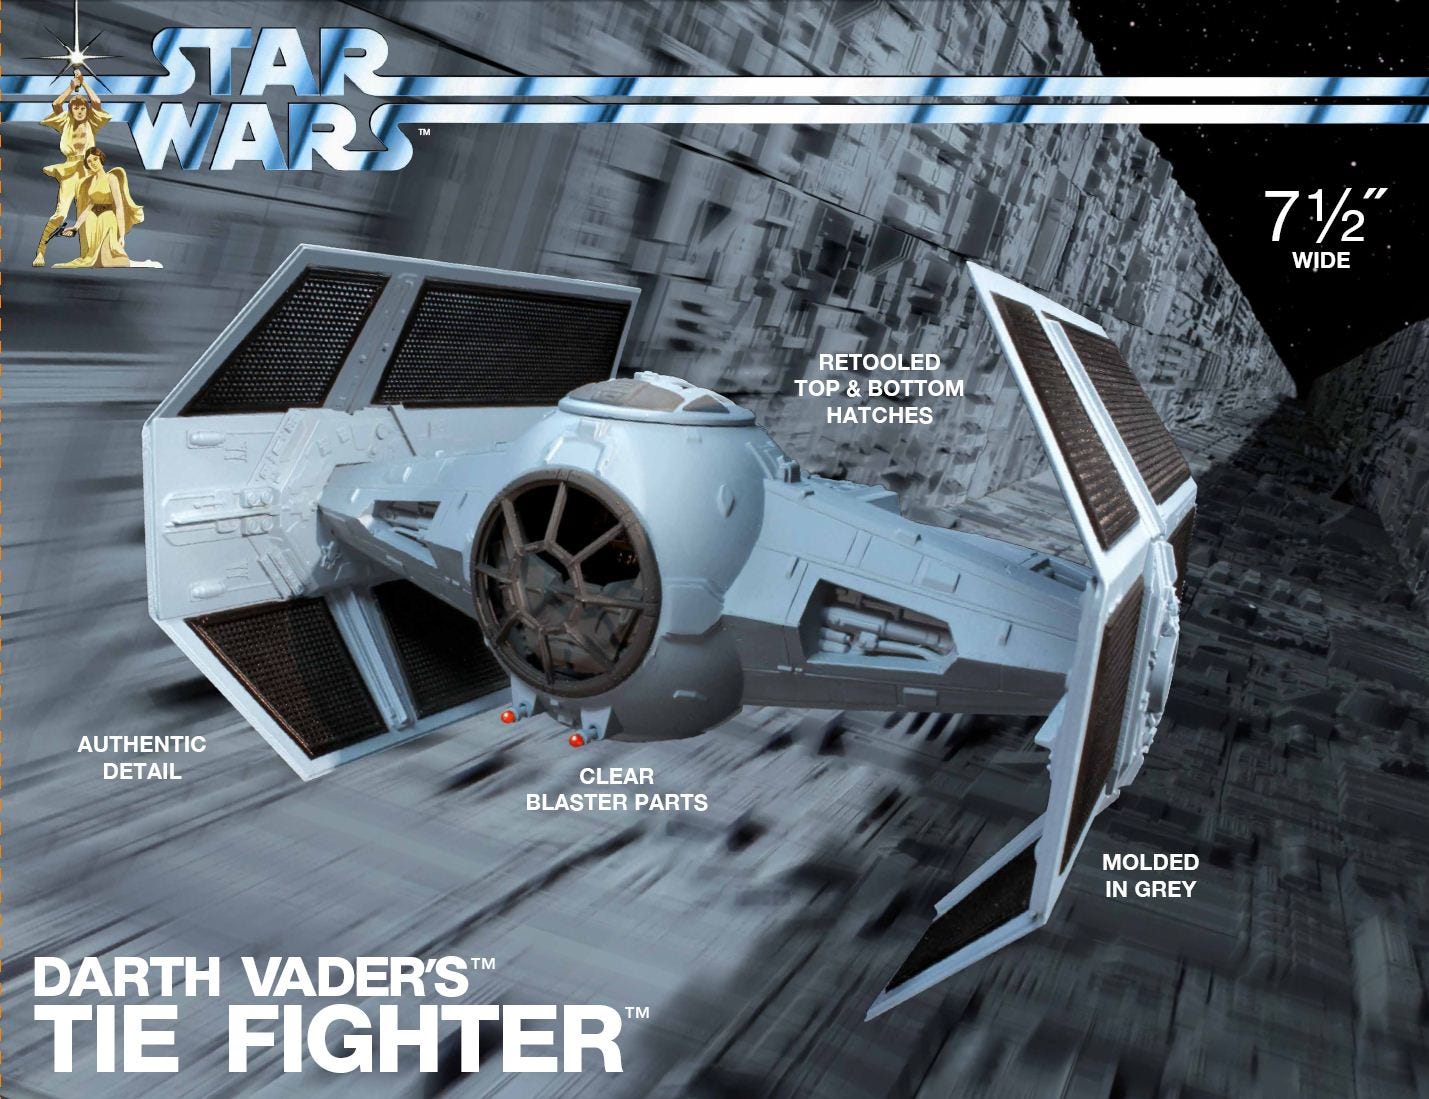
The finished composite featured the shot of the TIE model and the combined elements of the Death Star trench, plus a little digital “motion blur” to create the image that wound up on the box tray as seen here, which seems to do a darn good job of mimicking what was one of the more memorable sequences in the film.
Yes… that is the. Kit I told you I built way back when. Nice detail updates. Brings back good memories.
I LOVE your stuff! How am I just now discovering it? I always wondered how the box art came about. I also build and photograph my models (mostly SW). You can see them here if you're interested:
https://www.deviantart.com/starwarsbattleground/gallery