Hawkeyes
Lighting and Customizing the New 1/48th Scale Space: 1999 "Hawk" Kits.
The new 15” long Hawk Mk.9 kits from MPC are by far the most accurate and detailed models of this ship ever done. The kits do come with clear windows, but it is left up to the builder to make an interior for it, since the original studio miniature’s windows were blacked out and there was no cockpit set made for actors in the show to use as a guide. For those who don’t want to be bothered with what I did in this article, it’s easy enough to just black out the “glass” from the backside.
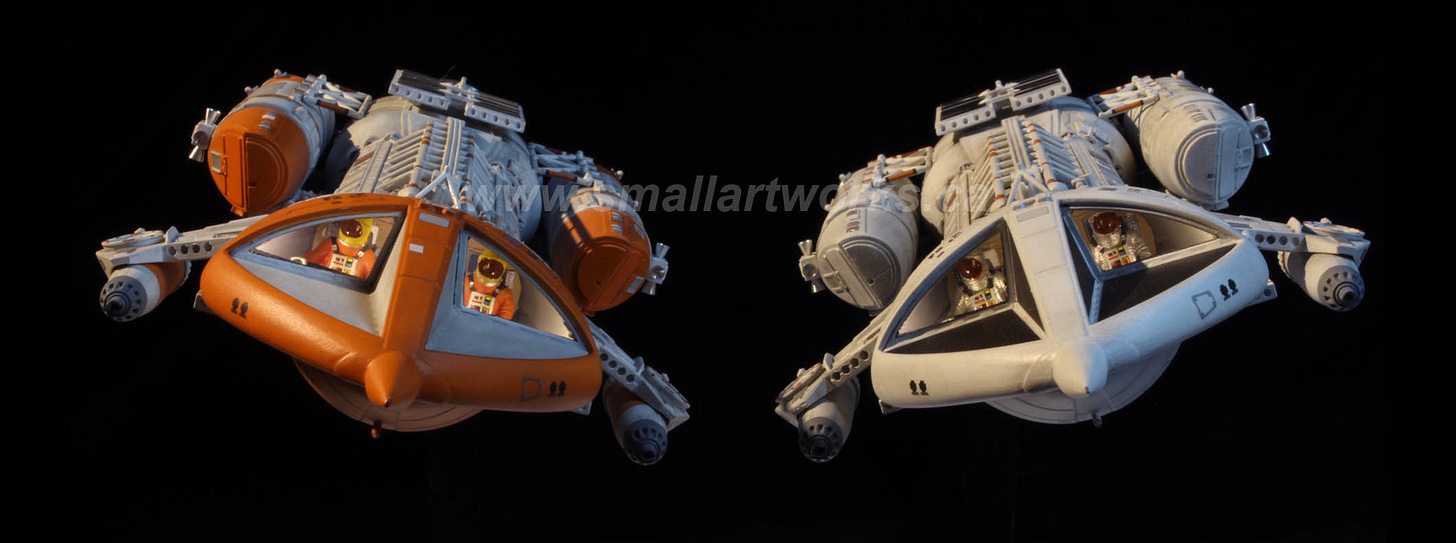
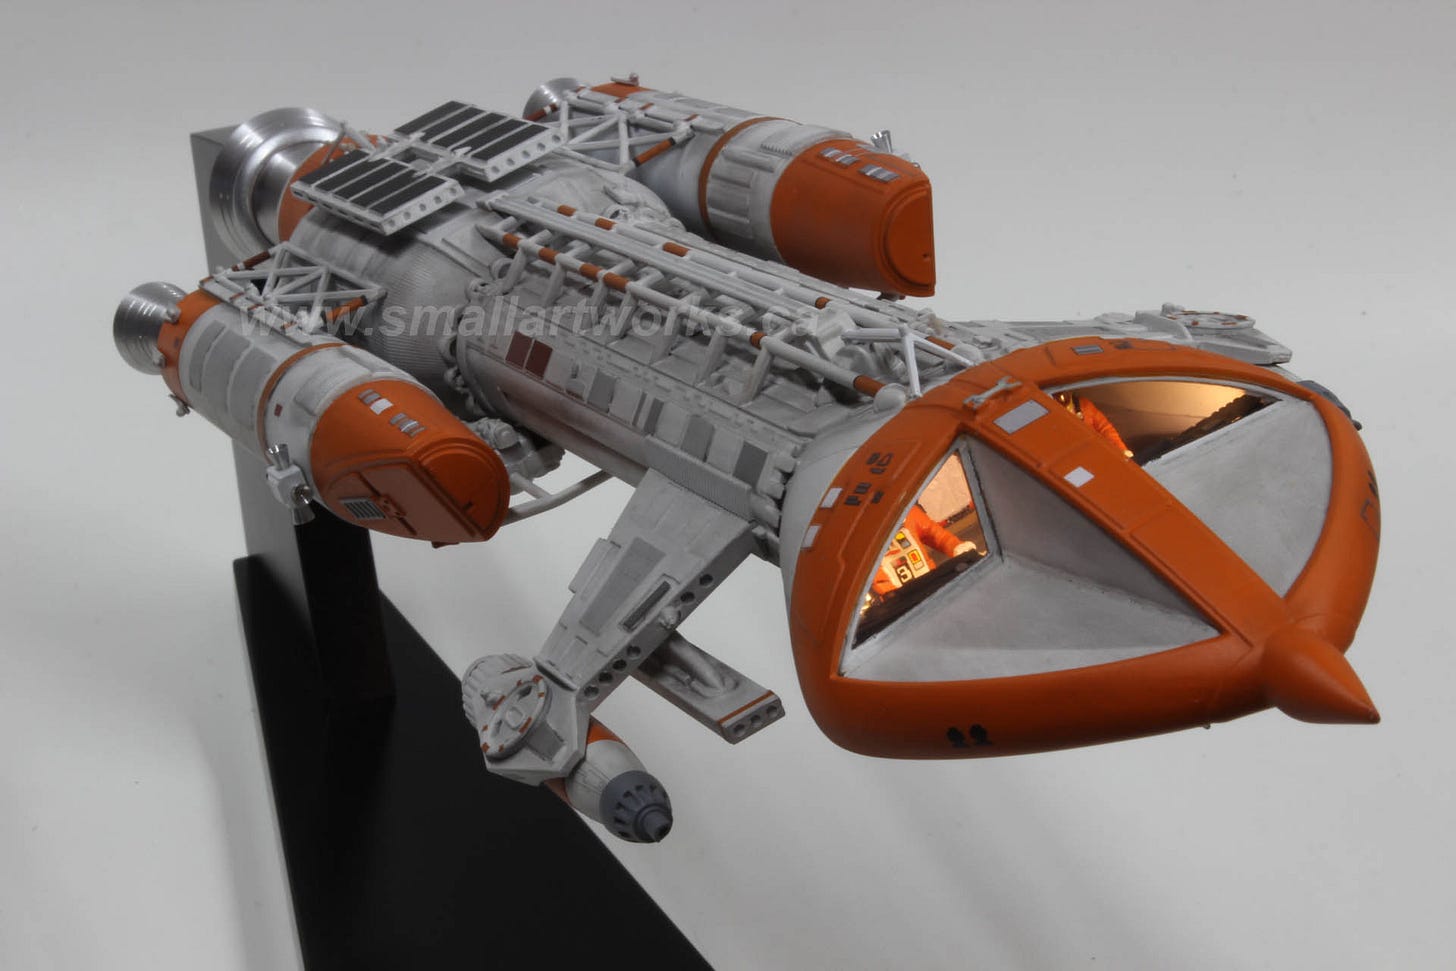
My client wanted two versions of the model built. An all-white one with black anti-glare panels as seen in many publicity photos of the original 30” miniature taken before filming the single episode the ship appeared in, and an orange-trimmed one with white panels as filmed for the show. The reason the model was changed was that the director of the episode felt that the all-white with black panels version looked too much like the opposing "Eagle” ships and viewers might be confused, so the last-minute changes were hurriedly painted (rather crudely) at the studio to make it more obvious. The model exists today with the orange trim, but the black panels were re-painted black which was done shortly after it was filmed, as someone correctly decided it made little sense to have “anti-glare” panels as bright white!
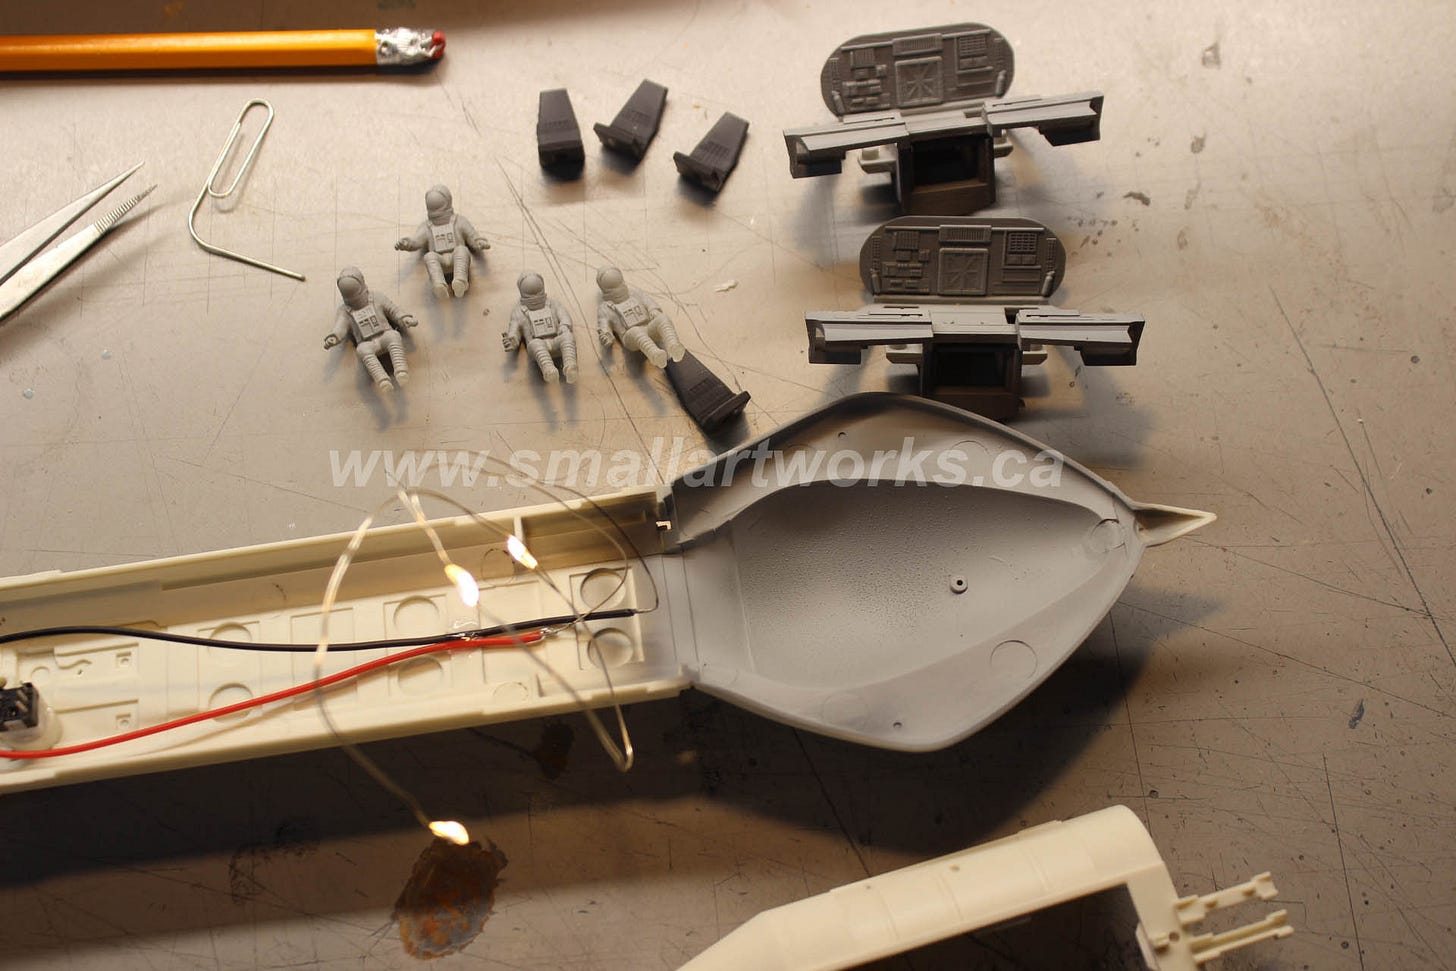
At least one enterprising aftermarket producer made some 3-D printed cockpit parts available, so my customer provided a pair of those to be placed into the two models he wanted to be built. Since the windows provide a very limited view and you wouldn’t see much in the way of interior detail, it made sense to also light it up. Following is a brief explanation showing how this was all done.
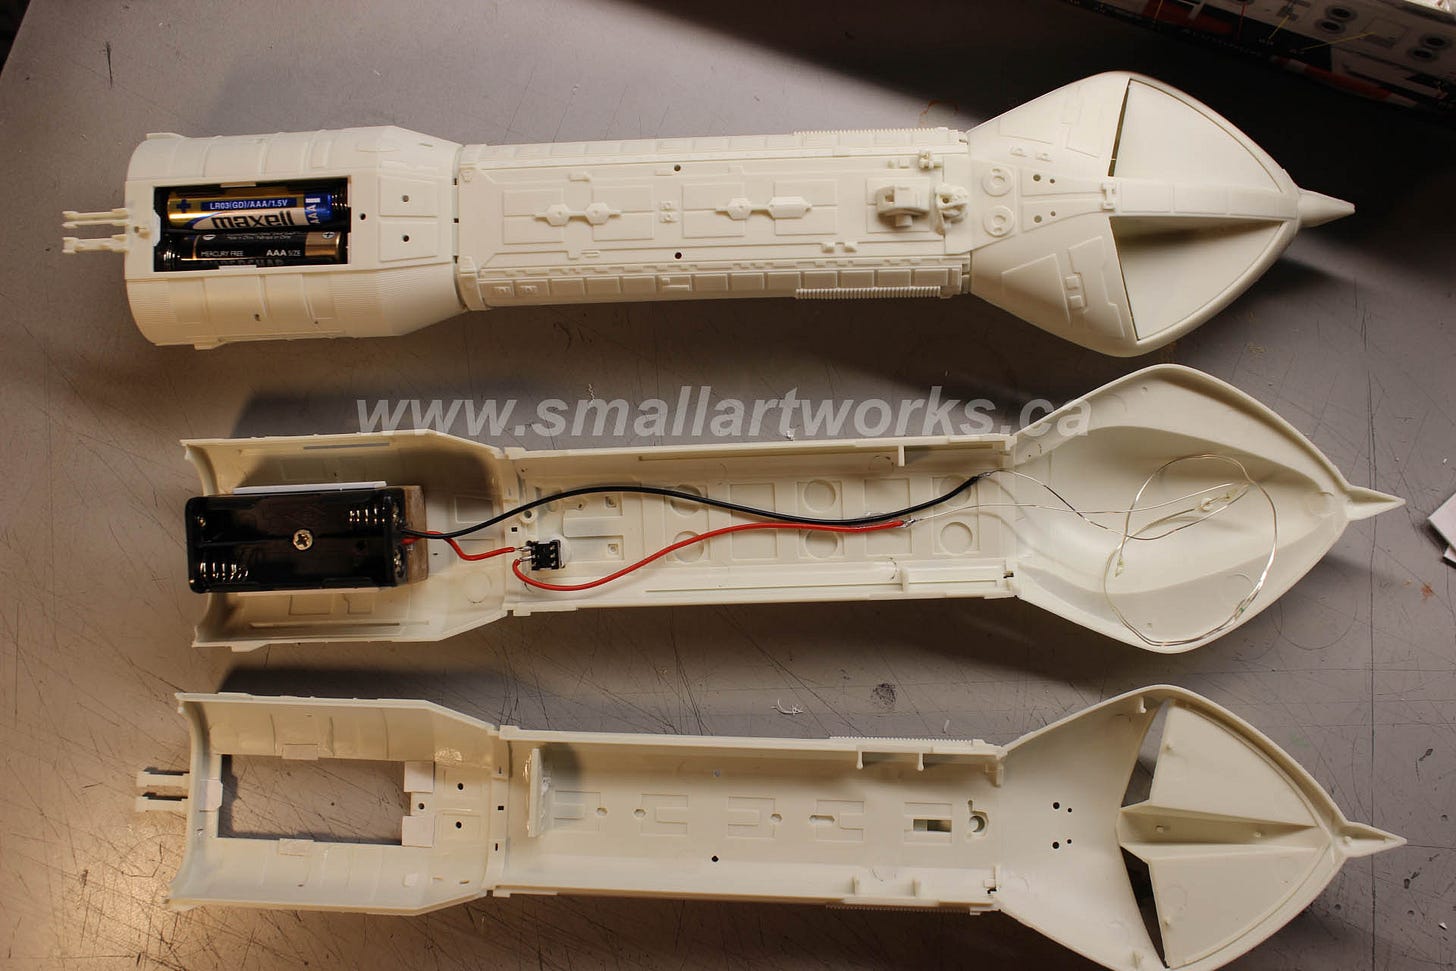
First, a way to install replaceable batteries had to be determined. The deck underneath the “solar panels” on the top of the ship was cut away, and tabs were made to support the newly fabricated panel to support it through a friction fit which is enough to keep the panel in place and also easy to pull off to replace the two AAA batteries when needed. The battery box was screwed to a block of MDF glued to the bottom so that the batteries could be brought further to the top, making it easier to change them out as seen here:
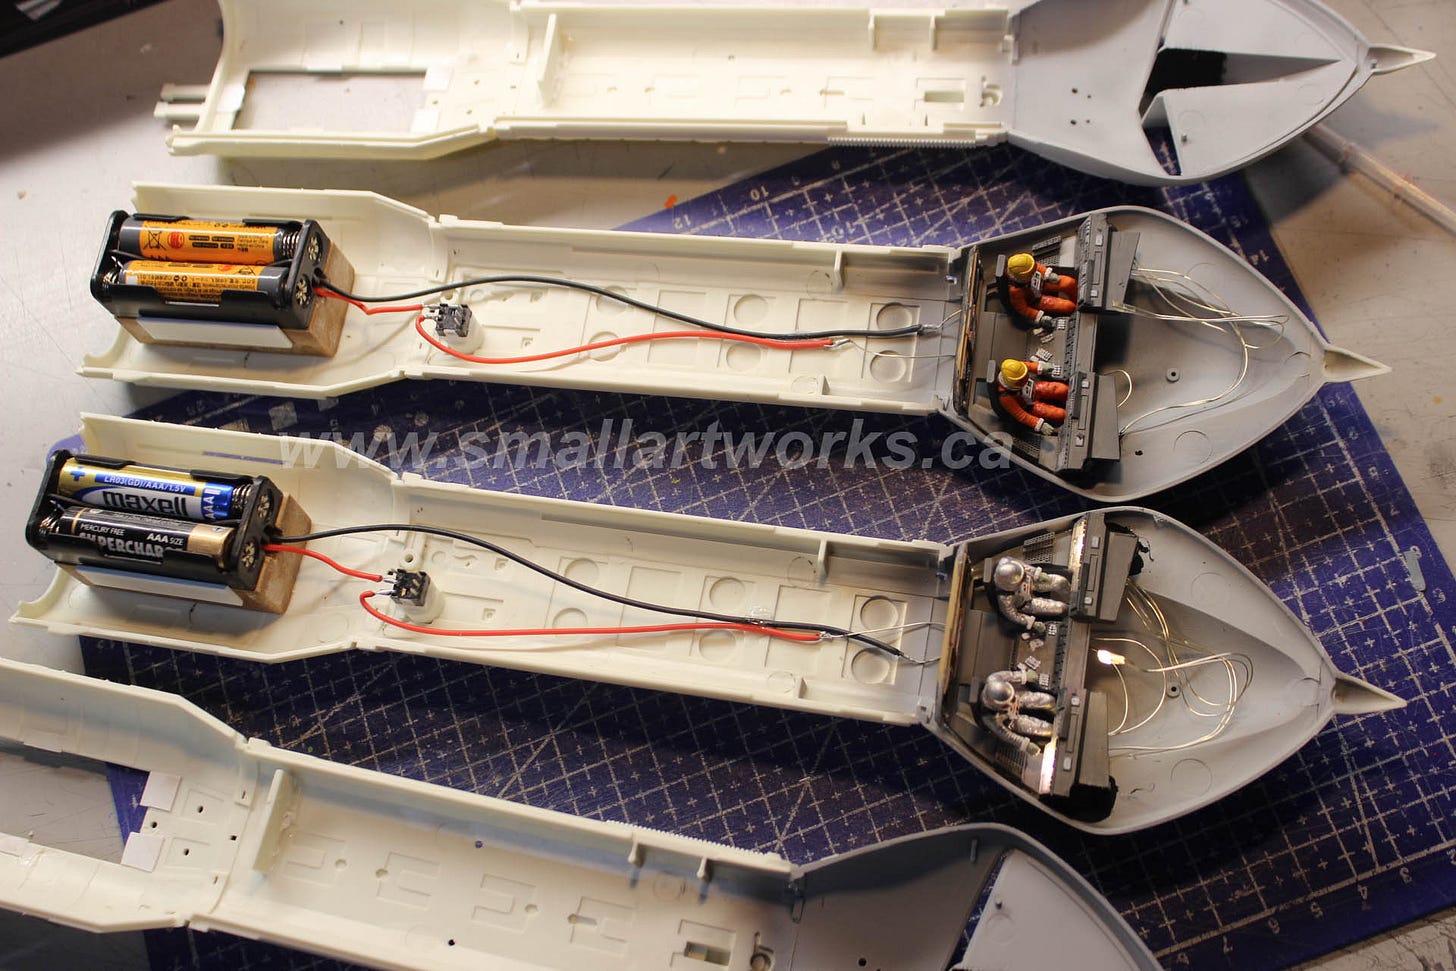
Next, the aftermarket interior parts were put together, primed, and painted. A switch and 3 micro warm white LEDs, stolen from a Christmas lights set were wired into place into each model.
Here we see all the hardware in place. A strip of plastic was glued to the top body half that would position itself directly above the switch, making sure that the glued-on switch could not work loose and fall into the body which would otherwise be next to impossible to repair.
Since the Hawks were of different “liveries” it was decided the pilots’ space suits could also be different. The orange-suited figures would have the typical Moonbase Alpha look for the orange-trimmed Hawk, while the white version would have pilots with silver costumes as also sometimes seen on the show as specialized suits. Two of the LEDs would light up the two sides of the translucent dashboard (which you cannot see through the windows anyway) and one in the centre between the two windows. This hides the LEDs but provides the maximum coverage of light to the claustrophobic interior.
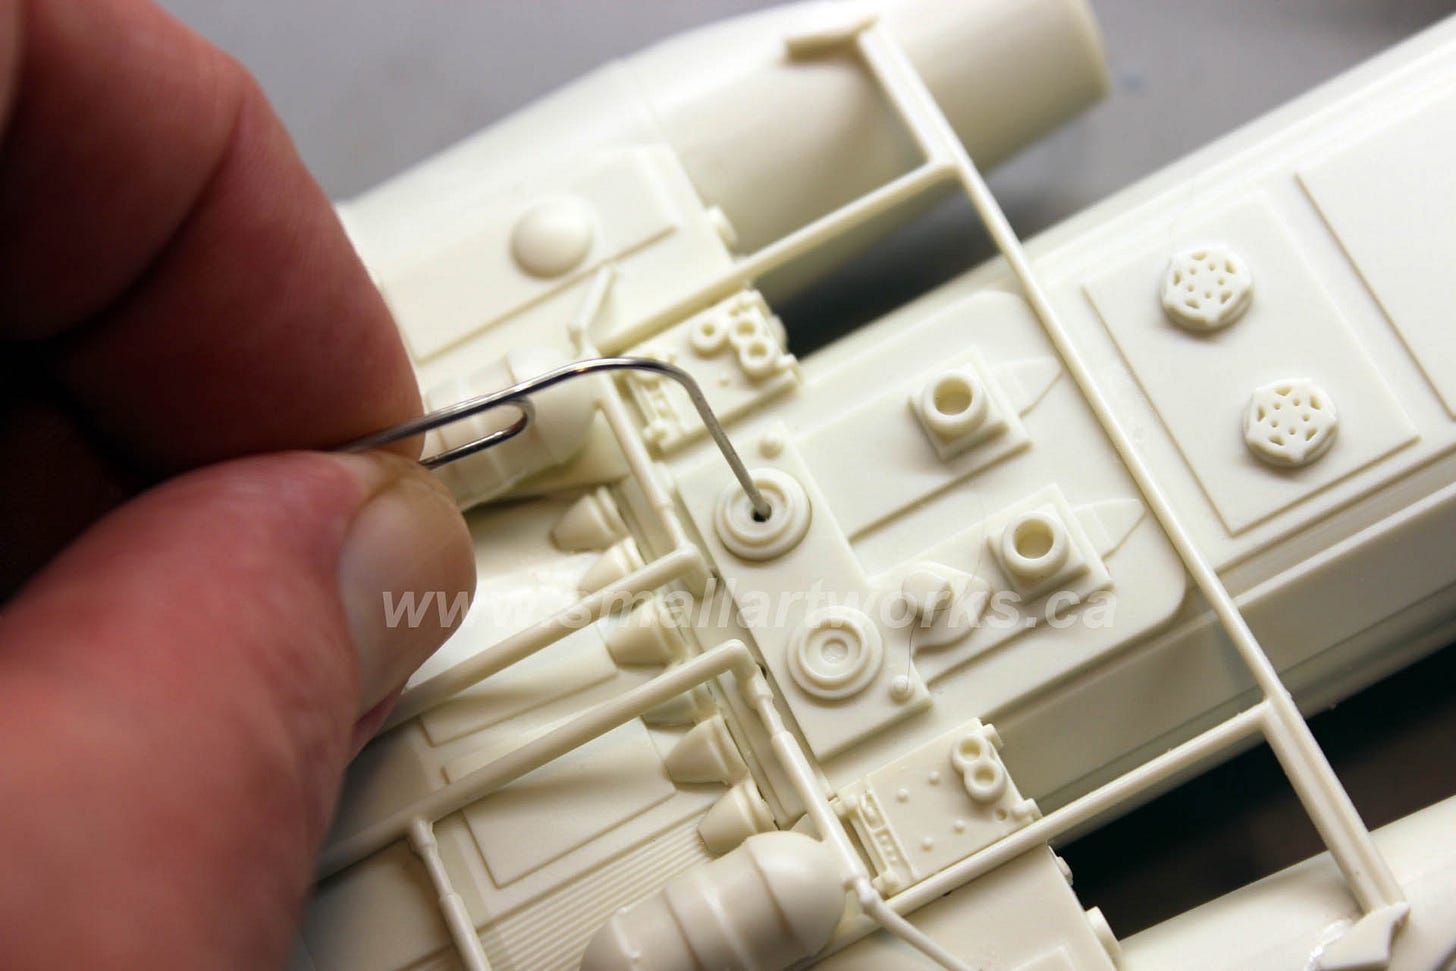
The switches were strategically placed so that they could be accessed using a paper clip end or similar to turn the pushbutton on and off. Here, the top one shows the switch exposed, and the bottom shows the hatch in place with a “secret” hole that keeps the switch out of sight.
A paper clip pokes through the hole to throw the switch.
The models were then painted, decals applied, and weathered, finishing the models as you see in the rest of the images below. The original Hawk miniature was NOT weathered, as harsh lighting during filming had the needed effect, but my client wanted some slight weathering to keep it from looking too toylike in a normal display environment. Weathering was done with powdered tempera paint dusted on with a small paint brush a little section at a time and dull coated to keep it from rubbing off.
All new and absolutely gorgeous machined aluminum engine bells all around were supplied by Mike Reader of Neepawa, Manitoba.
A pair of MDF stands with brass rods were made to suspend the model from the tail, to which a mating plastic tube was installed through the engine section and into the body to provide strength for the assembly and provide support. These types of models suspended this way make for a more dramatic and versatile display instead of the standard way of supporting them from the bottom.







Those interiors look great! I love the on/off switch solution you came up with.
Great project and two no less. I love you did both versions.