The Mandalorian's "Razor Crest"
Building the first test shots for box art and publicity of the new AMT kit.
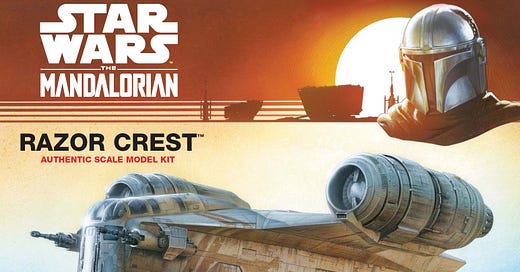
The Mandalorian “Razor Crest” ship is the very first all-new Star Wars model produced by Round 2 LLC. Using the AMT brand, the 1/72 scale kit was made using the actual CGI data that the VFX people used in filming the show to create CAD files for the newly tooled kit. The gorgeous painting shown above that graces the box cover was painted by Jamie Hood, senior designer and brand manager at Round 2. His excellent art is most certainly suitable for framing. See how the rest of the box art using the built-up kit was done in the following paragraphs.
When building models for Round 2 I know that I will need to photograph them from many angles including orthographically. So I borrowed an idea from the old-school visual FX guys back when miniatures were filmed on motion control (MOCO) rigs. I usually (when the nature of the kit permits) install various mounts so the models can be placed on a C-stand and positioned in any way needed. In this model, a mount on the bottom was already provided as the kit is meant to be placed on a desktop stand, but I also needed to put mounts in the nose and tail so various other angles can be shot without the stand getting in the way. In the case of the Razor Crest, it only needed mounts in the nose and tail, and ready-made removable hatches (to cover the mounting holes) were already provided in the kit in the form of detailing for those areas. So I just needed to glue in some mounting tubes inside the model and used magnets to secure the hatches for when the mounts are not being used. This is exactly the way MOCO models for Star Wars, Battlestar Galactica and many other films and TV show miniatures were done.
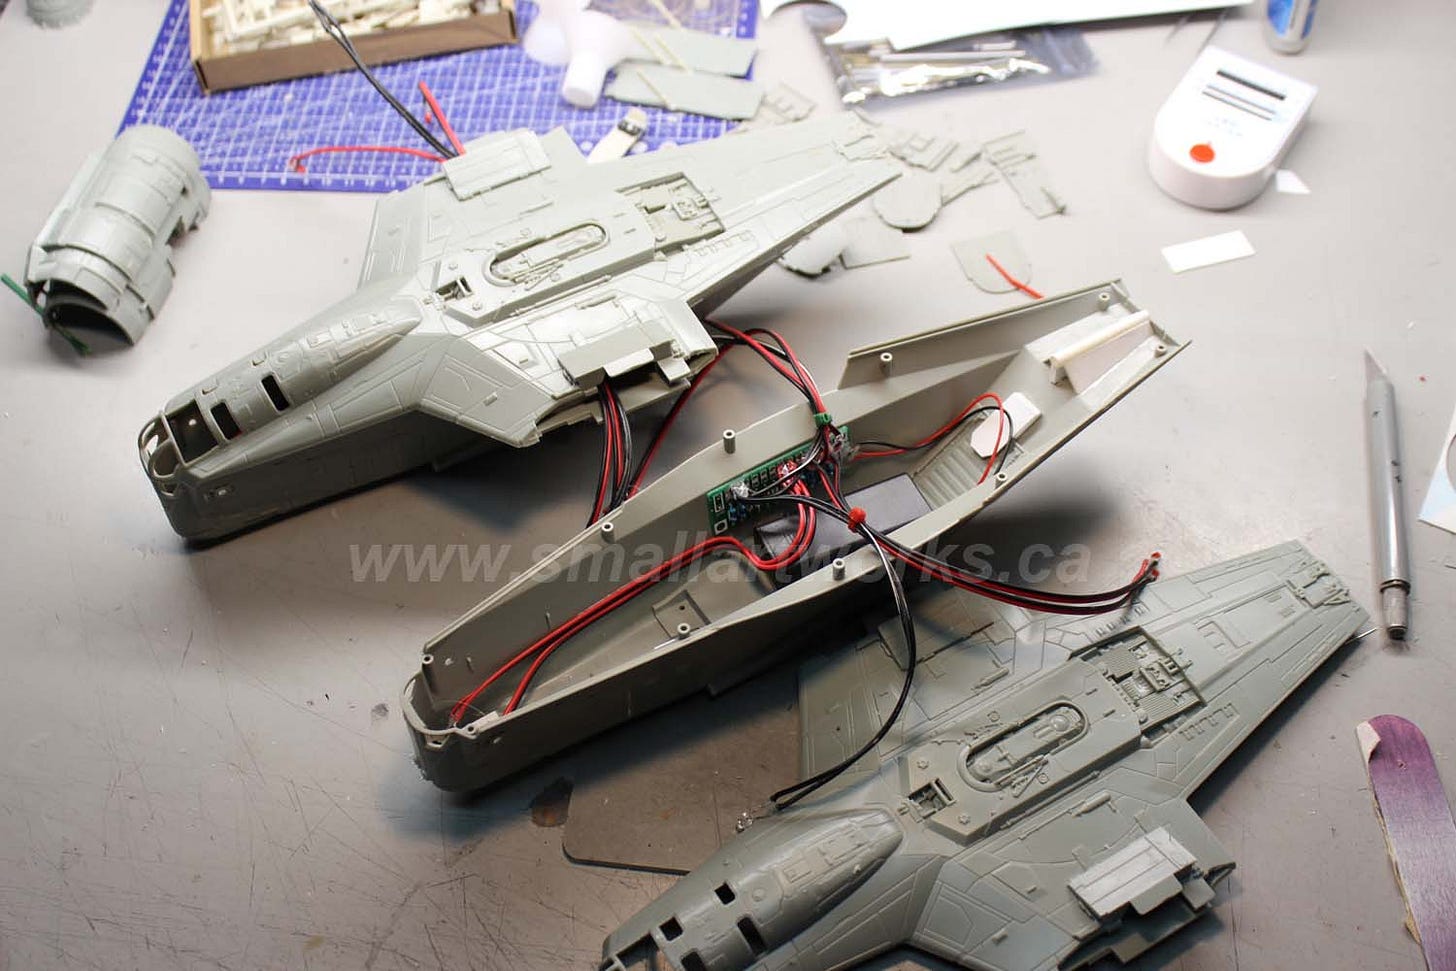
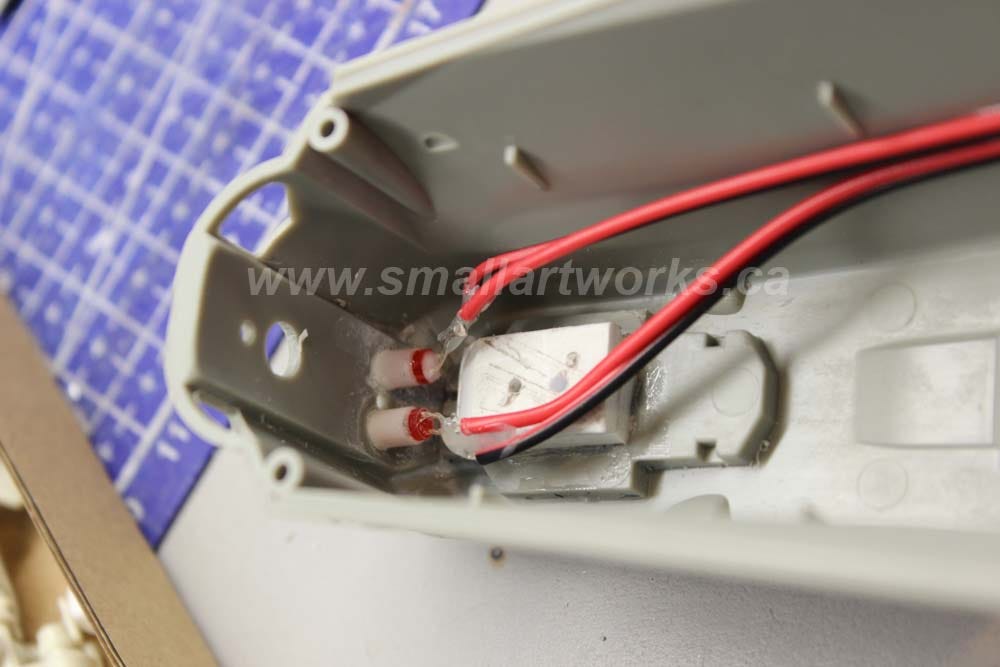
The picture below shows the mount in the tail and the wiring runs to provide power to the lights. Lights were installed in the nose, engine exhausts and engine nacelles, all run off from the custom-made bus board I had designed for just such situations. Power would be provided by two AAA batteries which could be accessed through the rear hatch. The hatch and battery box would be held in place by magnets. You can click on the pictures for a larger view.
Here is a closeup of the engine exhaust which utilized relatively hard-to-find “inverted cone” LEDs to disperse the light more evenly. I found some plastic cones (I think they were caulking gun nozzles!) which I cut to size to be used as reflectors to help diffuse the light even more.
Red LED lights were installed in the nose as well. The landing gear well was beefed up to suit the photography needed.
The “test shots” (preliminary pre-production castings provided by the factory to make sure the tooling worked properly) that I must build in time for the necessary packaging and various commercial needs are often needed to be tweaked further before they go into production, so I have to deal with these slight shortcomings. Such was the case with the cockpit canopy. The “glass” was not able to be used in the buildups because the plastic was heavily smoked (test shots are often done with “leftover” plastic) and also unsuitable for the kit because of severe thickness problems, so they were left out of the buildup you see in the photos here. The canopy glass would be photoshopped in later for the publicity shots. The kit itself would receive a re-tooled canopy corrected for the production kits.
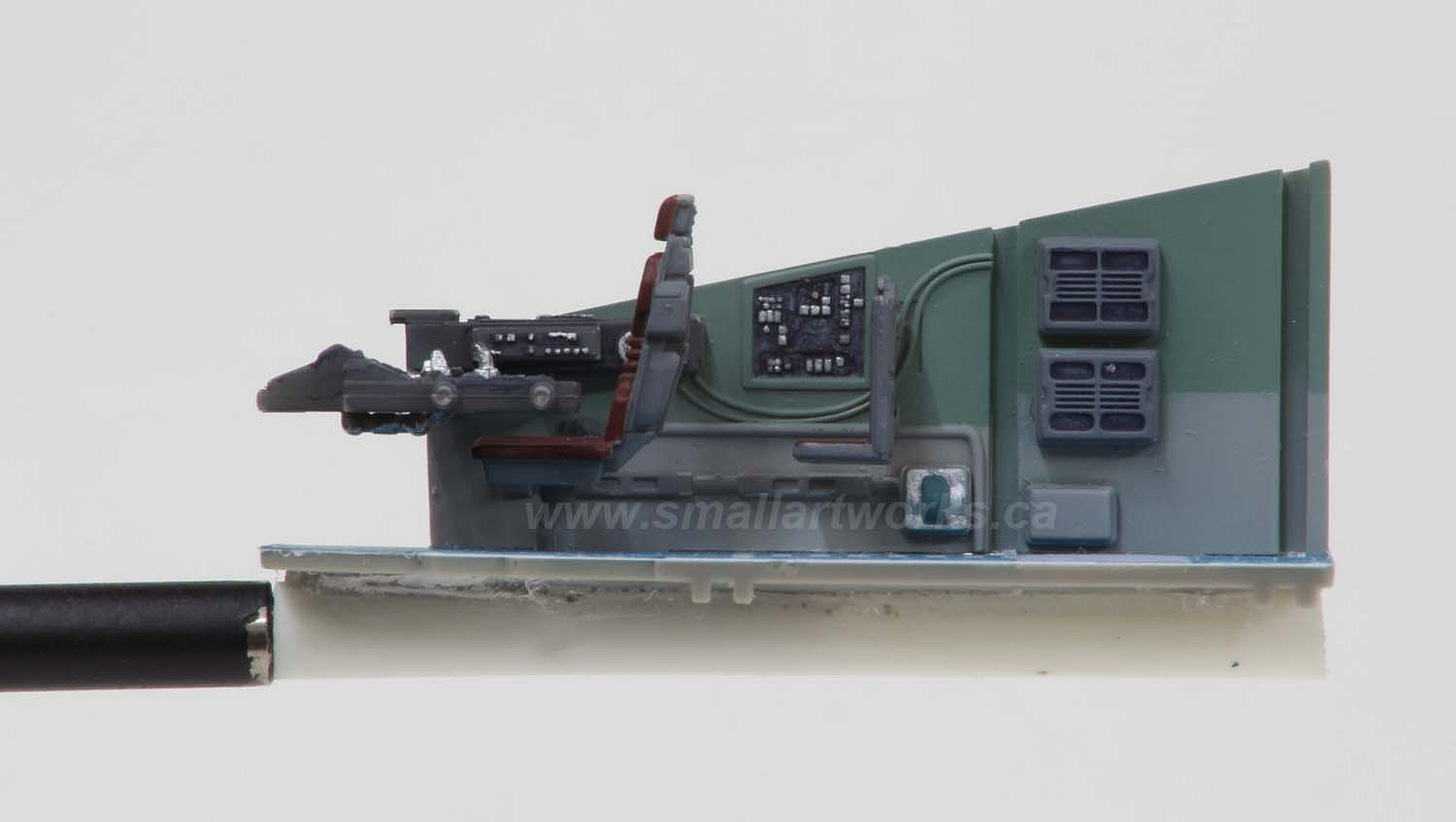
Here you can see the cockpit being assembled. I actually built TWO models for three main reasons. In case I screw one up (which unfortunately does happen from time to time and why take the chance), sometimes as a backup for photography when the models have optional parts or to catalogue assembly variations, and so I can have one for myself as a reward!
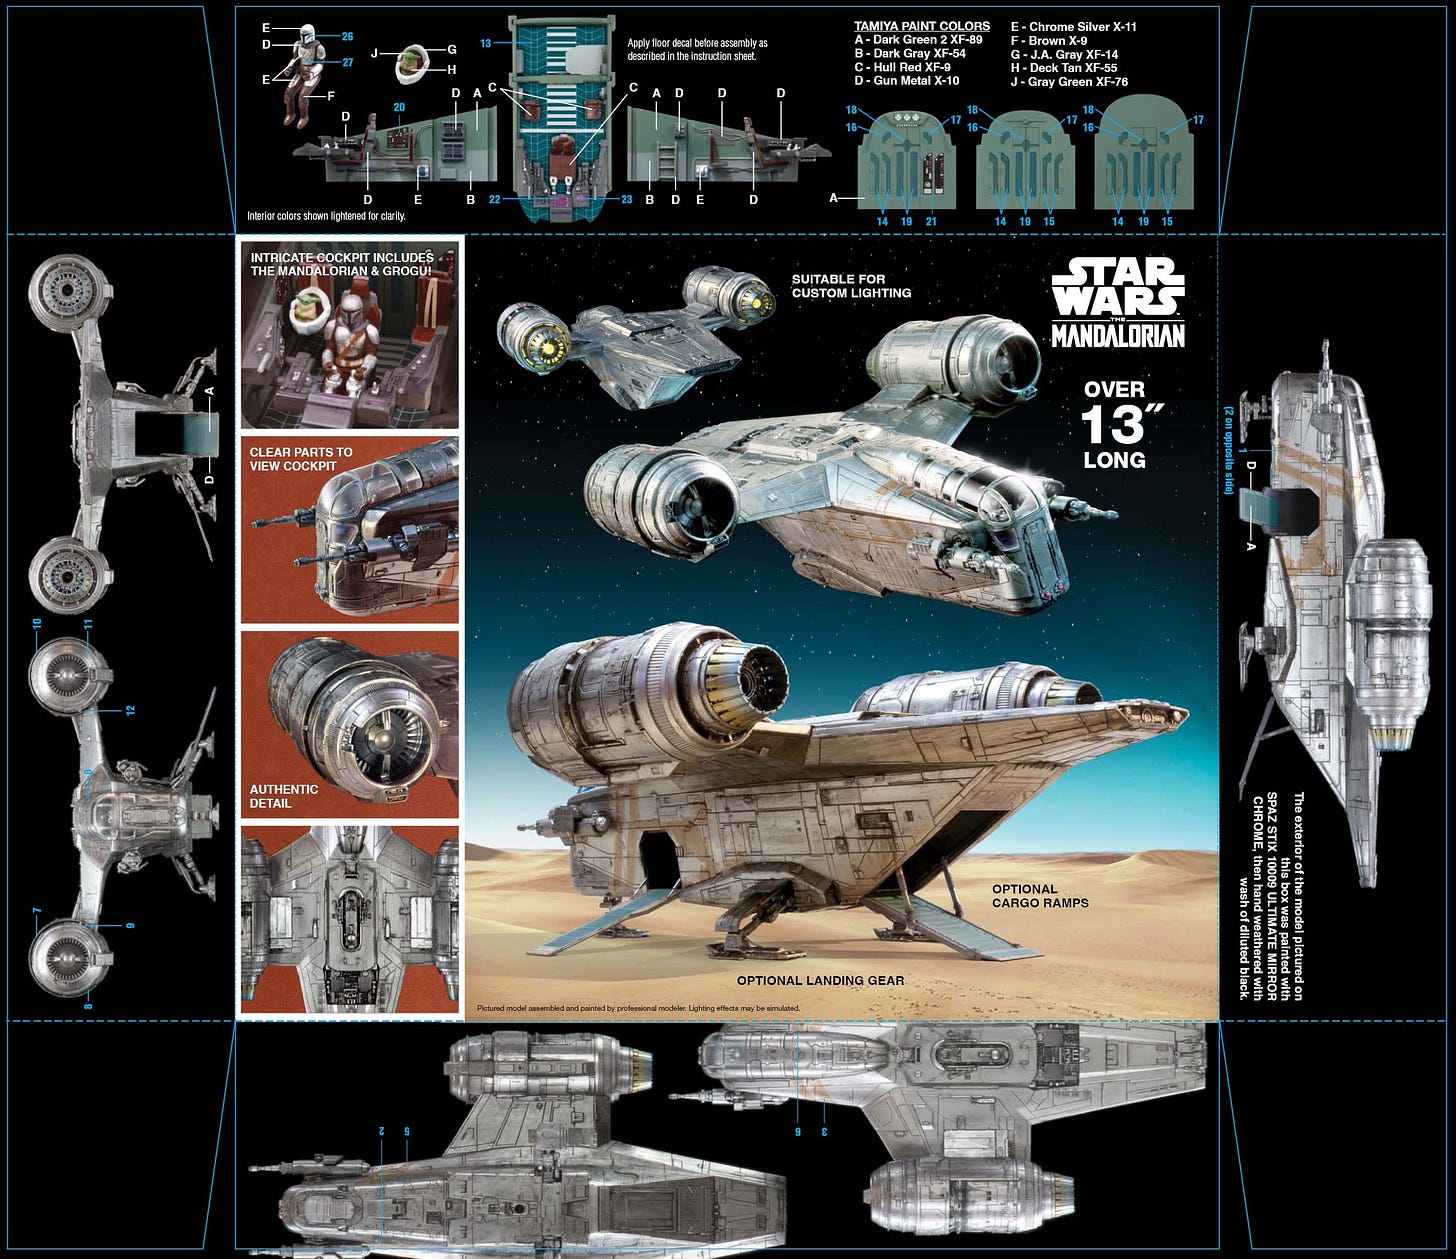
Above, the cockpit is partially built, and a tube mount is added to the floor (shown below) which will provide support for the orthographic decoration guides used on the box tray for most Round 2s model kits these days. That is an excellent feature, unique to Round 2 model kits, that makes use of otherwise wasted box space.
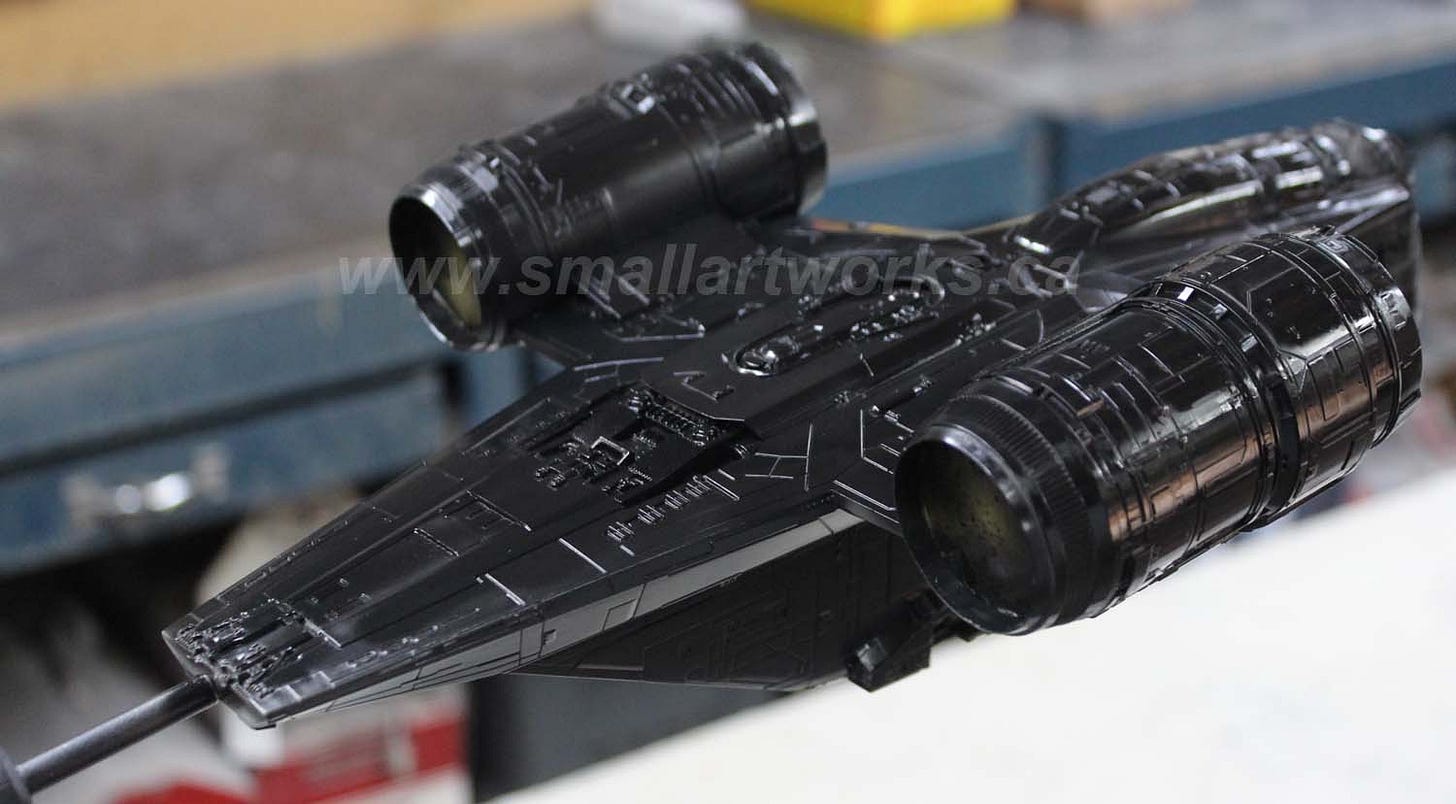
The paintwork is done with an expensive product called “Spaz Stix”, a two-part system with an odd name from a spray can. However, it comes out of the can too heavy for my liking so I decanted it into an airbrush. First, the model must be coated with gloss black as shown here:
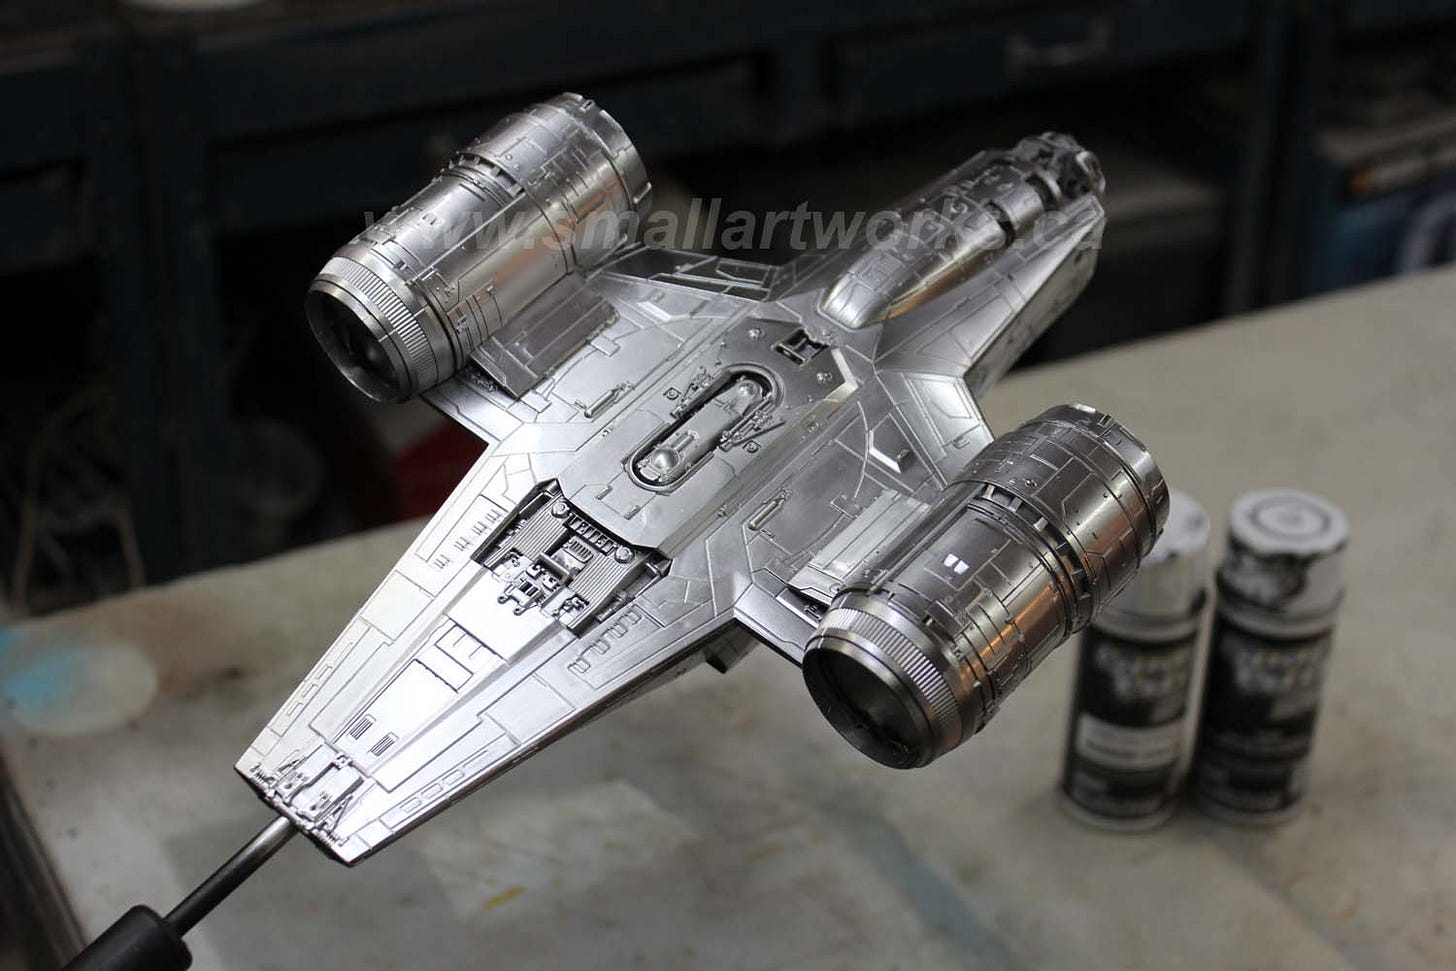
Then the “chrome” is sprayed on top of that. The finish did not come out mirror perfect, but that is a good thing because the ship should not look plated, but more like the aluminum skin of an aircraft which is reflective but not mirror-like. It looks better than the usual “flecked” or metallic silver that most people are familiar with.
The model would then be heavily weathered using a black wash and dabbled on craft paints before coating with “Future” floor polish (later re-branded with “Pledge”) which I have just learned is now no longer being made. Ugh. I hope I can find a substitute as the Future coating is a lifesaver in model building. (Why is it that whenever I find something that works, the damned stuff is discontinued? I guess I’m going to have to heavily ration the half bottle I have left!)
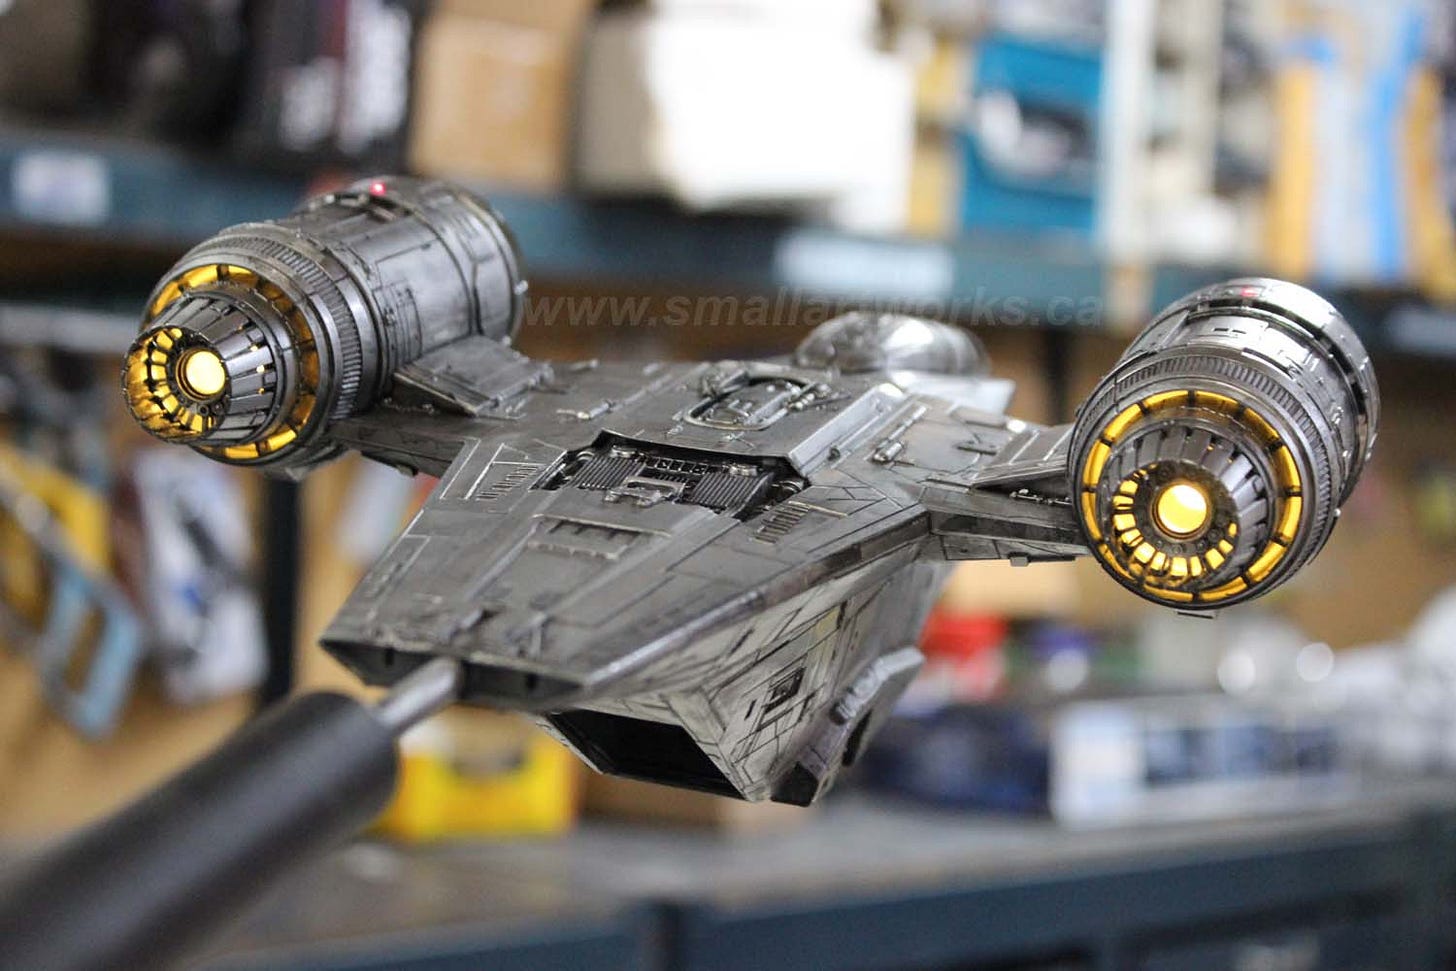
The picture below is an early test of the look of the engine lights after the model was weathered. Note the stand mount at the rear. The stand can be removed and a detailed hatch put into place instead. The red beacons on top of the nacelles are also visible. In real life, they are bright red, but the camera settings make them look pink here. Although lights are not included in the kit, it is engineered so the builder can do their own lighting easily. The lights really add a lot of life to the model.
The decals for the kit, most notably the yellow-orange stripes running down the sides with a chipped paint look, of course, were not yet produced so I had to print them myself. The artwork was done by Jamie Hood at Round 2 which I printed to decal paper using a bubblejet printer.
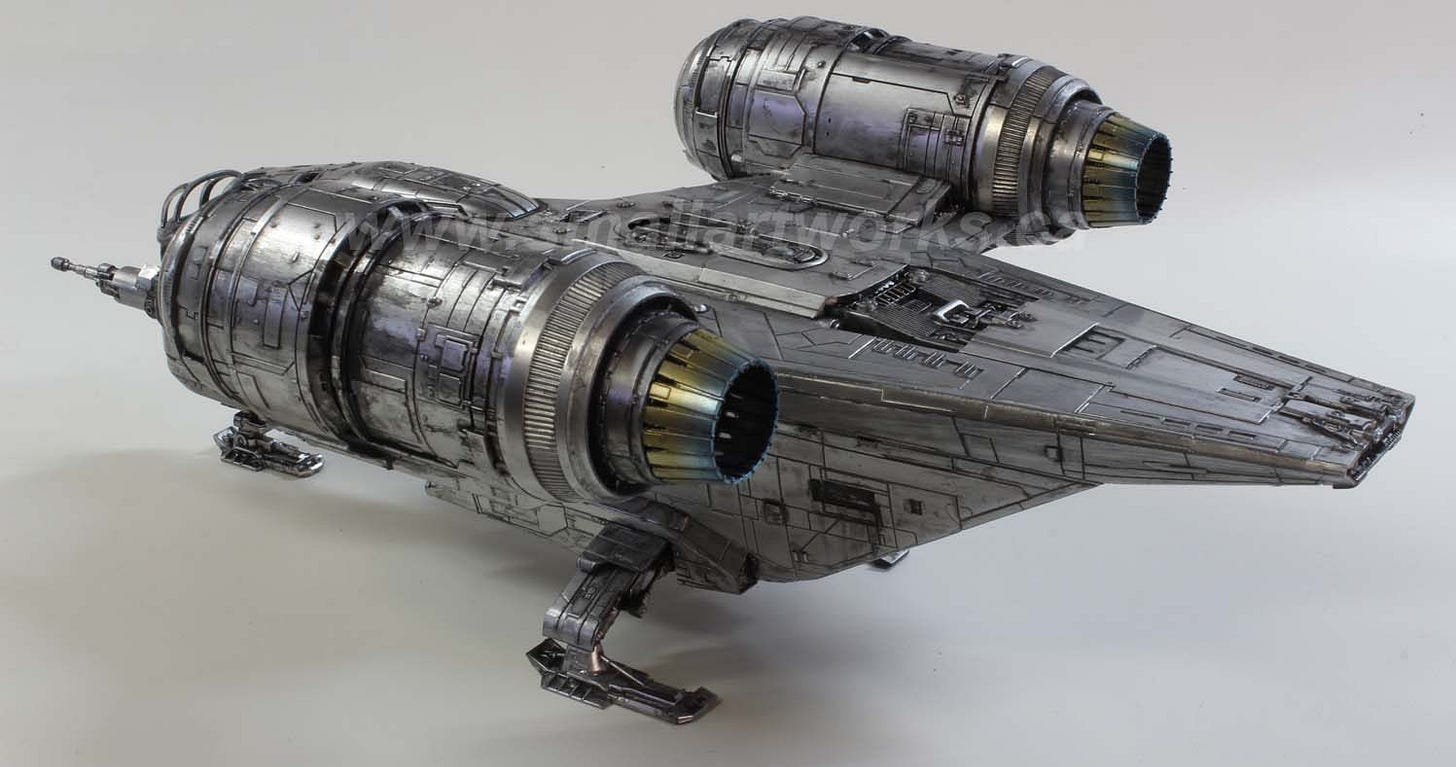
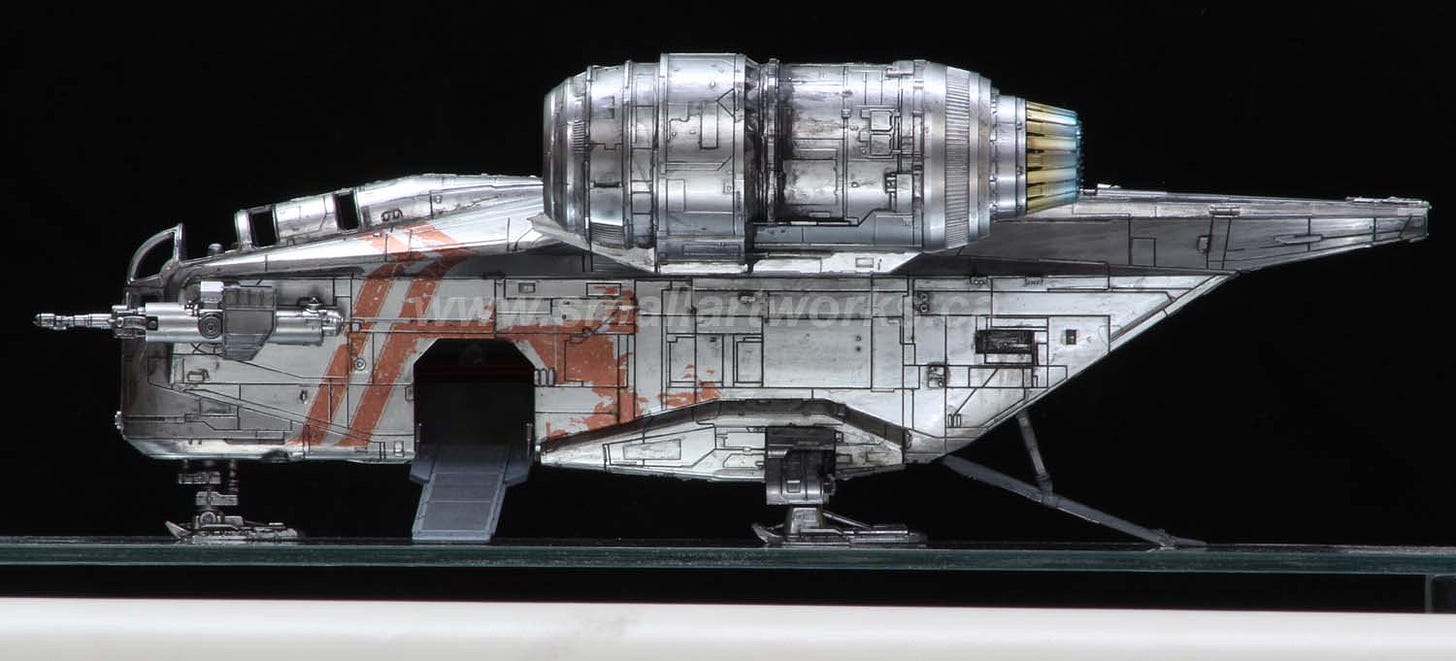
The problem with bubble jet printing is that the decals cannot be made opaque. Whatever colour is under the decals will show through. As first printed, the decals were too light using the proper colour yellow so I had to cheat and make them much darker orange to register, as the yellow was almost invisible when placed on the reflective silver surface. The darker orange would need to be colour-corrected in Photoshop by Round 2’s art department to reflect what the kit decals (which can be made opaque) would look like. The following pictures show the completed model.
This shot shows the use of the rear mount. This can easily be painted out digitally later.
The front mount is used here against a black backdrop. It’s covered with black velvet to minimize the need for digital clean-up.
Orthographic pictures are deliberately shot with lighting set as evenly as possible (the reflective surfaces presented somewhat of a challenge in this case) to show colour variations and decorations clearly. The model is either put on a mount, or, in the case of the model sitting on its landing gear, on a plate of glass suspended over a large mirror to bounce light onto the bottom surfaces of the ship. The glass and other extraneous elements are simply painted out digitally. The camera is equipped with a 300mm lens and is placed about 20 feet away from the model (the larger the model, the further away the camera must be placed). This provides a near blueprint-like picture that eliminates almost all perspective and parallax errors.
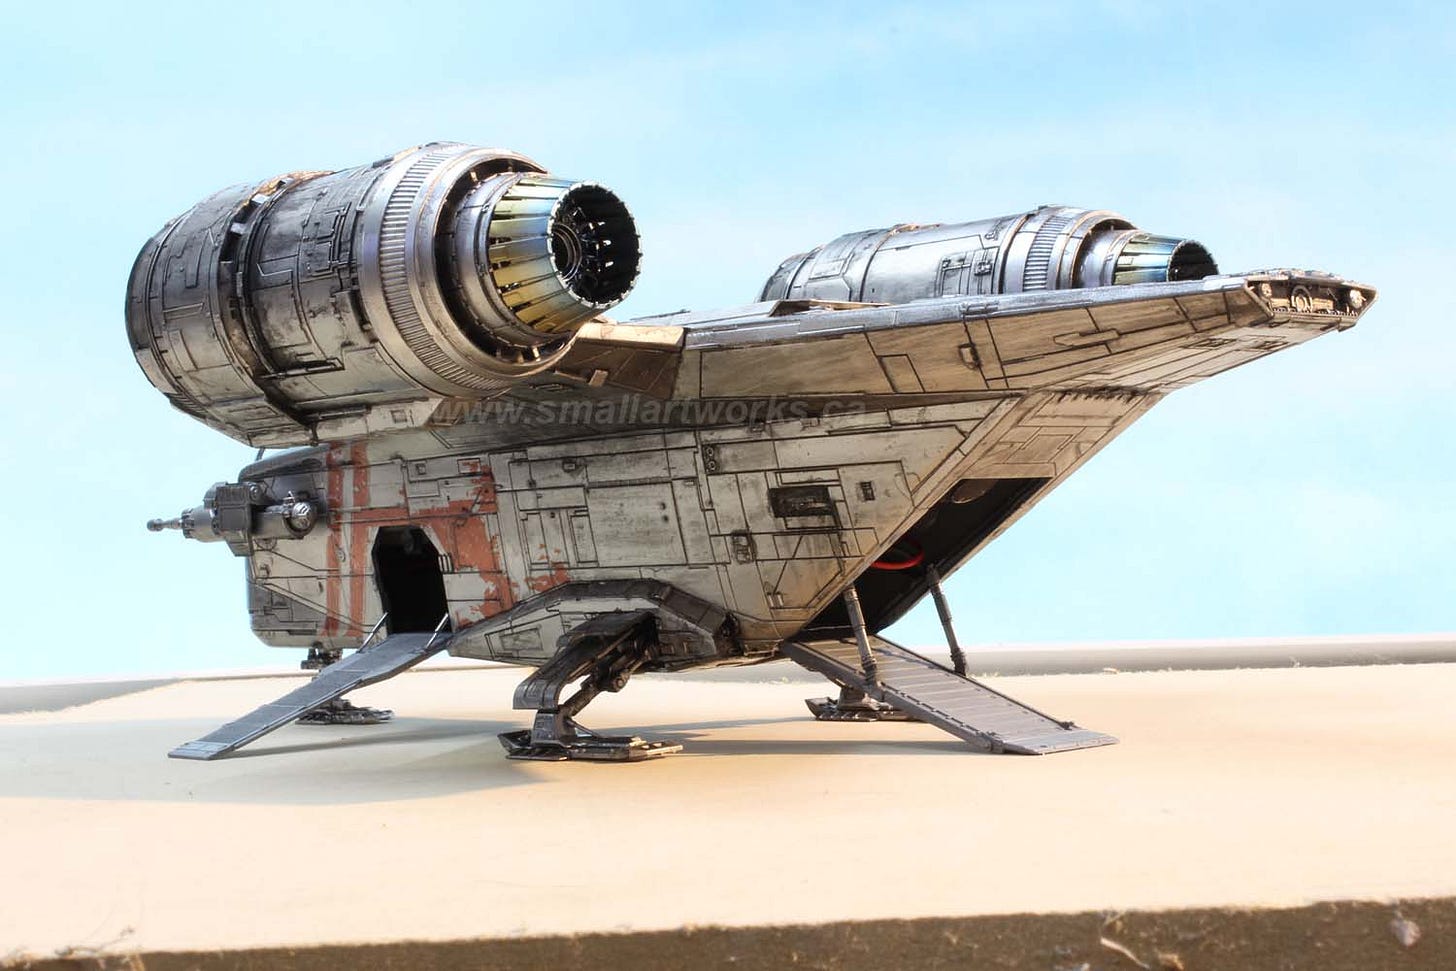
Below is a picture taken for a specific shot. There wasn’t time to build a full diorama, so I photographed the model sitting on an MDF board which is roughly the right “desert” colour and blue sky backdrop. The purpose of this is to provide the needed colour reflections on the silver surface of the model. Suitably lit with a key light simulating the sun, the ship and its shadow would be later composited by Round 2’s art department into a digital background for the box tray as you can see below, which shows how some of the photography was used. As usual, you can click on the pictures for a larger view.
Enjoy!








Great build Jim. I only have the tiny Bandai kit of this so far, but plan to acquire this kit and/or the Revell one.