
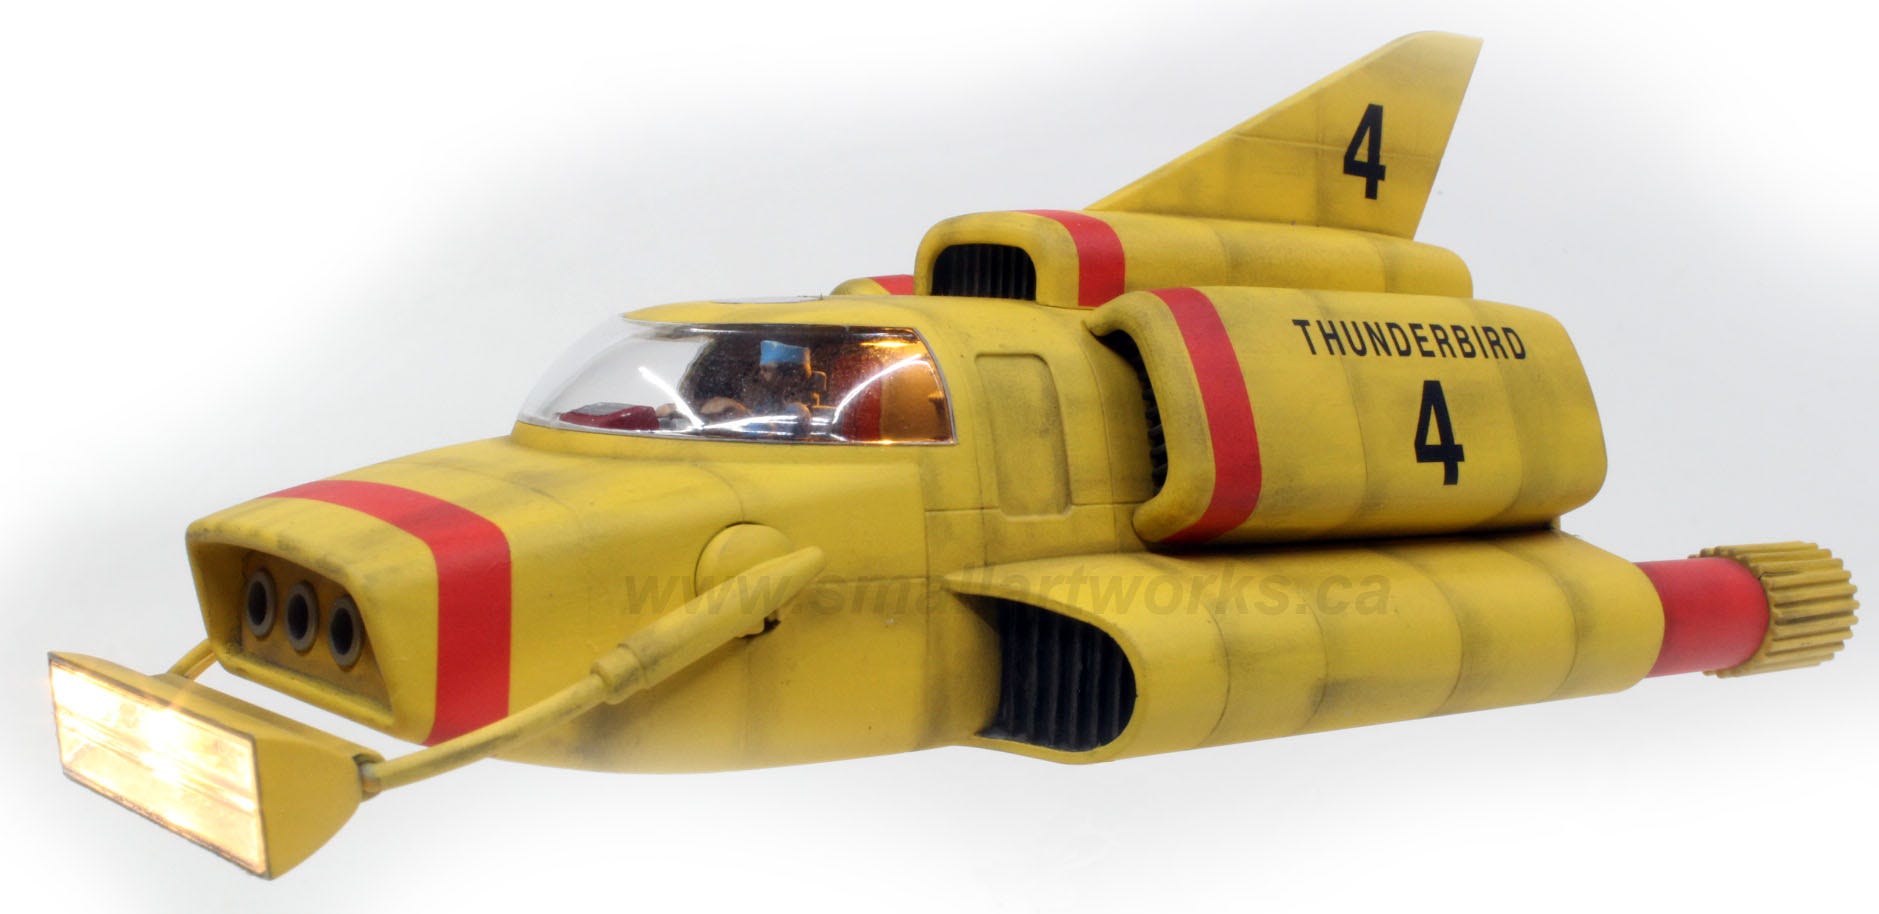
Thunderbird 4 is GO!
Here we GO again...

Now we explore the fun of building the Thunderbird 4 model kit, complete with lights, from AIP/Aoshima similar to the TB3 covered a short time ago.
As before, my buddy Dan wanted this model built to a standard that he thought he could not do. I have news for him… He CAN do it now, since as you read in a previous post, he learned how to do it when he visited me for a week. But, this model was built a while before he visited so I took on the project and am just posting it now. I’m hoping that he will take on more projects himself instead of hiring me….. (Wait… what the heck am I saying!? I’m shooting myself in the foot here, aren’t I? I build models for a living! So yeah! Hire me!)… Well, frankly, I do want to inspire more hobbyists to do things for themselves as it’s so much fun… and… if I can do it… you can do it. Patience and knowledge (and the right tools) are the key, right?
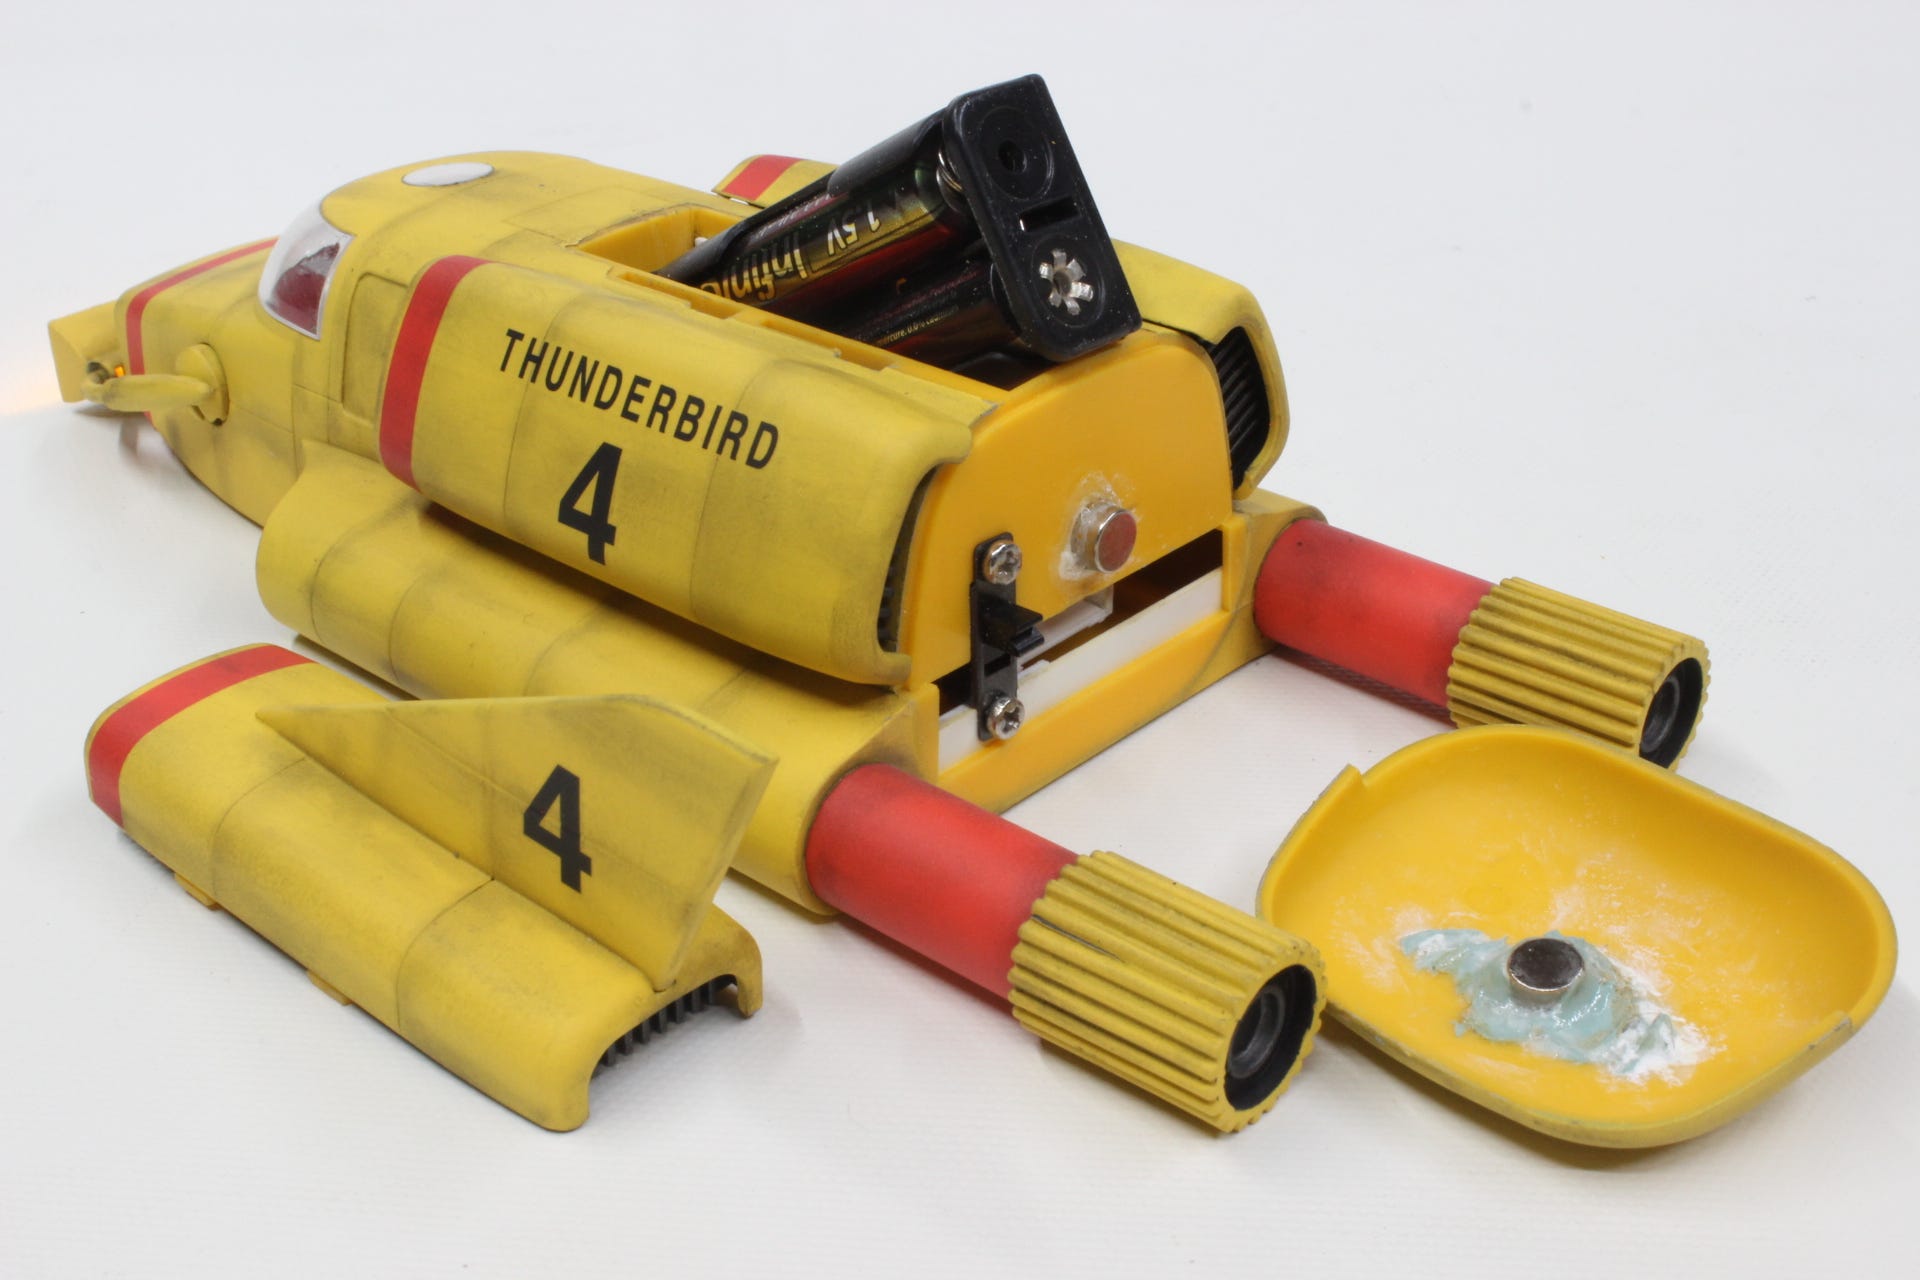
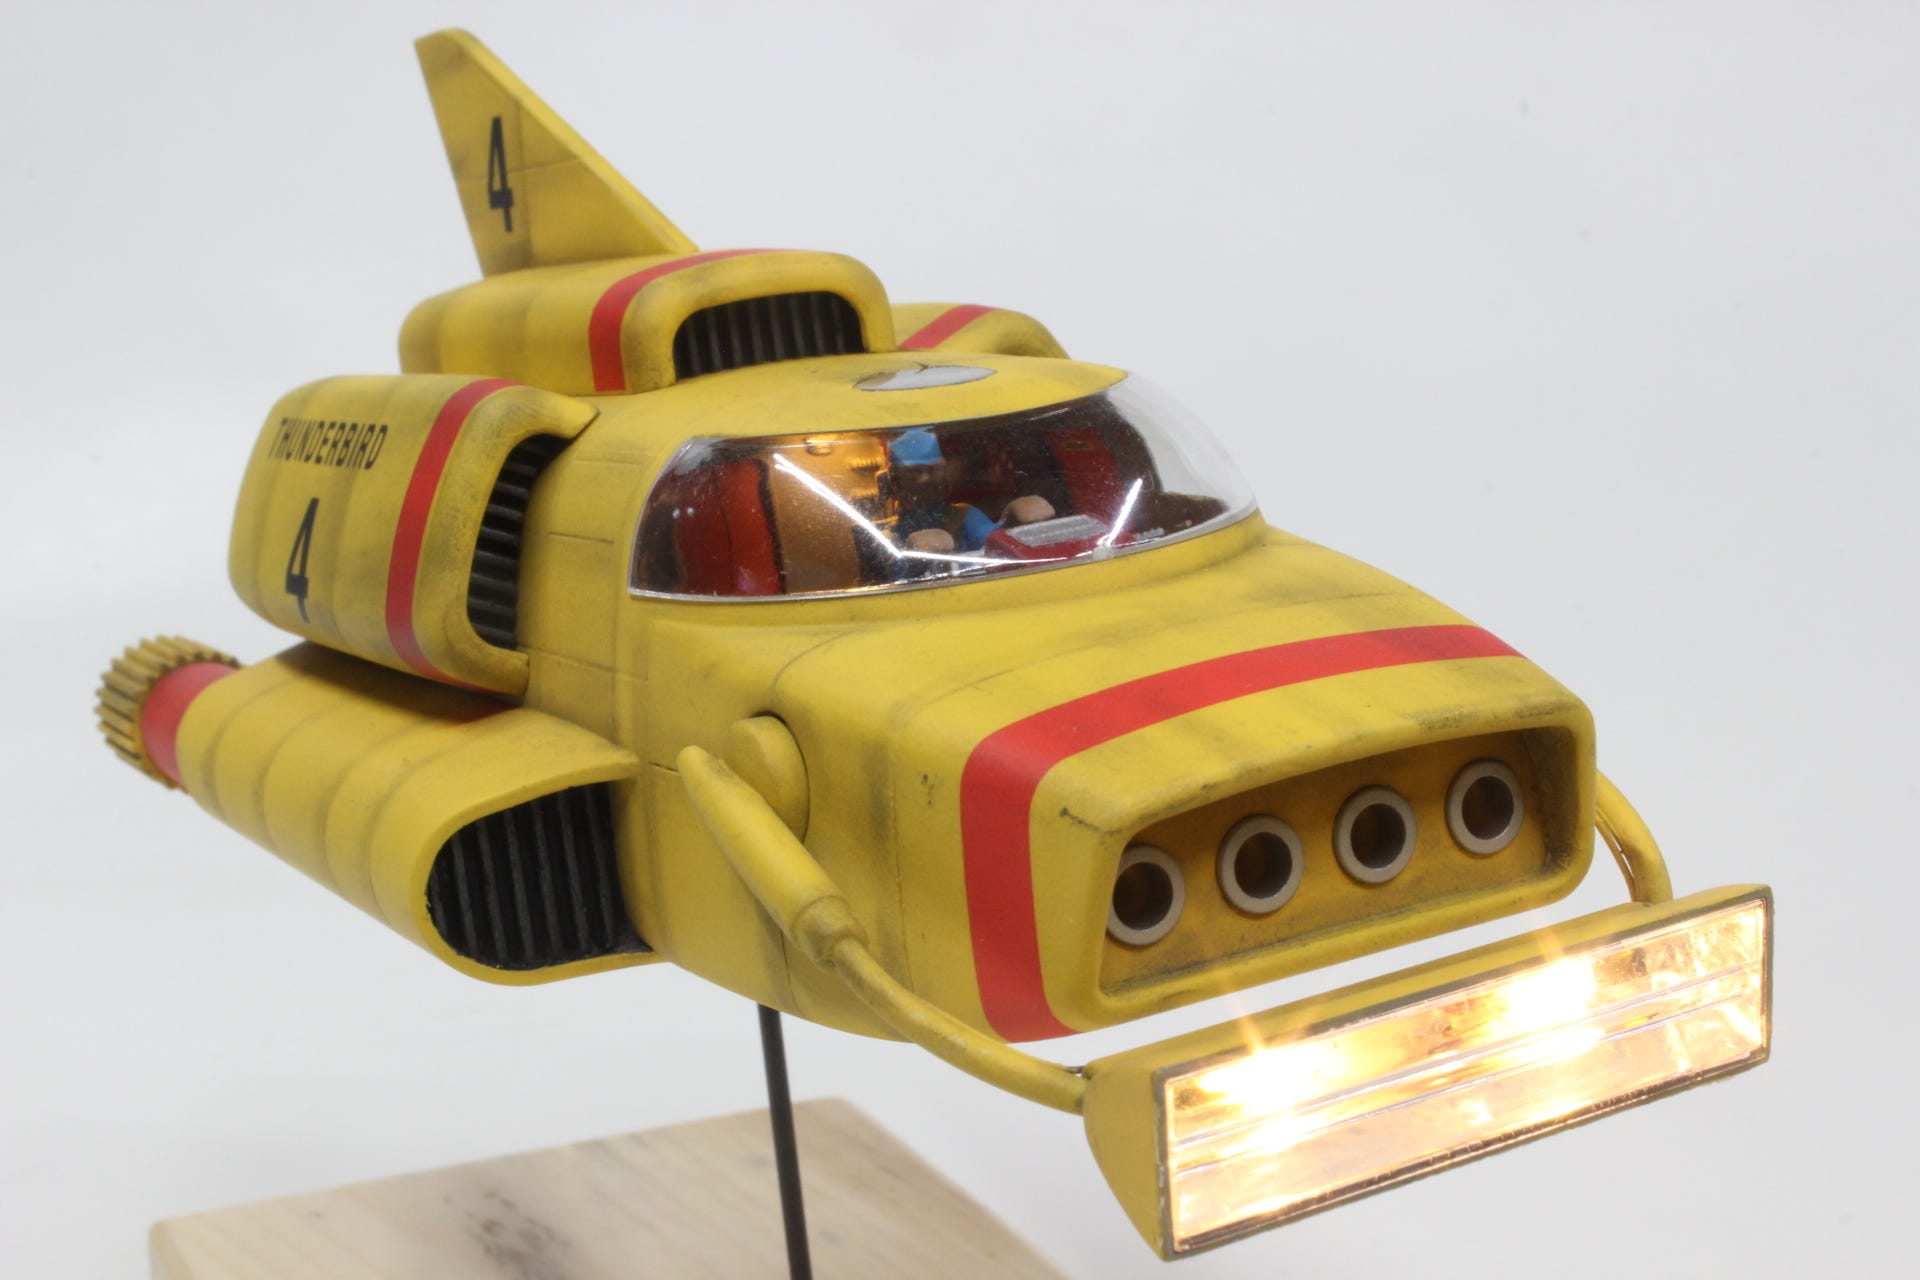
The kit was built mostly “box stock” with a few modifications. The kit included ONE “grain of wheat” incandescent bulb which was to go into the “light bucket” on the front. This was unacceptable as we all know that there should be TWO lights up front in that bucket (based on the way it looked in the show), and LEDs are the way to go these days, especially since micro miniature LEDs can now have the colour temperature and size of the smallest of incandescent bulbs, therefore mimicking them. The LEDs used in this case were robbed from a set of those really tiny Christmas string lights that you find in the dollar store, cut to a shorter length and soldered together for the right spacing between the two.

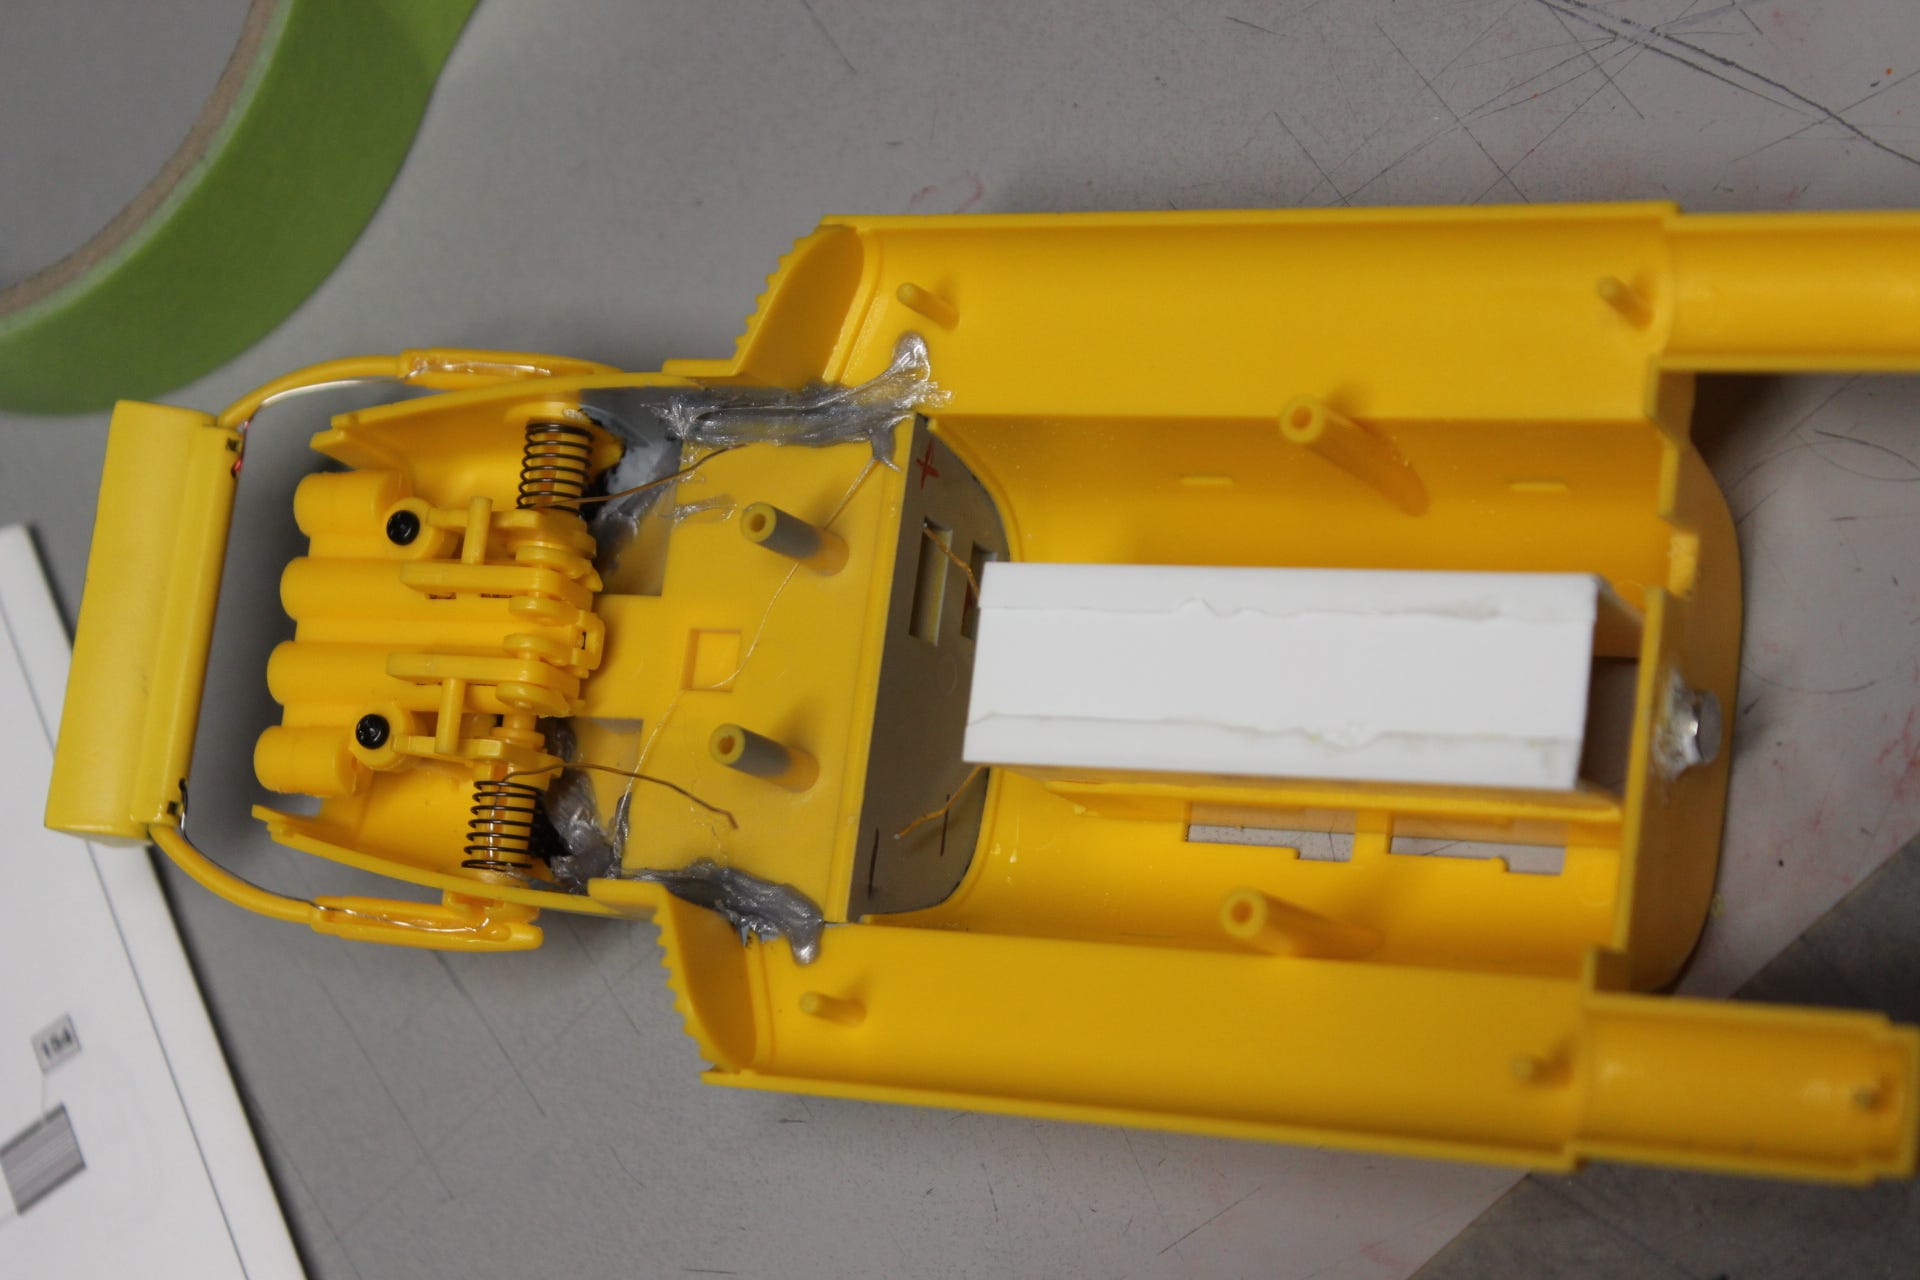
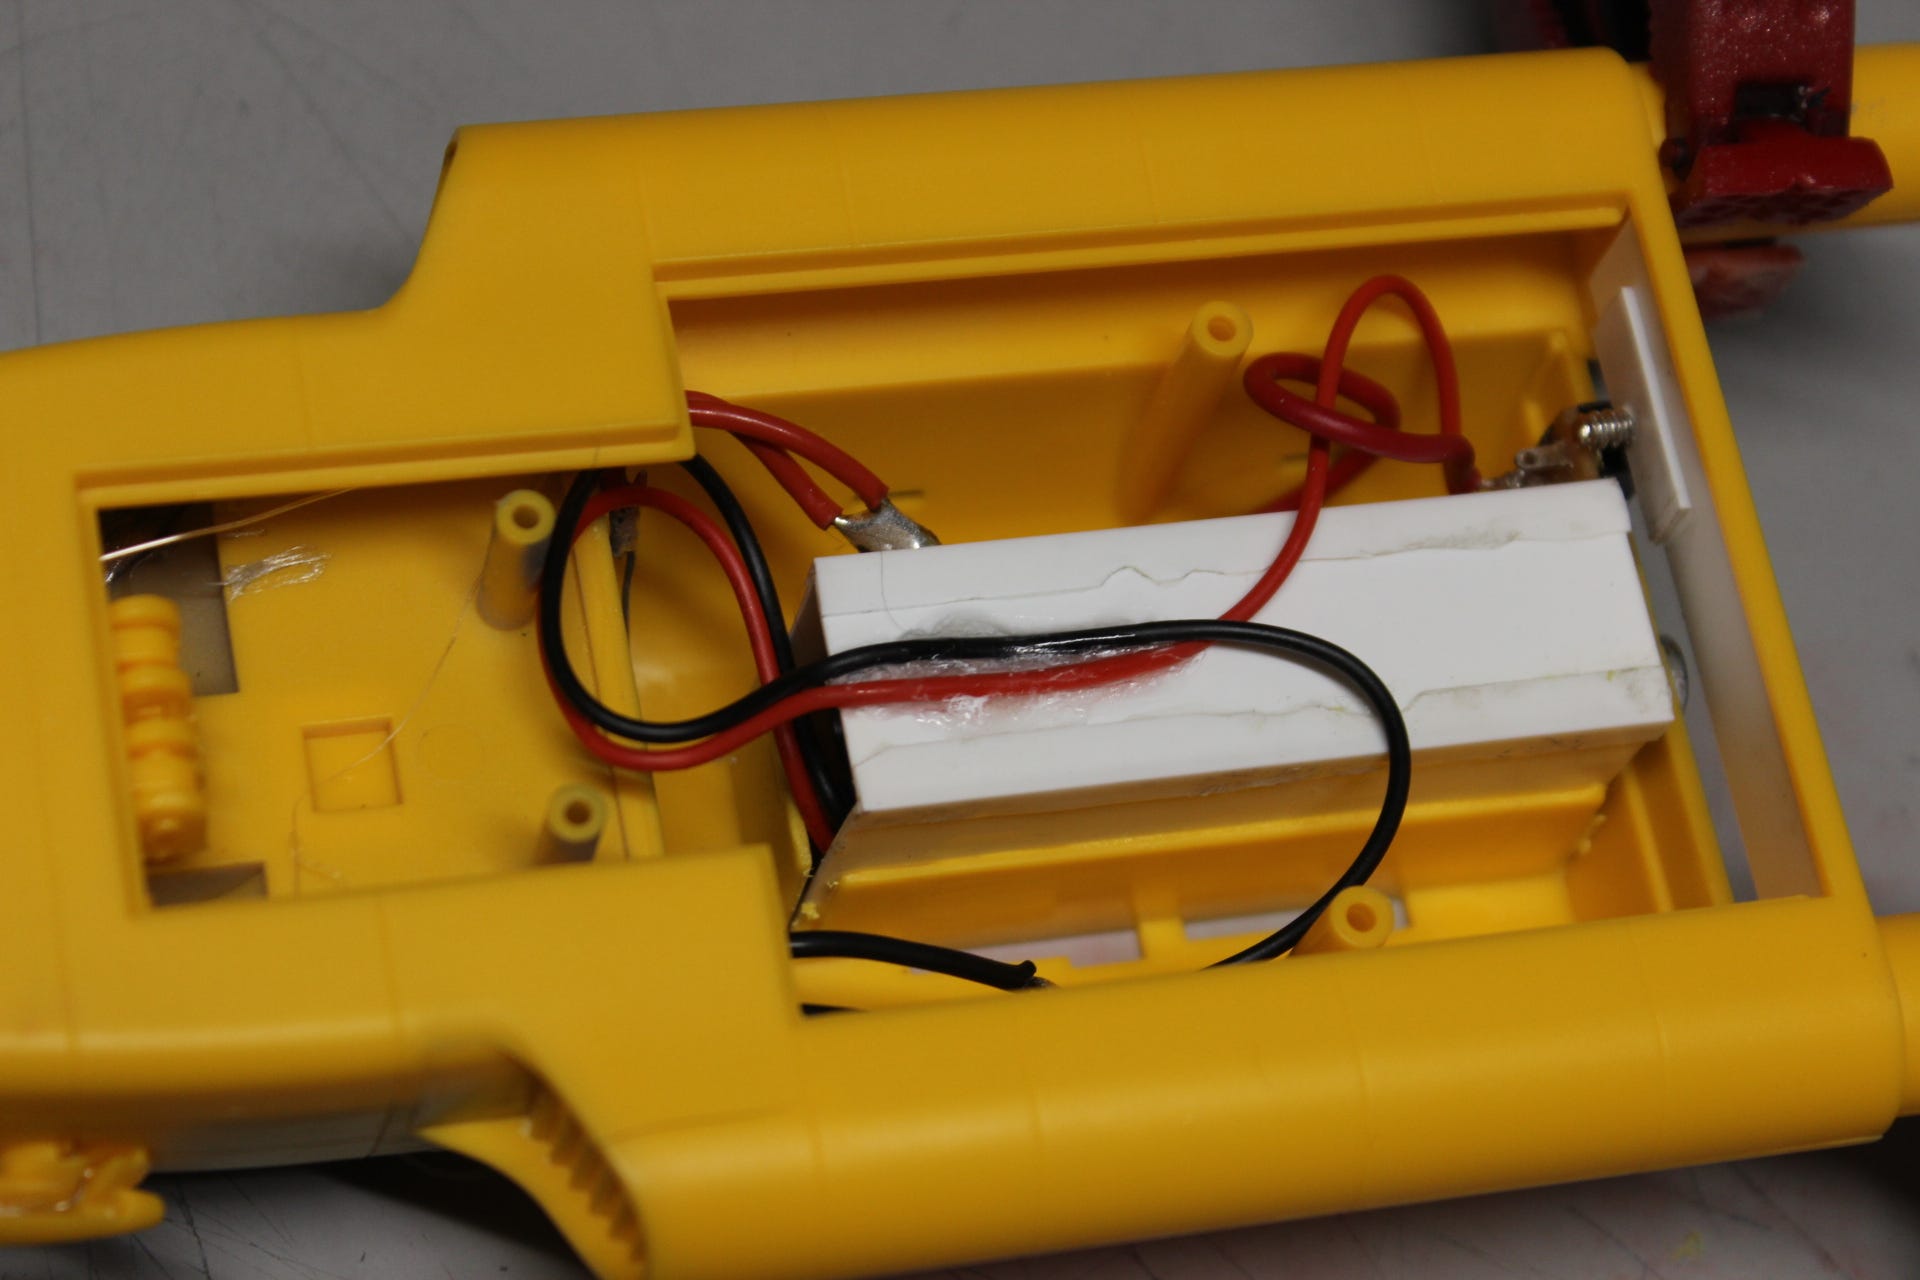
I needed to increase the size of the battery box section that was included in the kit (under the vertical stabilizer section) with sheet styrene construction (shown in the following photo in white, which also shows how the fine wiring was routed), and also Dan wanted the switch to be hidden, instead of being obvious under the bottom of the model as standard with the Japanese kit.
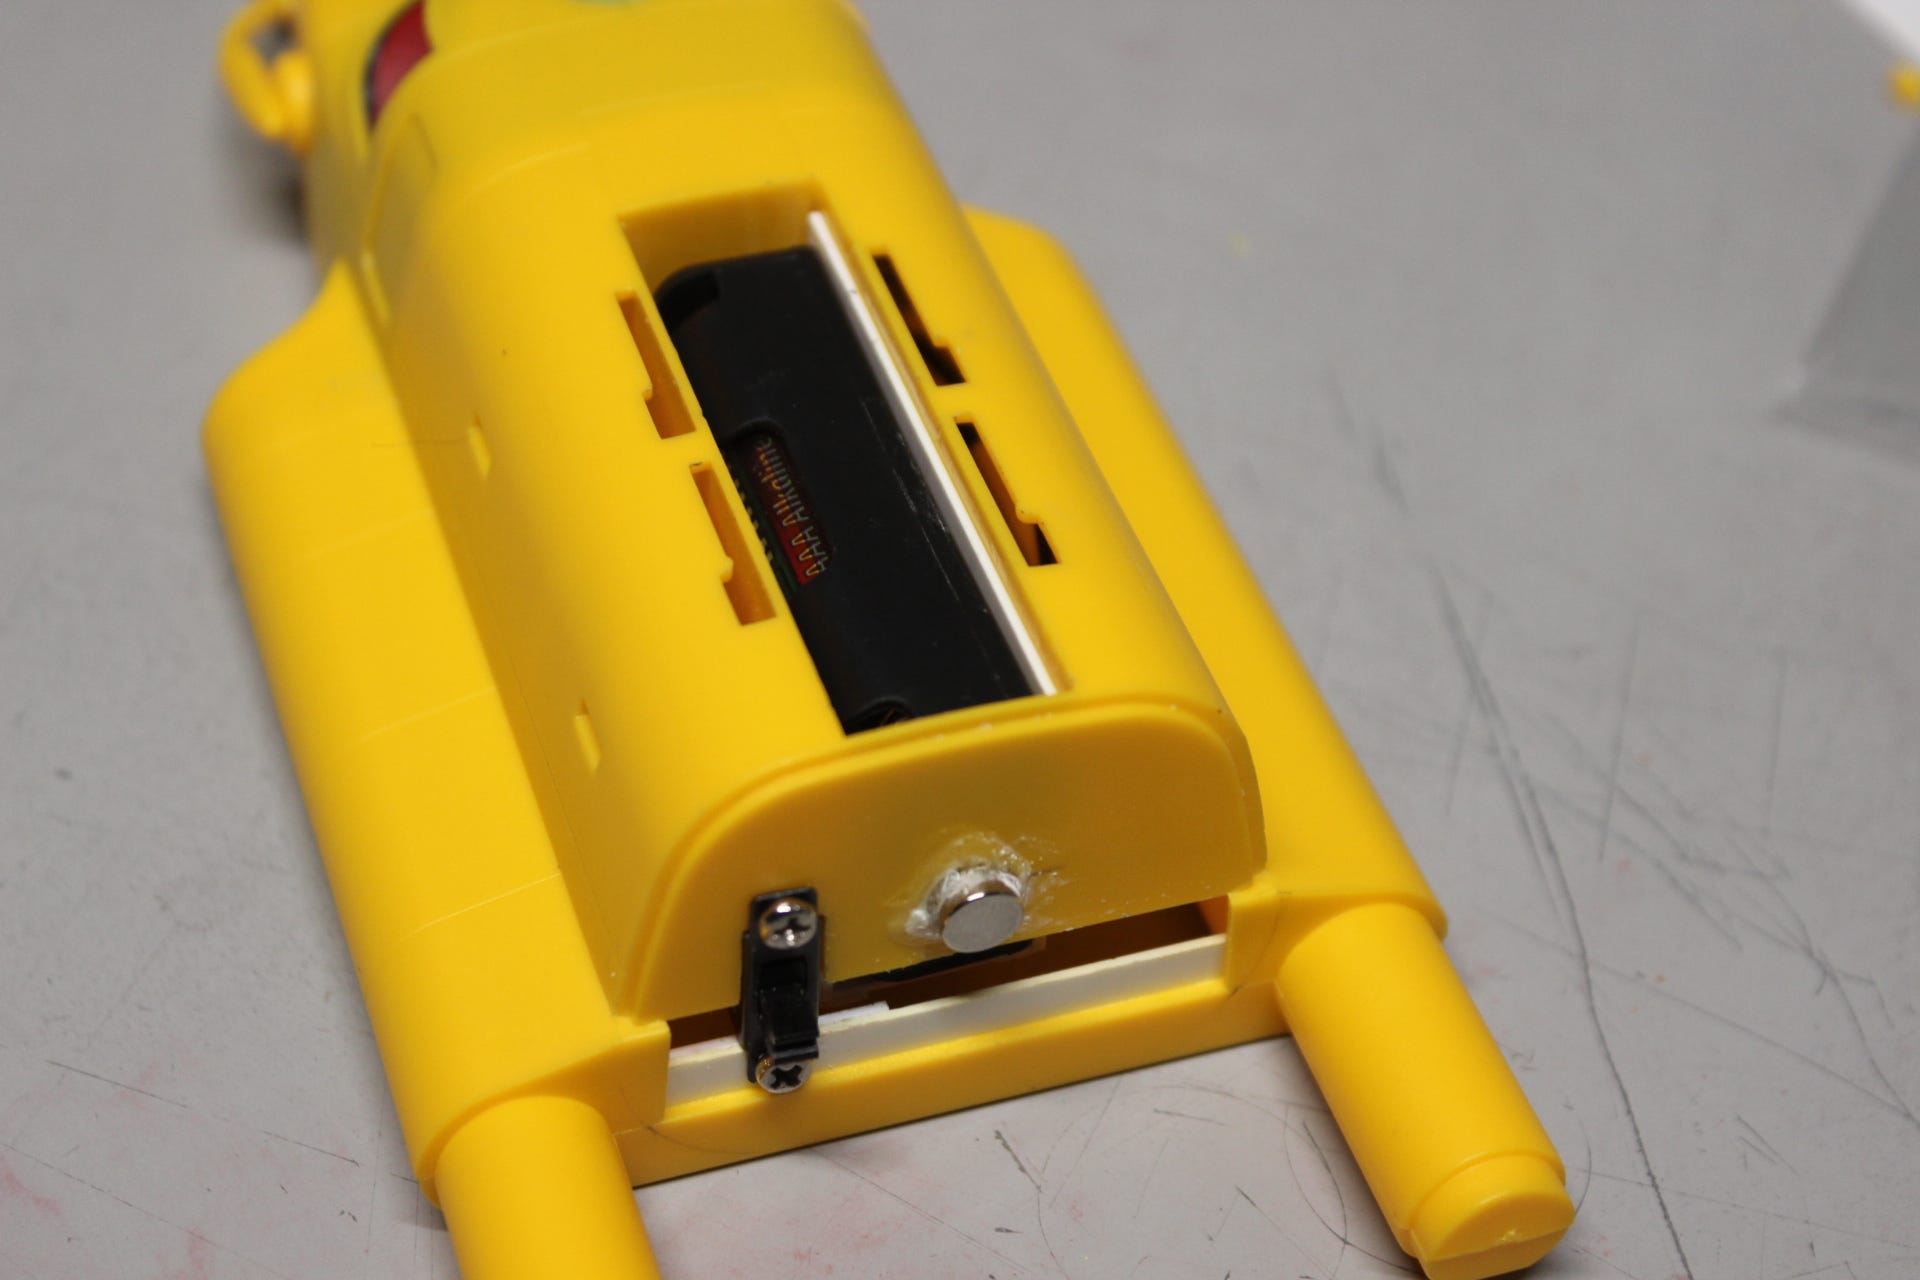
The switch was mounted in the back and the rear bulkhead (or what ever it is) can be removed to throw the switch as it’s held in place with magnets.
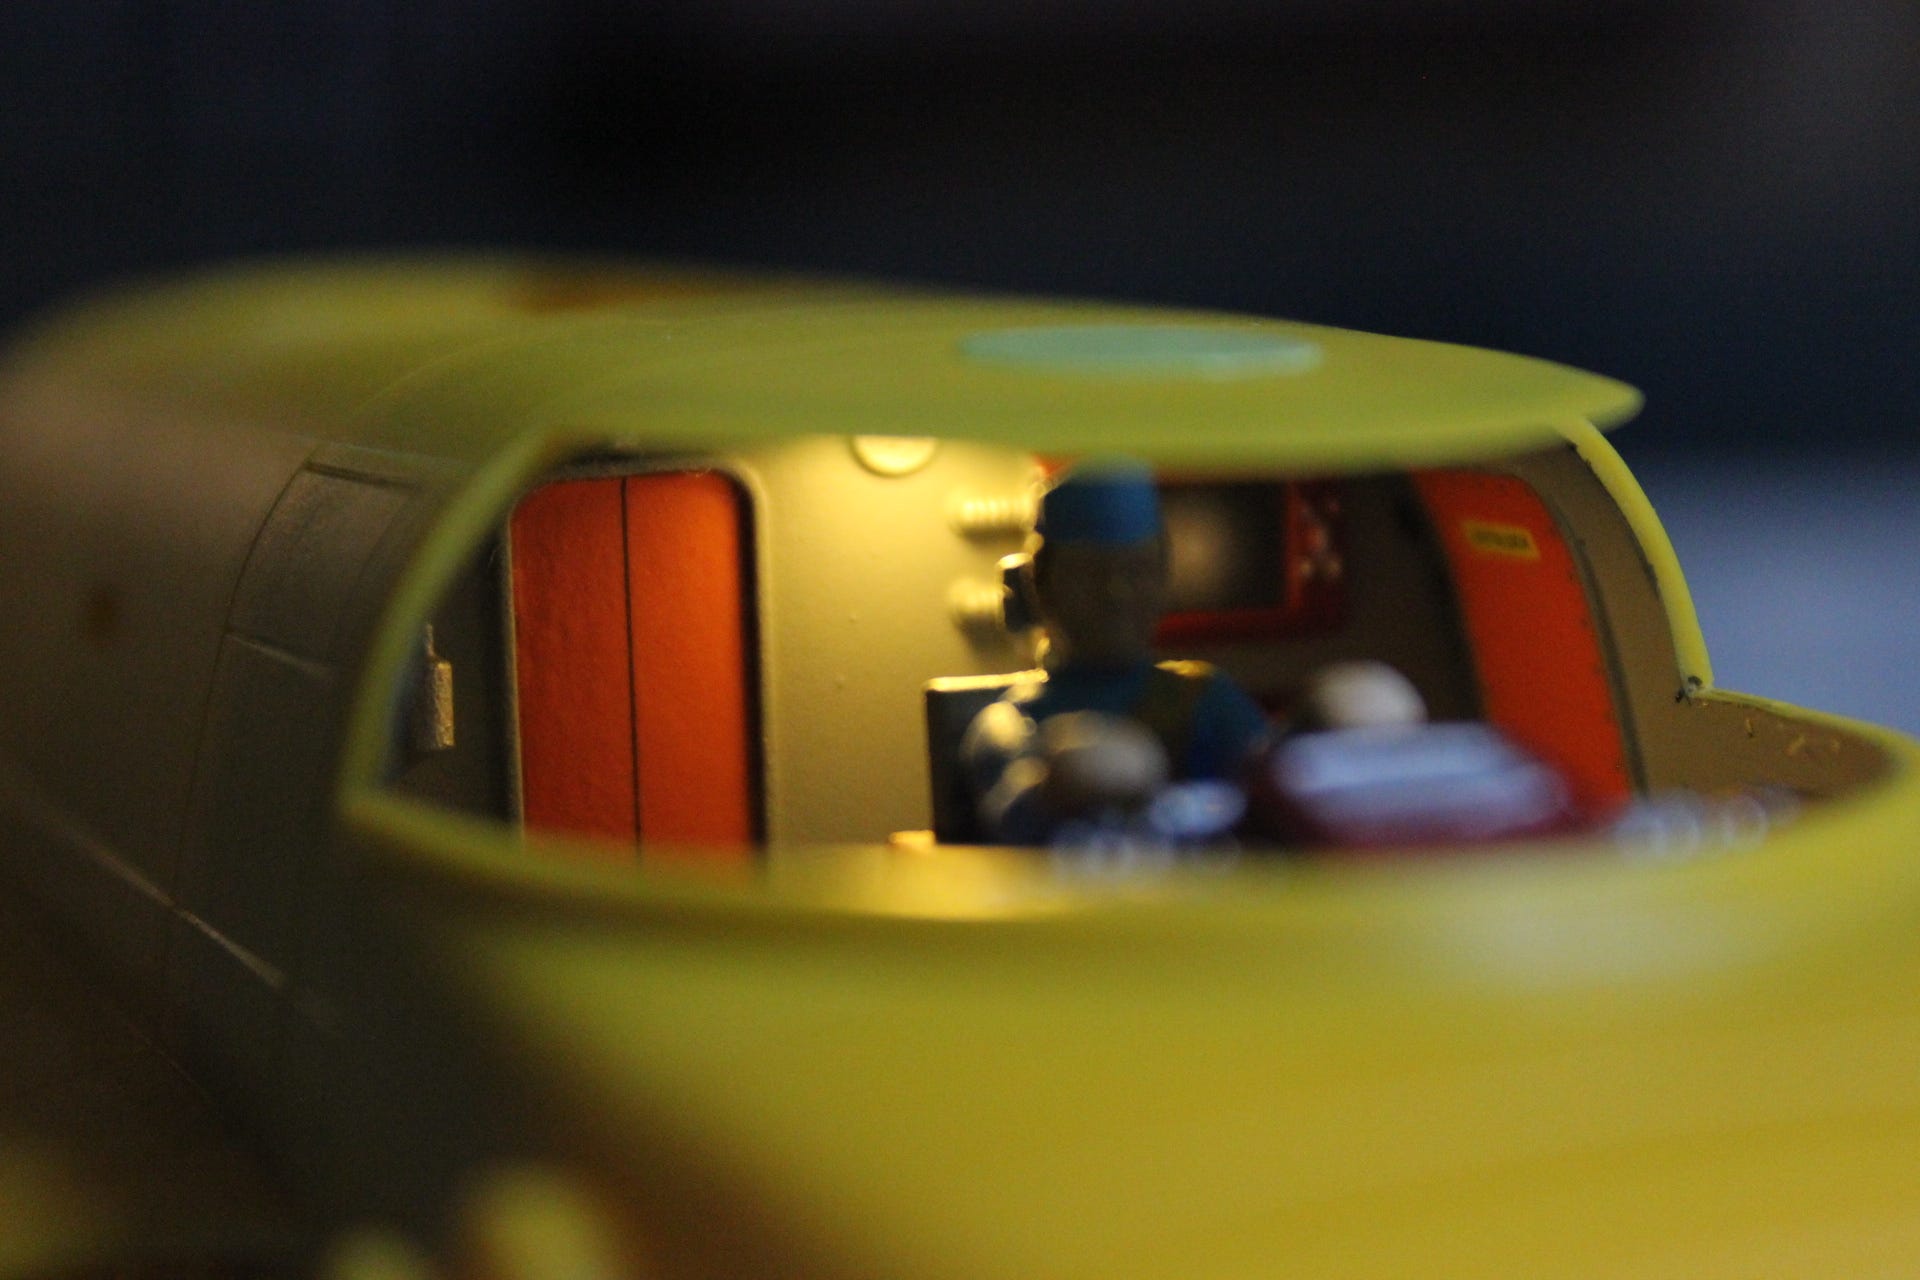
He also wanted the cockpit to be illuminated so a warm white rectangular LED was placed in the roof near the cockpit wall.
The bottom of the kit’s “toylike” features and screw mounted plate were disguised with painted stickers to hide the screws but still allow for servicing of the model in the future should it be necessary. They were weathered to look like deliberate access panels or whatever. This is the way some VFX studio models were done back in the day as well.
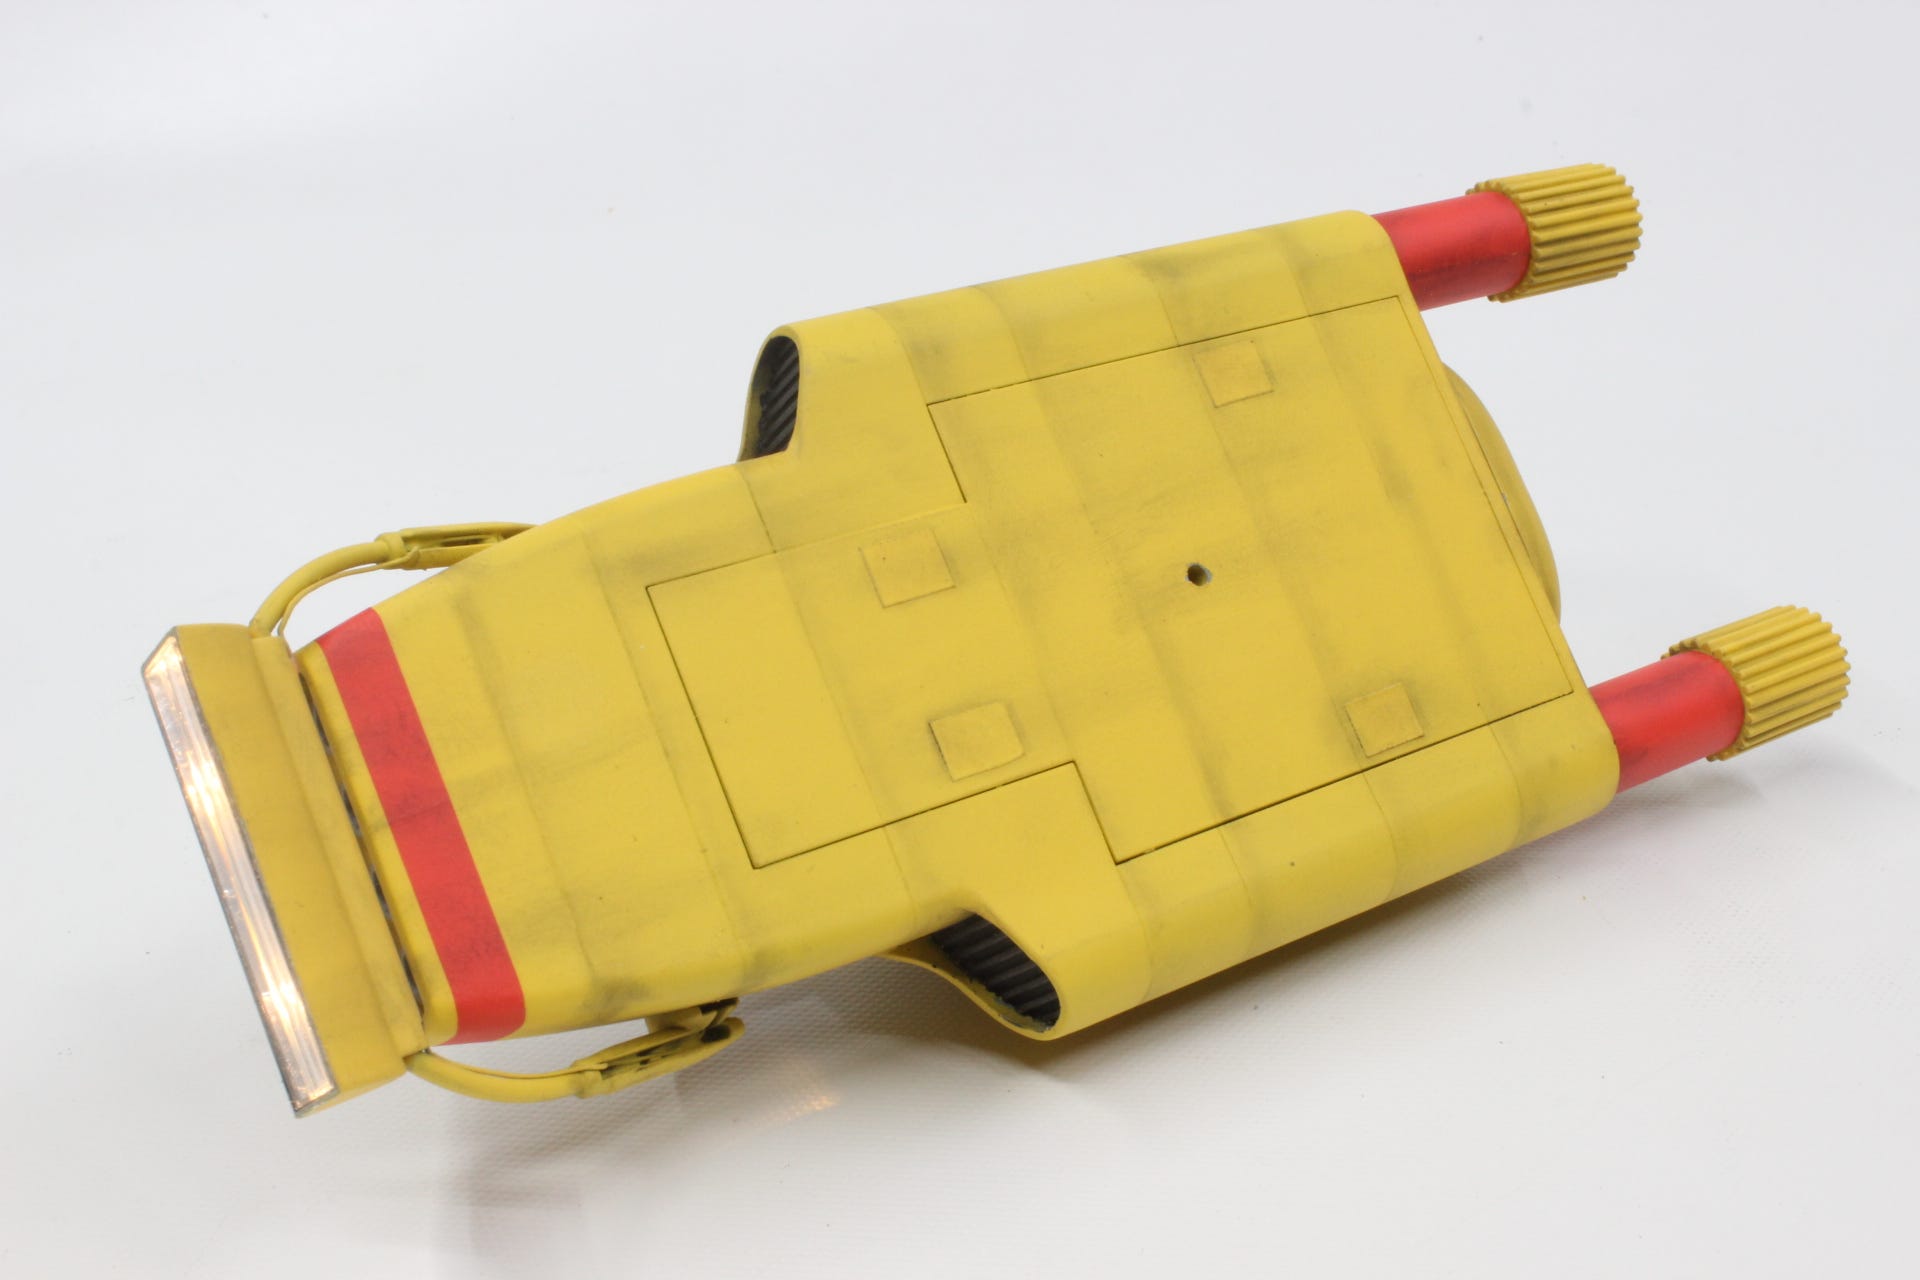
The tiny hole in the middle was an existing part of the kit. I used it to accept a thin metal pole that could suspend the model on a quickly made wooden stand as shown below.
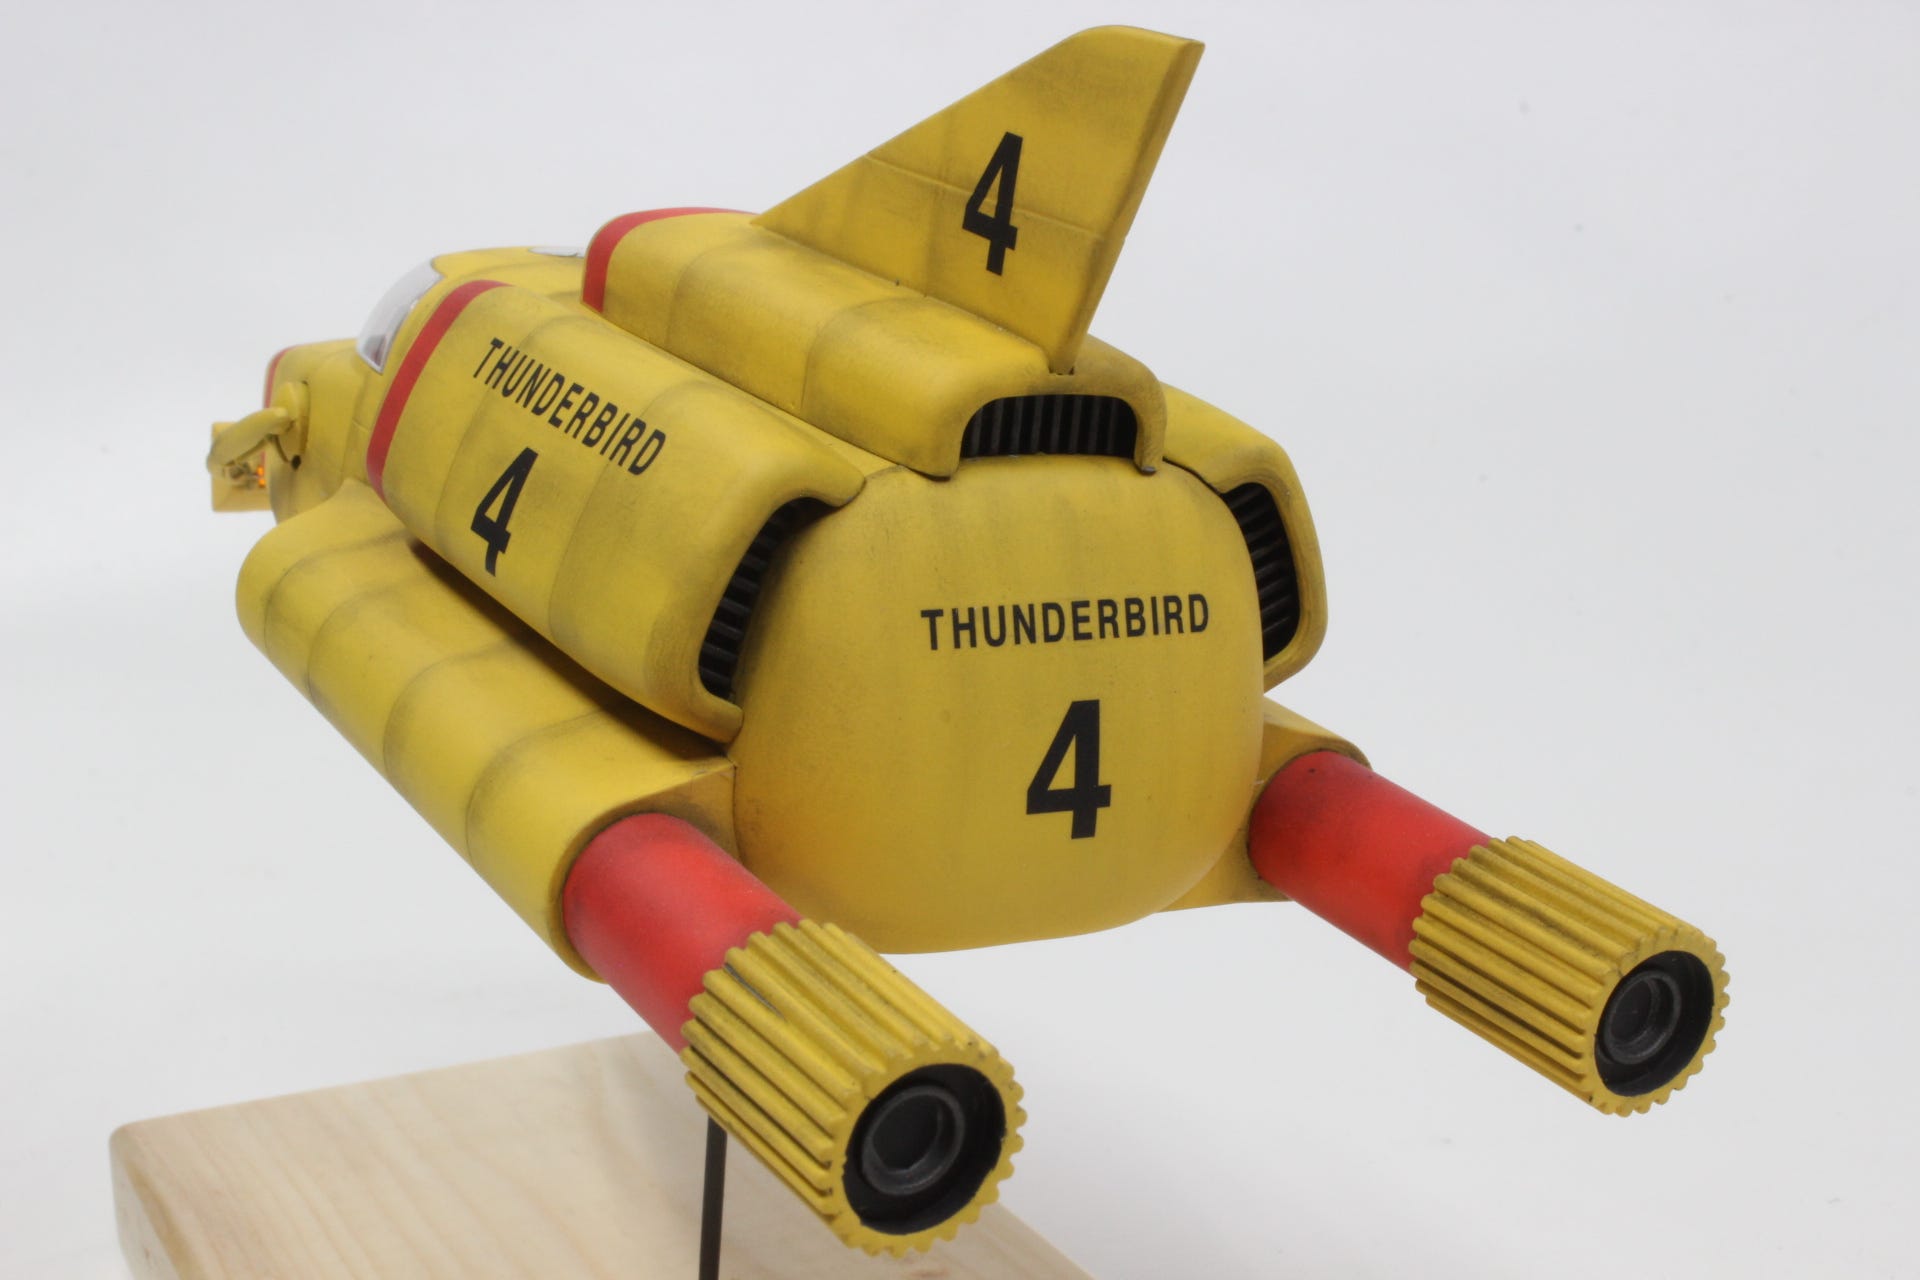
Weathering using chalk dust completed the look.
I hope you liked this blurb on the building of this little kit.
I also hope this inspires you to build models of your own. But if you really don’t think you can do it, I am at your disposal to build them for you if you so desire. Just send an email to “jim@smallartworks.ca” with your request, and I’ll do my best to accommodate you.