Jamie Hood at Round 2, who had recently acquired the license for Star Wars, decided it was time for a perfectly accurate TIE fighter as seen in the original films. He therefore hired Charles Adams to build a CAD model of the TIE fighter based on known documentation of the original studio miniatures. Charles has successfully built a number of CG models for Round 2 with exceptional accuracy (such as the Star Trek “K’tinga” and “Kronos One” models currently available as well as a personal favourite of mine, the “USS Grissom”) and therefore was the perfect choice for further projects.
To make a long story short, Charles built the model and the Chinese factory made it to his specs and we now have the most accurate and largest model kit of the iconic Star Wars fighter ever made! The following is how I built the model you see on the packaging and publicity materials for the kit.
First of all, here is how the “test shots” looked when I got them from Round 2…
(As usual, just click on the pictures for higher-resolution versions…
Yeah, nothing special. Just a couple of bags of parts packed in a box.
Anyway, I unpacked them and sorted them out. Here’s one kit's contents all laid out to examine.
The quality of the parts was instantly visible. This was obviously the ultimate TIE fighter kit like nothing ever released before. I was really stoked to get this thing built! I began immediately.
BUT!
I wanted to take advantage of the ability to light this puppy up, so I began figuring out the wiring needed.
I used single-cell battery boxes that could be hidden in the “axles” of the fuselage and wired up LEDs for the floor, cockpit, guns, and engines.
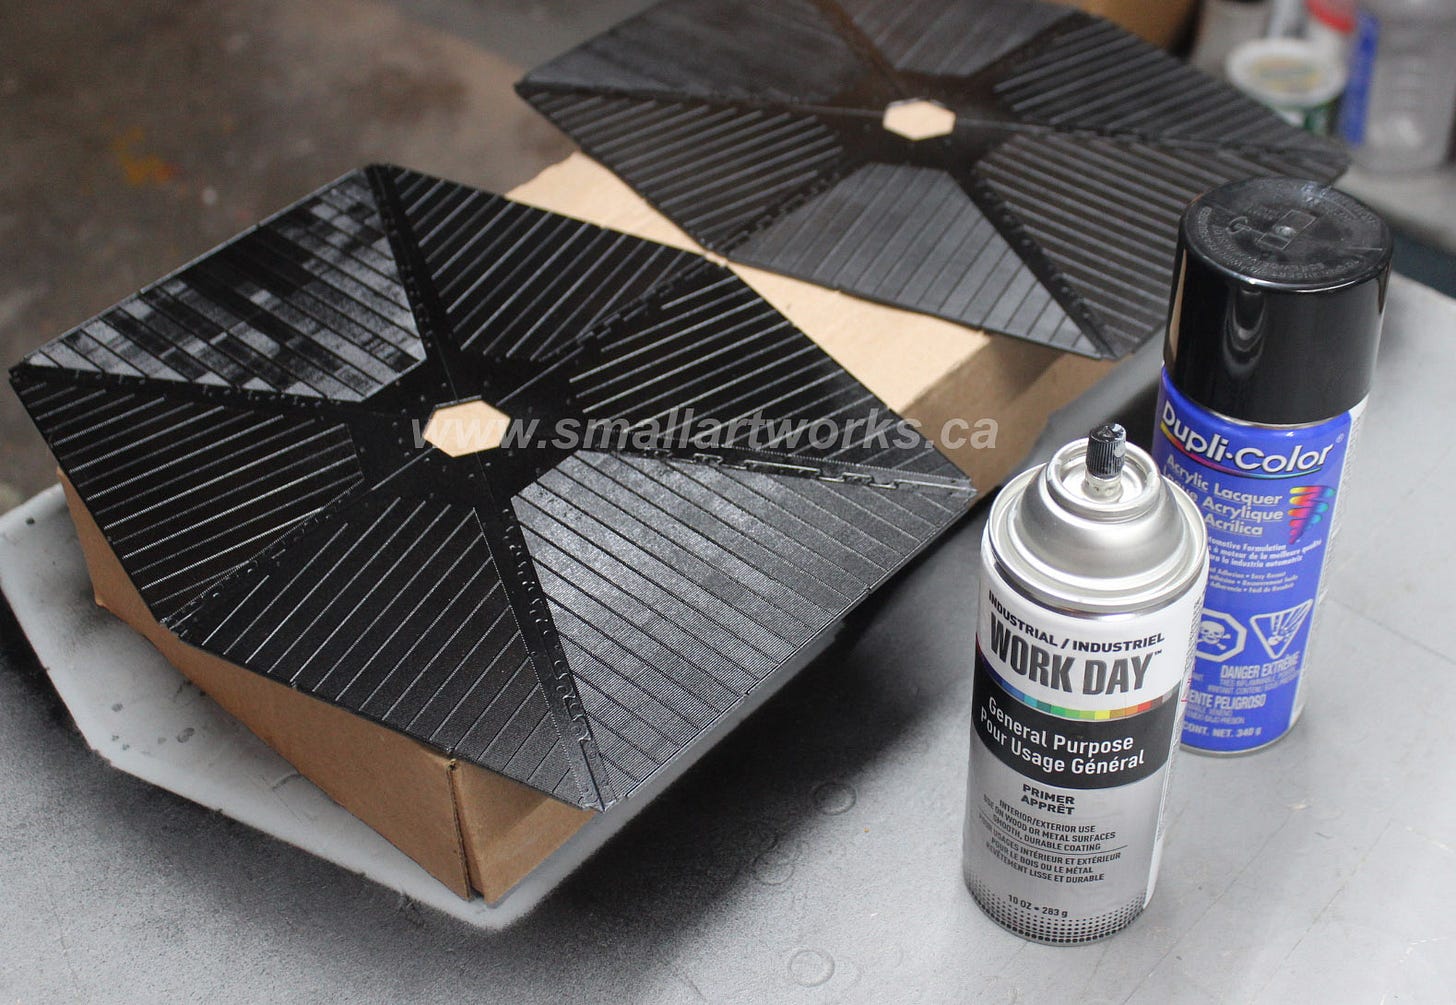
The “wings” were assembled and sprayed with primer and then gloss black before the assembled and painted frames were added.
Here you can see some of the painted interior parts before final assembly…
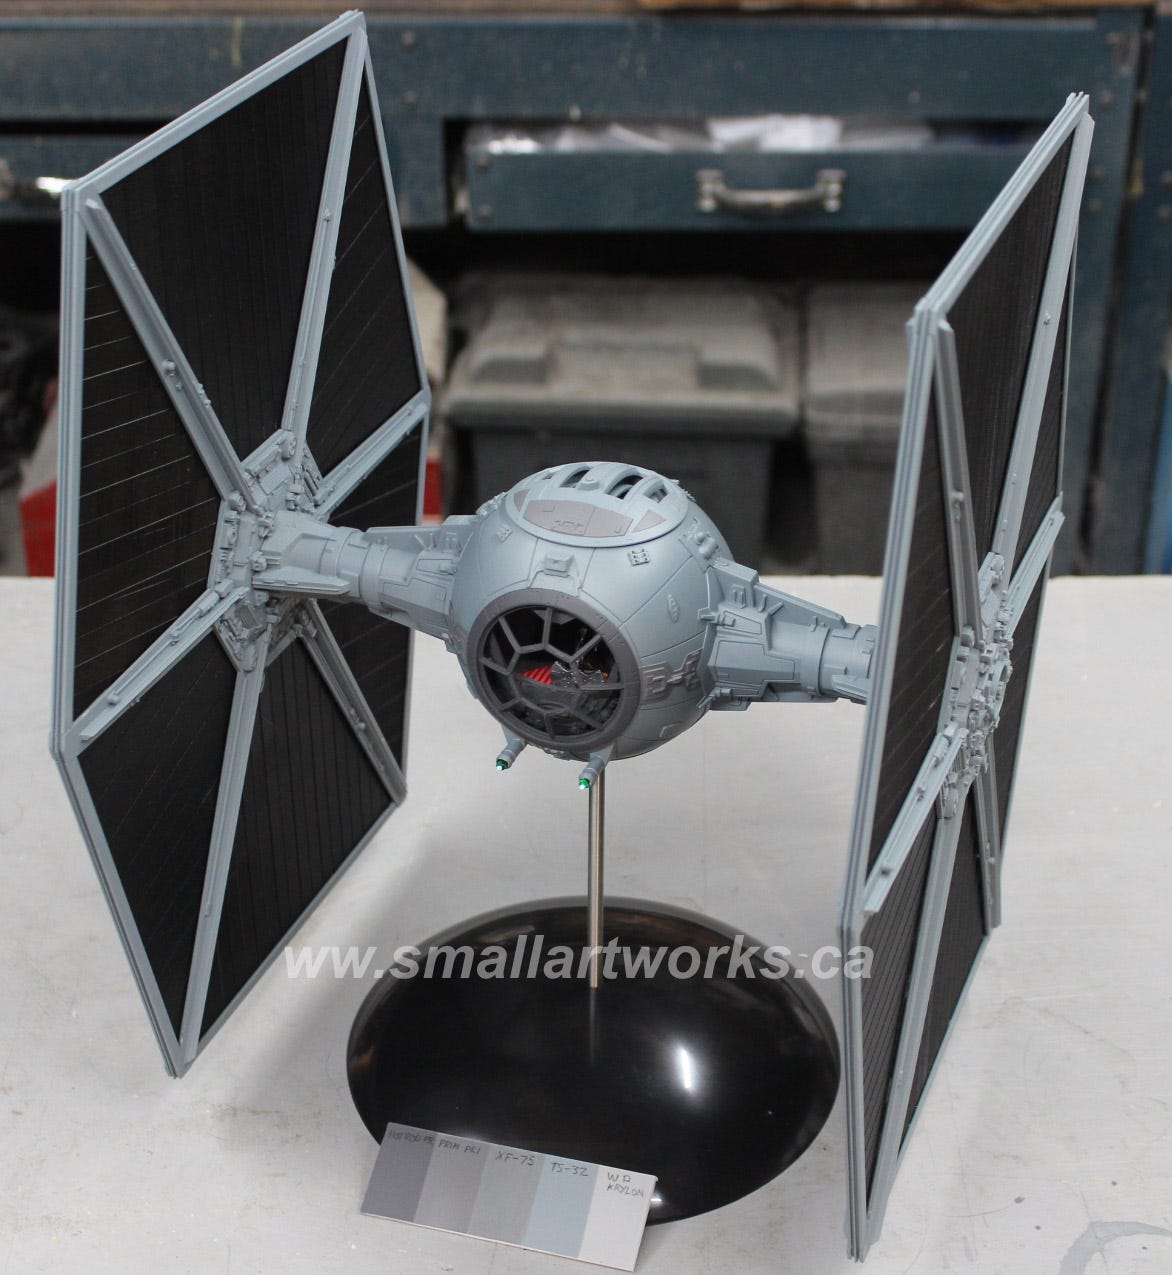
Here are the main paint colours used on the model:
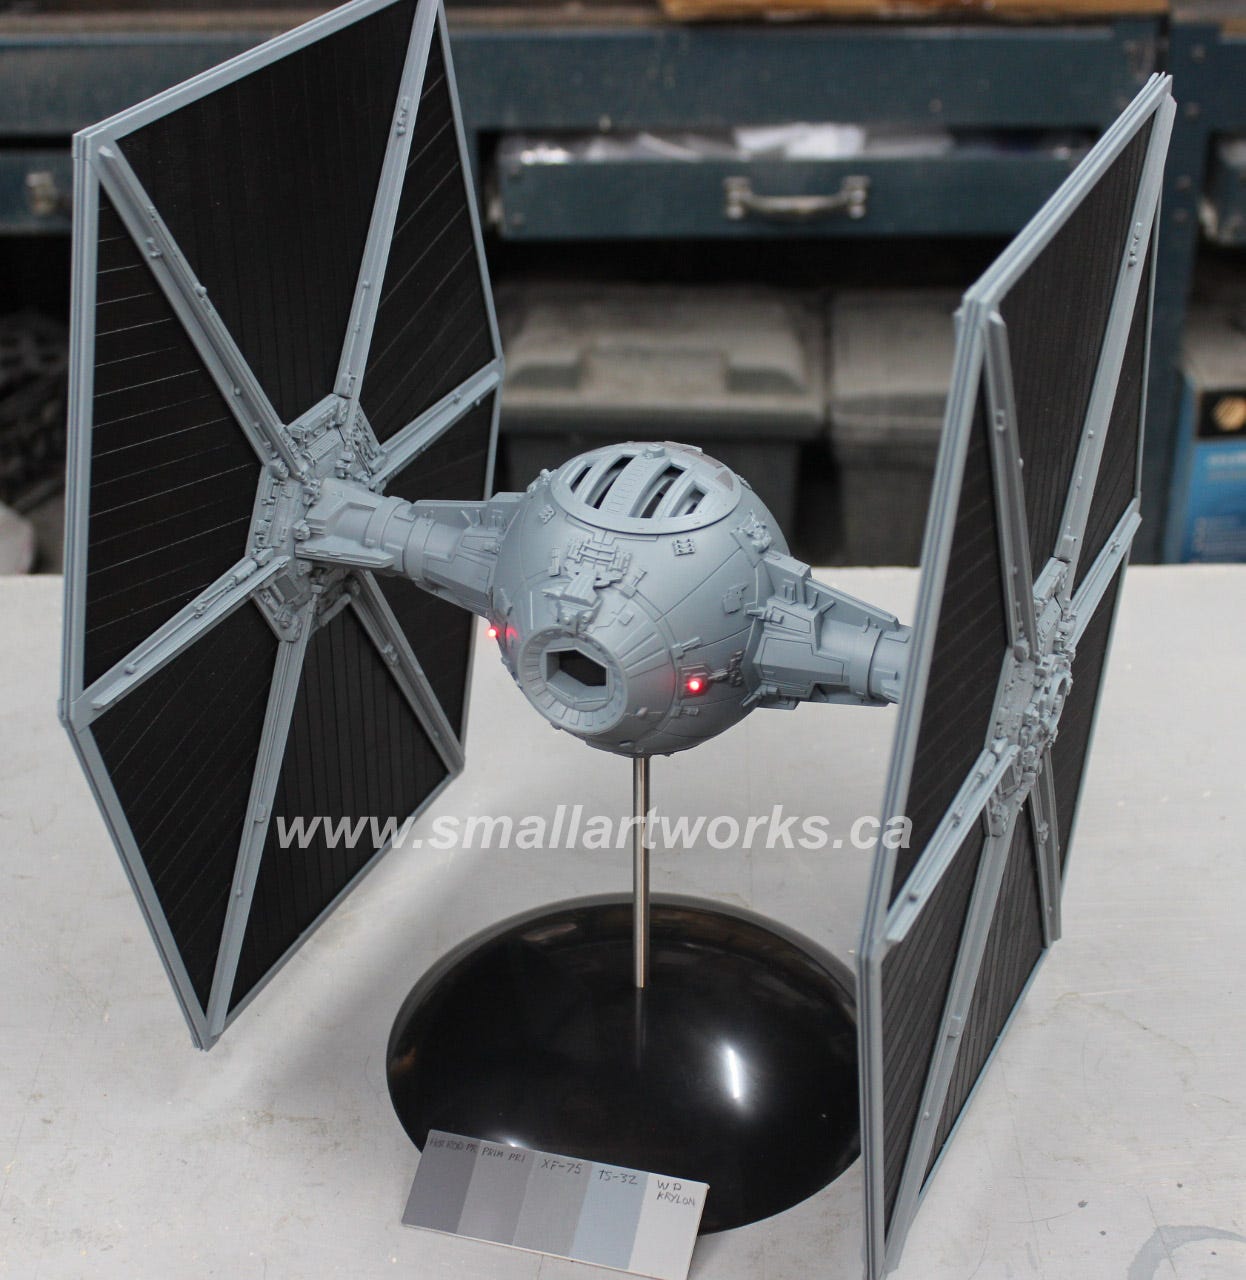
Tamiya TS-32 is the main colour used on the overall model. It is a nearly exact match (as close as you can get) to the original ILM miniatures’ paint job.
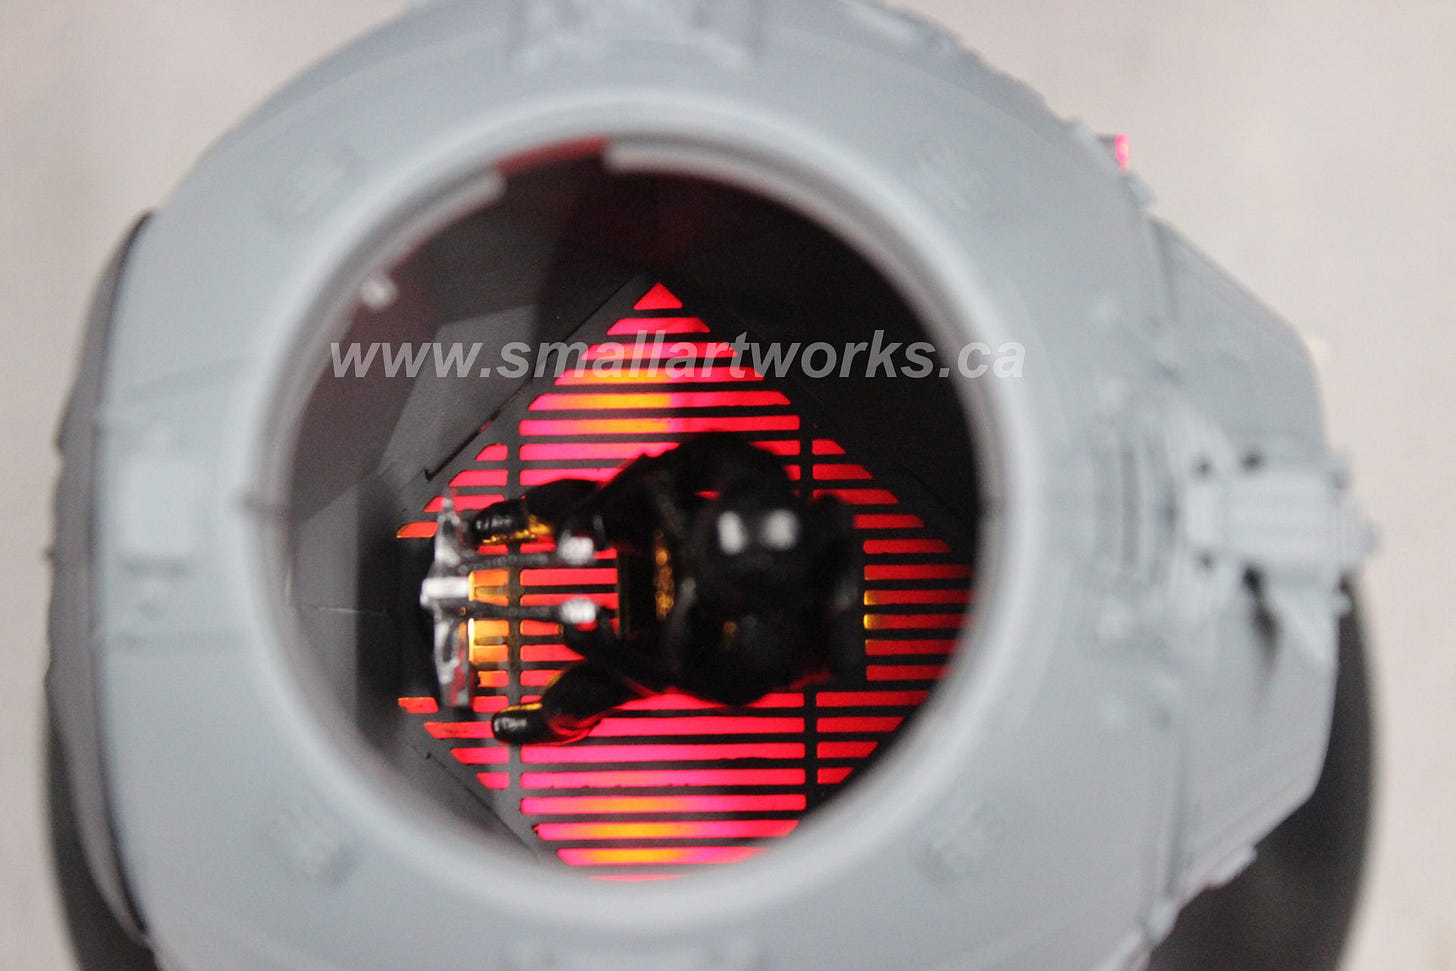
Below is a shot of the finished cockpit with the illuminated floor grille which, although may not be canon, certainly adds a dramatic effect to the model when displayed!
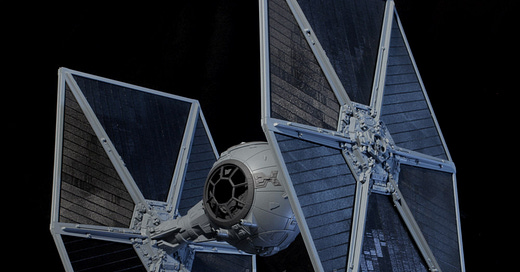
The finished model as built for Round 2 and the box art…
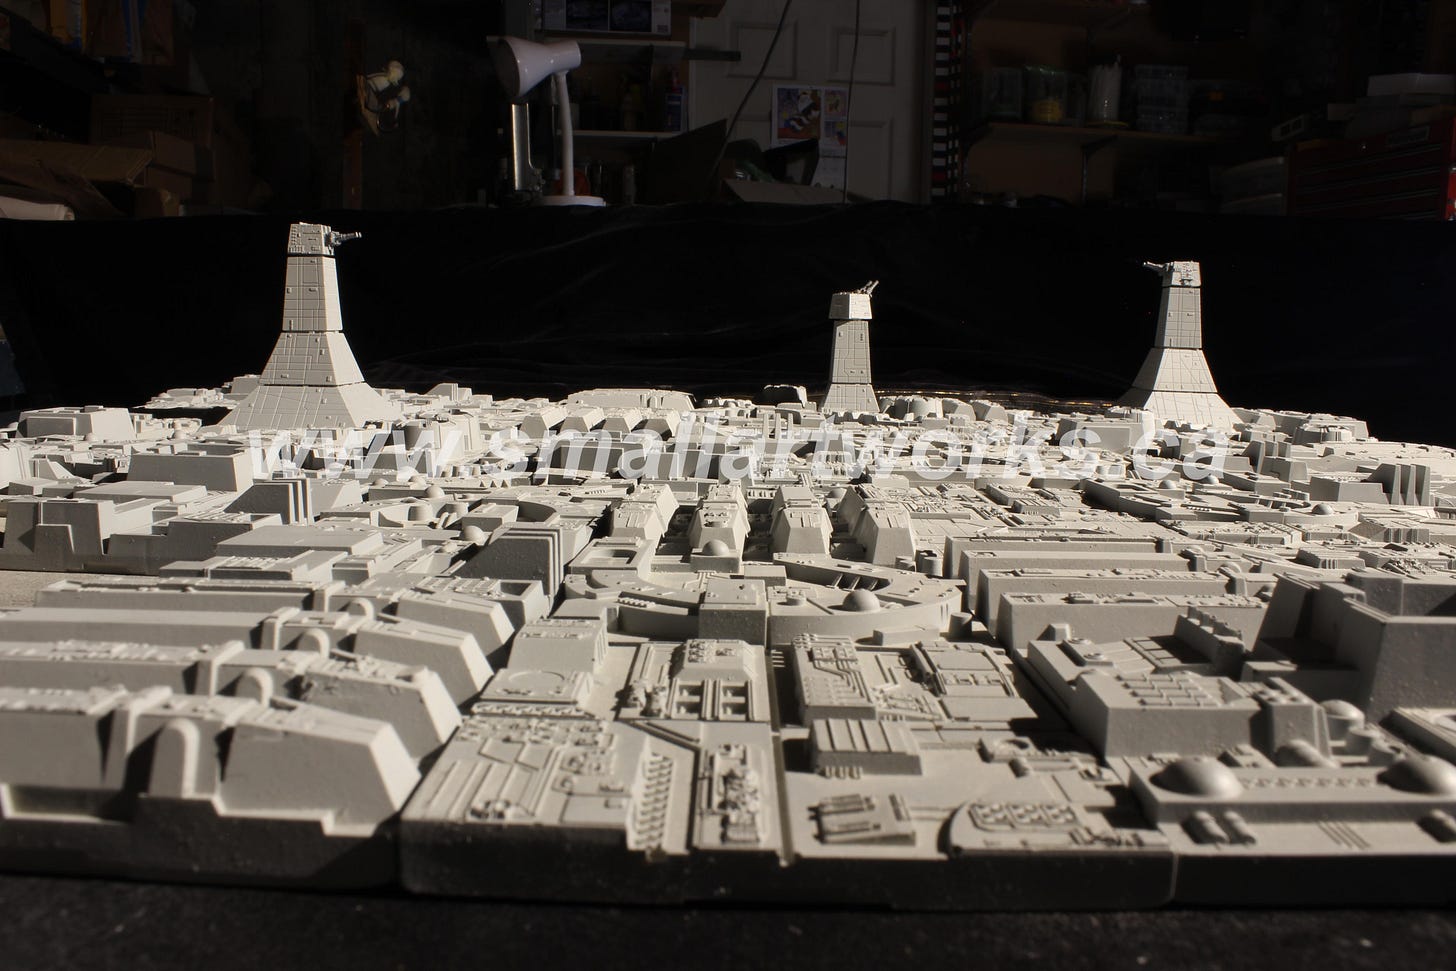
For the background imagery, I set up this Death Star surface diorama suitably lit. Jamie incorporated this shot into the background art as seen on the box tray…
Sometime later, Jamie told me that he was going to offer some Photo Etch detail parts that were designed by Para Graphics and he needed some shots of the cockpit interior that took advantage of this set. The set primarily allowed a light-up of the cockpit interior by industrious modelers but there’s not a lot of room in that cockpit area to show it off. So, I had to cheat.
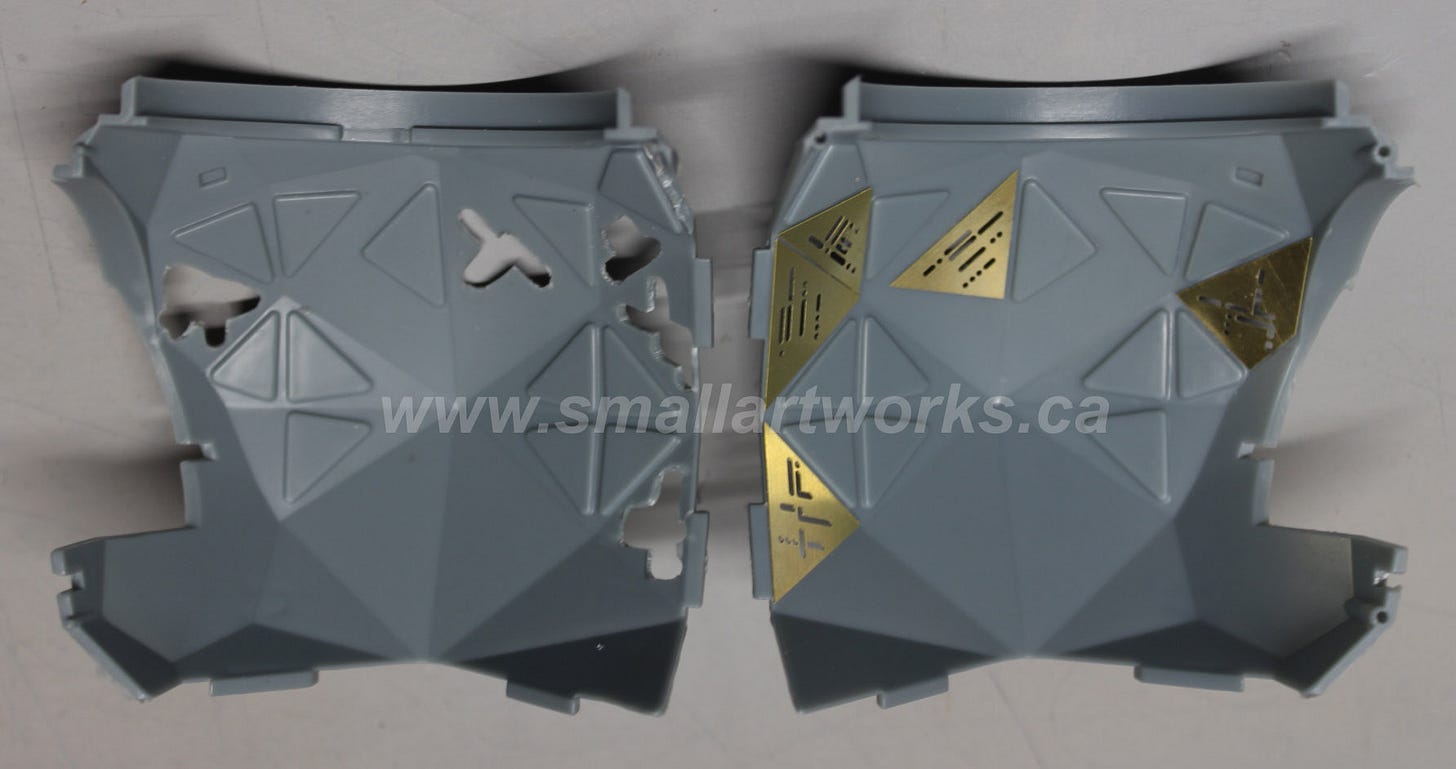
Here is what is needed to adapt the cockpit area. You need to cut away the sections shown on the left and then add the PE parts in brass as shown on the right.
Then you spray the whole thing with medium gray and you can add the decals that result in the photos you will see the following:
The “cheat” I mentioned previously is revealed in the following shot. The cockpit was cut up strategically to show certain angles. The above photo is one of them. The lighting was achieved by shooting the model as seen here:
I placed the model on a raised piece of glass through which a red-gelled light could be shone up through the floor. The “instrument panel” lights were lit by backlighting using some flashlights that used LED technology. Flags of black plastic were held in place to block light flares that would have shone directly into the lens, ruining the shot.
The resulting effects can be achieved in the model itself, but of course, it’s exceptionally difficult, if not impossible, to actually photograph the model for publicity photos if the model were actually built as per the kit directions. Thus these ‘cheats” for photography are absolutely necessary. A camera is simply not capable of seeing as well as the Human eye looking at a model.
Anyway, I hope you enjoyed this little installment of how models are photographed for the box art you will see on the kit itself.
Have fun building!







Just got this kit in the mail! Charles and R2 did an exceptional job mastering and producing this kit. And the minute I saw all of the lovely photos on the box I had to come and check in here! Well done sir!
Wow, nice.