The space shuttle was first seen in the Star Trek first season episode, “The Galileo Seven” in which Kirk, Spock and company find themselves stranded on a hostile alien world. The shuttle was seen in just a handful of episodes after that in the run of the three seasons. The ship was built as both a full-sized prop and a miniature shot against a blue screen for the outer space scenes. Yes, it’s a “flying brick” but budgetary constraints and time greatly affected the quality of the sets and props produced in the 1960s that had to be made from things like plywood and found objects, so it’s not exactly the kind of thing one would be more used to in films and TV shows today. But it was then ahead of its time for television Sci-Fi and would not be outdone until Gerry Anderson’s UFO and Space:1999 series would be broadcast a few years later.
Round 2 LLC decided that an accurate model kit of the popular shuttle was long overdue and would replace the very inaccurate, smaller and more toylike AMT version released in the 1970s. Under the Polar Lights brand name, Measuring 12” long and researched extensively by Star Trek prop expert Gary Kerr, the new kit is a very accurate 1/24th scale replica of the 24 foot prop built for the show. I was tasked with building the initial test shots of the kit and photographing it for the box art.
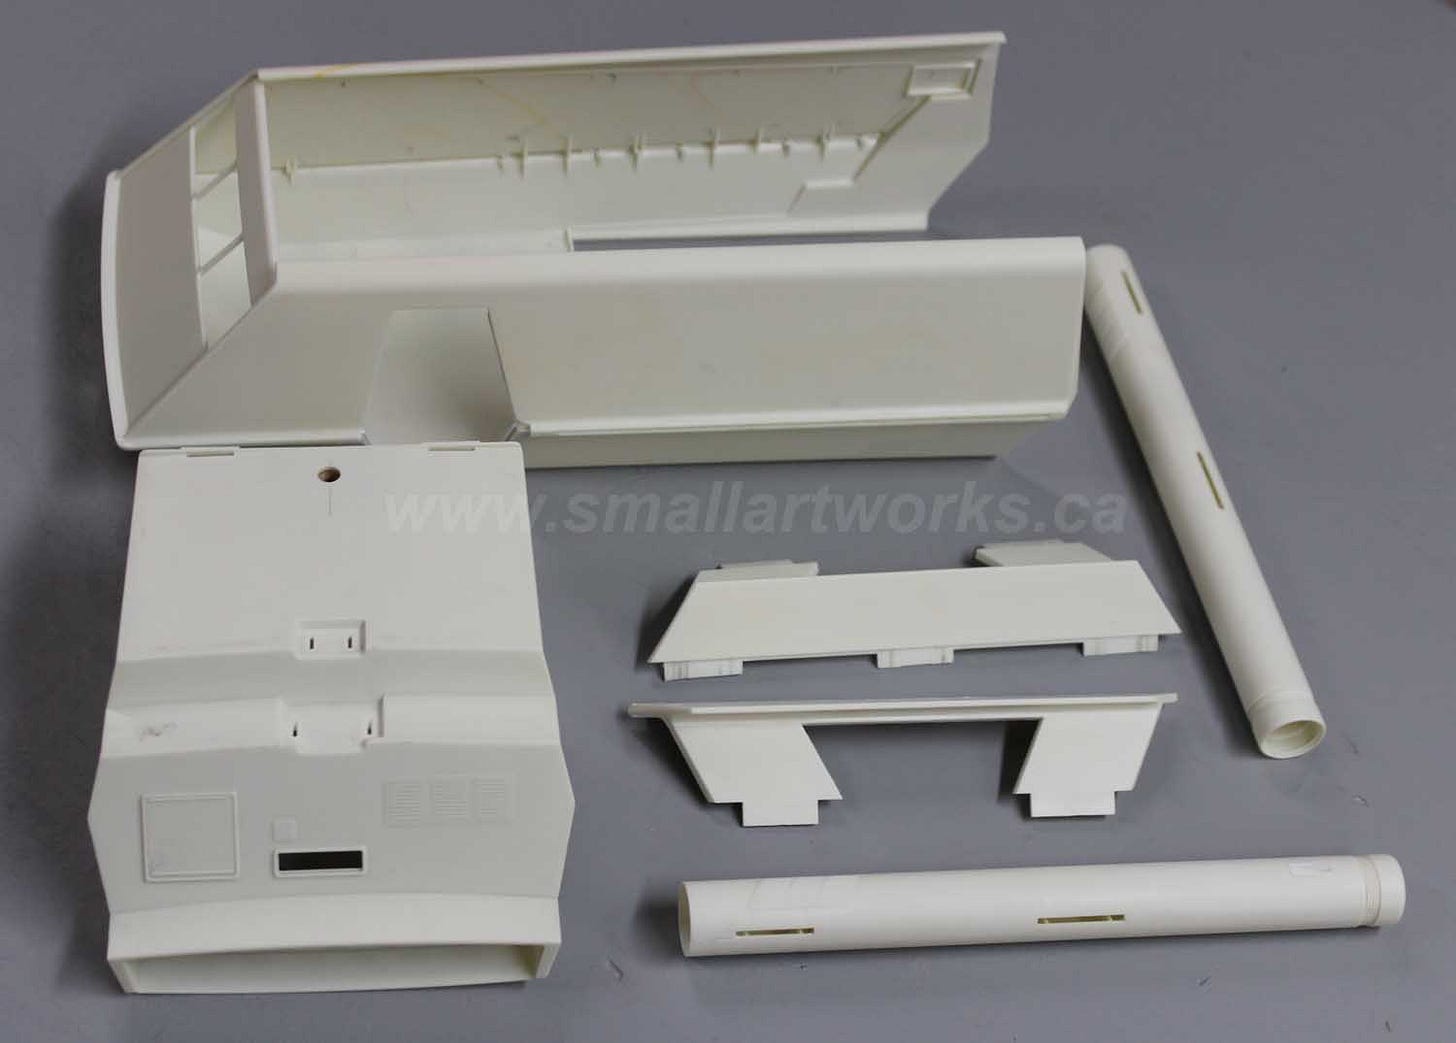
The construction of the kit was pretty straightforward, but I wanted to build two versions, one for display as “landed” and one fully lit and in flight with the landing gear retracted. The major subassemblies were put together, shown here just before painting…
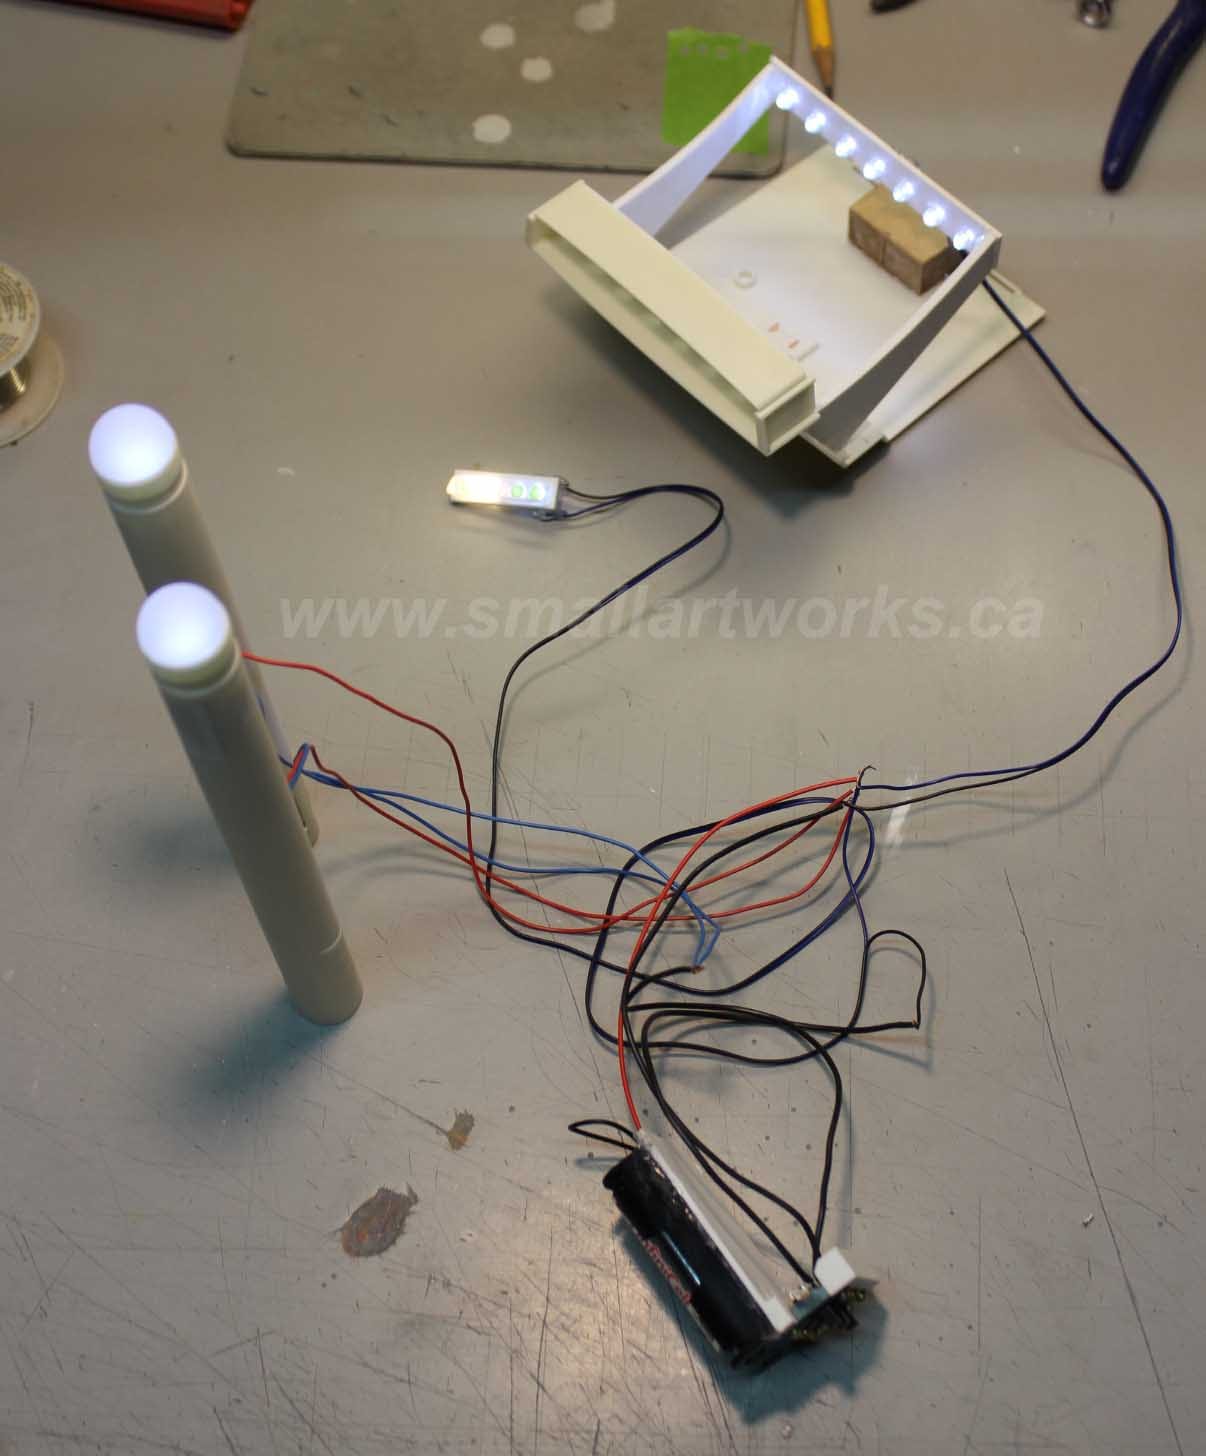
Lights were installed for the in-flight version with LEDs used for the engine nacelles reminiscent of its mother ship, the headlights and rear engine exhausts on the rear.
The power was to be provided by two AA cells wired to three switches, allowing the three lighting circuits to be controlled independently. The battery/switch assembly was built to slide out on a tray when the door is removed, allowing for replacement.
Because there was to be no interior in this model, I fogged the clear windows (the shuttle was often seen with solid shields on them in the show so I struck a “happy medium”) and deliberately set the rear engine LEDs further back into the cabin so the fresnel lenses would project their directional light (like a flashlight) onto the fogged surface of the clear engine grille backing, thus avoiding “hot spots” to produce a very even wall of light.
The headlights on the ship were never shown illuminated at any time on the show so that gave me a little artistic license. I deliberately used both soft white and cool white for the headlights in each housing, suggesting that the ship might have different purposes for the them.
After the two models were built, dozens of photographs were shot both against a black velvet backdrop as if flying in space as well as on a hastily made miniature set, trying various angles and lighting effects for visual interest. The photos were shot to show off the model’s features as well as trying to make it look somewhat realistic and visually pleasing as well as give Round 2 a number of choices. Only a paltry few would end up being used for the kit box art.
Some shots were done against a white background and flat-lit for certain views of various details. This one shows the open service hatch and landing gear details. The model was deliberately not weathered, as it was seen only in pristine condition during the run of the TV show.
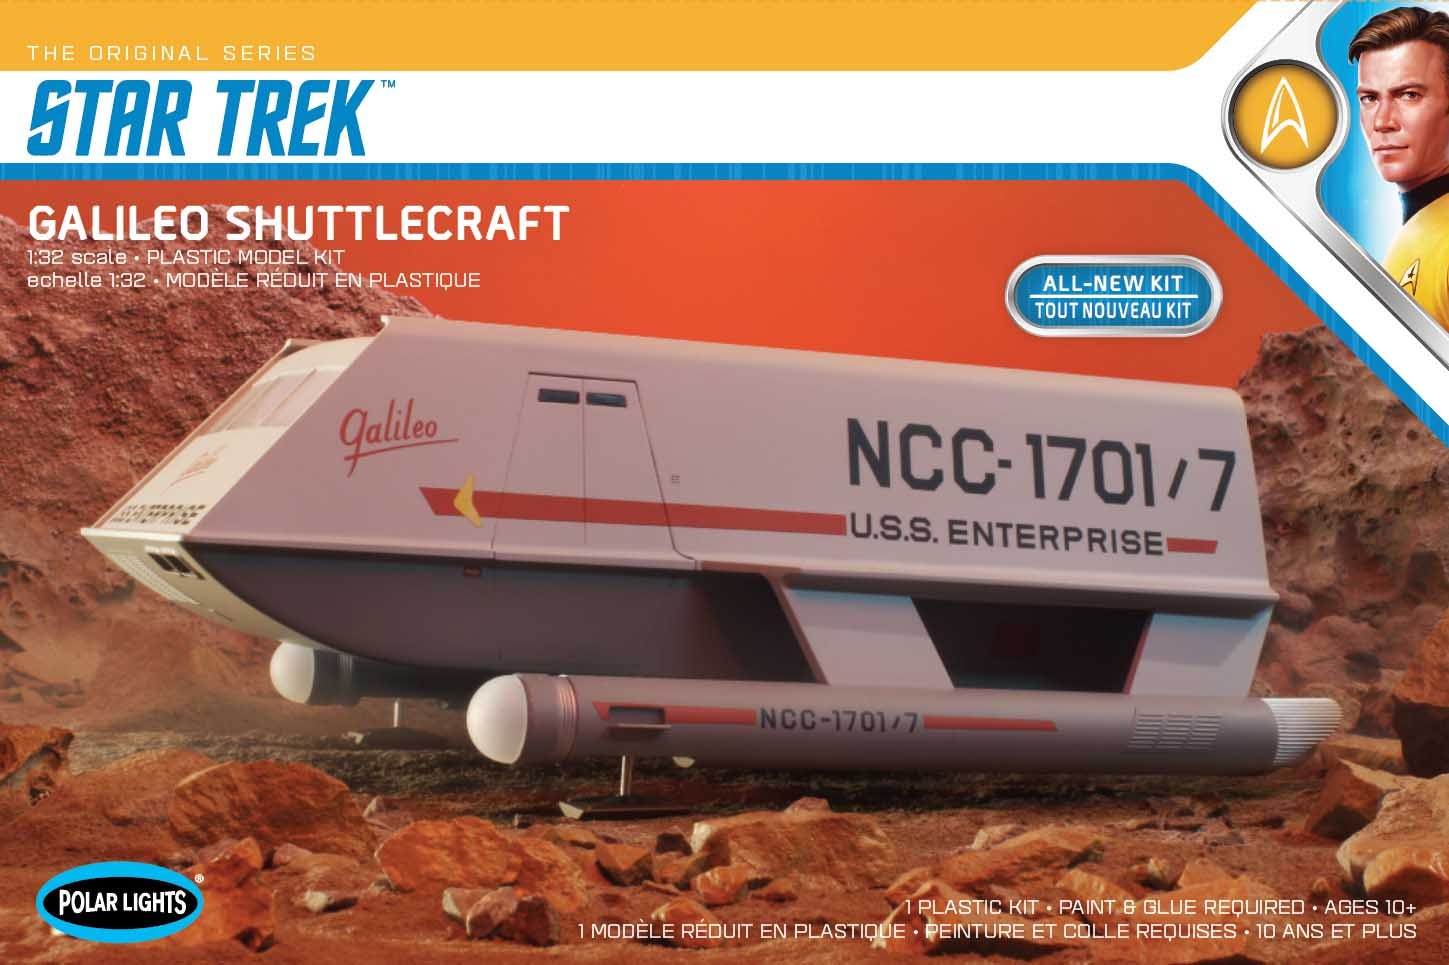
Here’s how the final shot looks on the kit’s box top. Some manipulation was done by the art department at Round 2 to make some of the colour “pop”…
The rear box tray. Again some slight manipulation was done by the art department to enhance the imagery for printing…
Below shows how the diorama was shot. A fog machine on the right (black box), with a baffle in front of it to channel the light shots of fog between the ship and the mountains thereby imparting a sense of depth and atmosphere. Mountains made from foam provided a forced perspective backdrop and a board sprayed with rattle-can paint for a sky backing, lit from below with coloured LED strips to give it an alien look. A foreground was made from crumpled-up tinfoil sprayed with gray primer, real rocks from the garden and cement dust completed the look of the groundwork. The set was dressed strictly “to camera” as nothing else was needed beyond what was to be lensed. The camera’s tripod head can be seen at lower centre-right, and alight with a red gel on the left…
Finally, here is a shot of the two finished models, plus a build-up of the original old AMT kit at bottom right for comparison. The new kit is a massive improvement!
I hope you enjoyed this article showing how this type of work is done, and I also hope you end up getting one of these kits for yourself to see what you can do with it. It’s yet another example of Round 2’s continuing commitment to producing new kits as accurate to the original subjects as possible.


FYI: the box art says the scale is 1:32.
Great work Jim.